


Noise is one of the biggest challenges photographers face, especially when shooting in low light or at high ISO settings. Traditional noise reduction often comes with a frustrating tradeoff: cleaner images, but softer details.
Modern AI-powered tools have changed that.
Denoise Max is designed to intelligently distinguish between real photographic detail and unwanted image noise. Instead of applying the same blur across the entire image, it analyzes the scene, recognizes objects and textures, and selectively removes noise while preserving fine details.
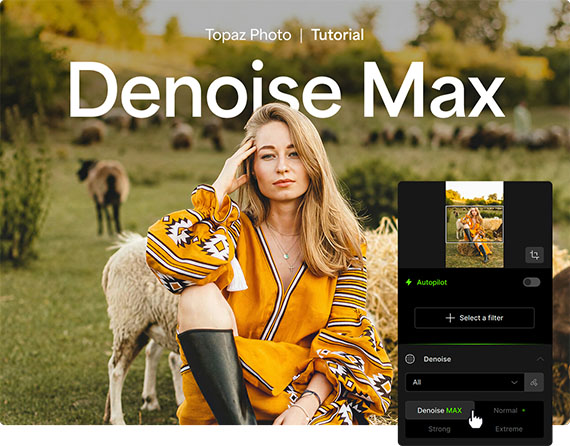
It can even sharpen slightly blurry areas without degrading parts of the image that are already crisp.
Here’s how to use it.
Step 1: Launch Topaz Photo
Open Topaz Photo and start a new editing session. Denoise Max is integrated directly into the workflow, making it easy to enhance your images without complicated settings.
Step 2: Import a Noisy Photo
Load the image you’d like to improve.
For the best results, choose a relatively high-quality original image that contains visible noise from high ISO settings or difficult lighting conditions. The cleaner the source file, the more effectively the AI can recover natural-looking detail.

Step 3: Select Denoise Max
Choose the Denoise tool, then select Denoise Max.
The AI analyzes your photo, identifying subjects, textures, edges, and fine details. It removes unwanted noise while preserving important features such as hair, feathers, foliage, skin texture, and architectural details.
Slightly soft areas can also be sharpened automatically, while already-sharp portions of the image remain untouched.
This selective approach helps produce a much more natural result than traditional global noise reduction.
Step 4: Adjust the Strength Slider
Use the Strength slider to control how aggressively the noise reduction is applied.
A lower setting preserves more of the original image, while higher settings remove additional noise. It’s often best to increase the strength gradually until the noise is minimized without making the image appear overly processed.
Step 5: Process the Image
Once you’re happy with the preview, process the image.
You can run the enhancement locally on your computer or choose cloud processing if available. Processing time will depend on your hardware and the size of the image.
Step 6: Fine-Tune the Selection
If certain parts of the image need different treatment, edit the selection manually.
For example, you may want stronger noise reduction in smooth skies while preserving maximum detail in a bird’s feathers, a person’s face, or textured landscapes.
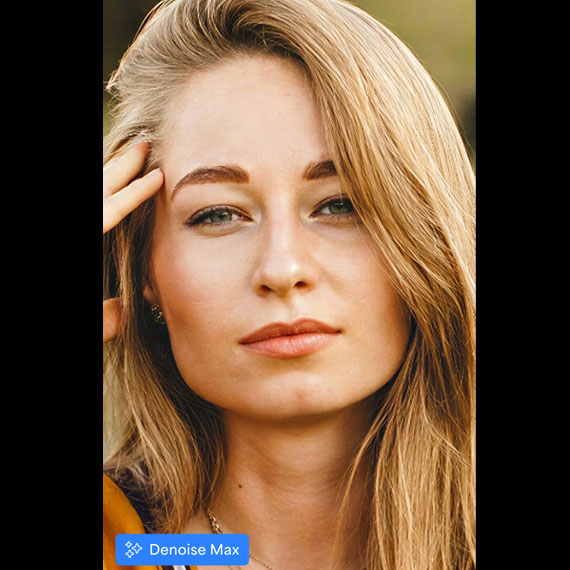
Selective adjustments give you greater control over the final result and help maintain a natural appearance throughout the image.
Final Thoughts
AI-powered noise reduction has advanced dramatically in recent years. Instead of simply blurring away grain, tools like Denoise Max intelligently analyze each image to preserve important detail while eliminating distracting noise.
Whether you’re photographing wildlife, landscapes, astrophotography, sports, or portraits, advanced AI denoising can help you recover cleaner, sharper images while maintaining a natural look.
Try it on Your Photo: New Denoise Max Model in Photo AI
from PictureCorrect https://ift.tt/uzlHrvL
via IFTTT


0 kommenttia:
Lähetä kommentti