One hundred years ago, making photographs in black and white was a technical limitation; today it is a creative choice. It is somewhat ironic that after a century of scientific development to deliver cameras capable of capturing the world full of rich textures and colors, so many of us have returned to making images in mono. Why would that be?
The 21st century has been a whirlwind of development in both camera/sensor technology and the processing power of our home computers. It is not too bold to suggest that most of our smartphones today are packed with more possibilities than our DSLRs were a decade ago. But, as always, contemporary tools are also full of quick fixes and automation, leaving us with both a gift and a curse. The gifts are obvious: speed, efficiency, convenience and not least, being able to bypass a lot of study and craft. However, the flip side of this is that we so often find ourselves handing our images over to the computer and failing to truly understand why it is we are making them in the first place.
The primary focus of this article is to cover the concept of Pre-Capture Visualization, that is, making a clear intention when we are in the field to make images without color. This is profoundly different from making a creative choice when we’re sat at the computer and can flip a color image into mono in seconds and decide it looks great! However, before we get to that, let’s first delve into the whole concept of why we would ever want to make images in black and white when we have so many creative possibilities in color.
Why B&W?
We are all unique; we all see the world as only we can see it – our perceptions, beliefs, visions, motives, and expression are all our own. Equally, our abilities to spend time in the field vary, with some limited to a few short moments at the weekend, after work, or on family vacations.
The landscape and nature work to their own agendas; the sun rises and sets, weather systems come and go, atmospheric pressures rise and fall, as do the tides and the passing of the seasons.
In short,
Do not expect nature to deliver the perfect conditions for the image you want to create at the time you want to make it.
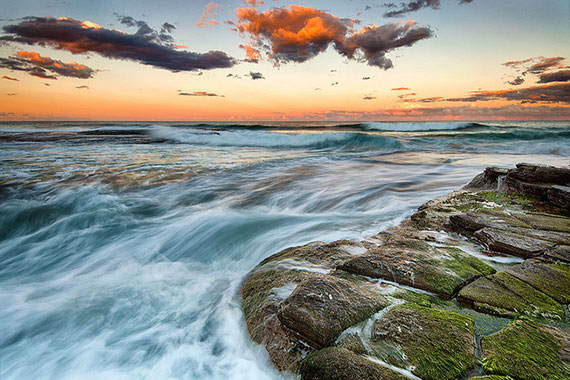
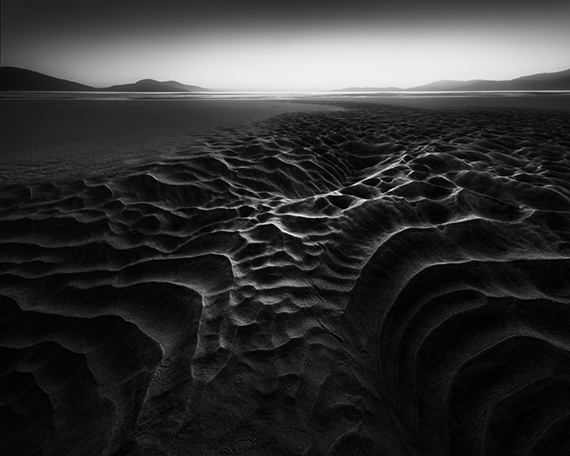
How many variables had to align for this image to be made? Weather, tides, season, time of day, opportunity, creative vision, technical capture and processing technique, to name a few.
For years I used to measure the success of a photographic trip into nature by the images I made, and if I failed to make the image I had in my head prior to leaving the house, I would return home deflated and somehow resentful that nature had somehow let me down!
Now, I live by a far simpler mantra: shoot what is there in the available light.
Before we know it, we have found the first reason why we can shoot black and white images:
You can make successful mono images in any light.
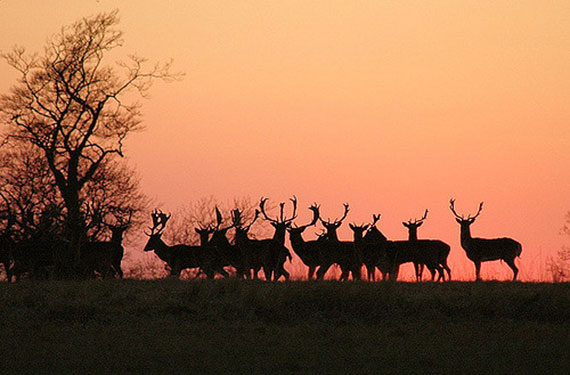
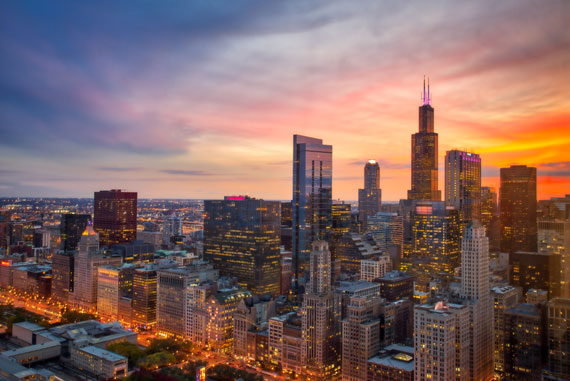
Color is the subject in so many landscape images – often-poor compositions are compensated for with the saturation slider – adding wow and punch to the greens and reds to shock the viewer into a state of submission!
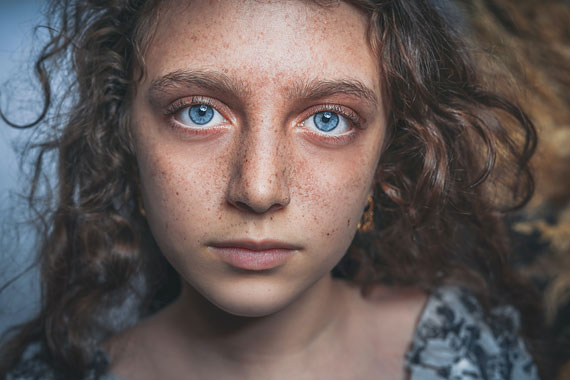
In black and white, the graphics and composition of the image are so vital, it tests the photographer, forcing them to be articulate and clear about the subject, lines of flow and balance.
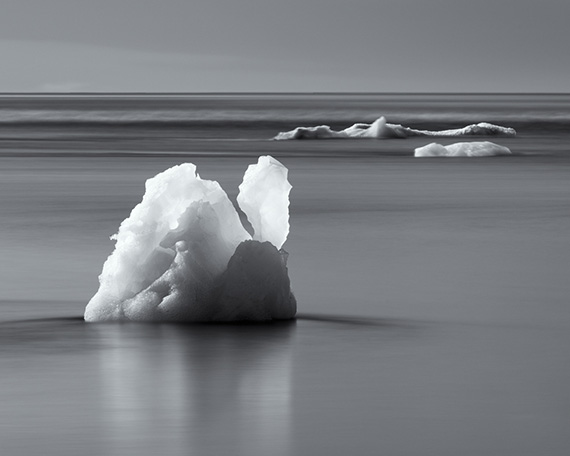
In the image above, the graphical elements of the image are stripped and cannot hide behind oversaturated colors. The eye takes a natural journey through a restful and simple image.
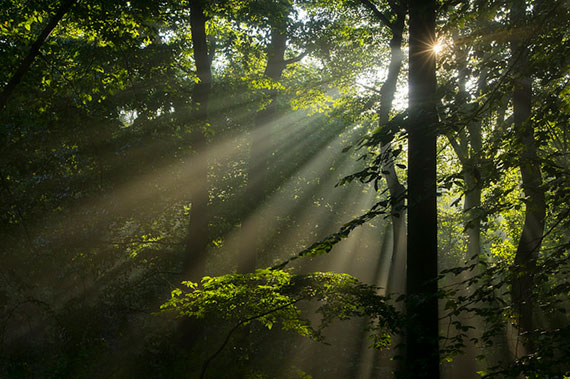
Suitable Light for B&W
Some lighting conditions that are excellent for black & white photography include the following:
- Harsh directional light
- Soft light under heavily textured cloudy skies
- Fog
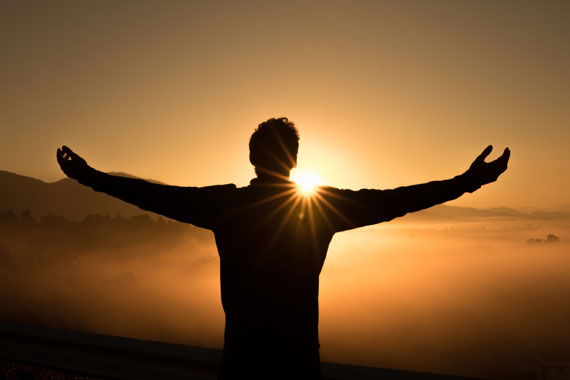
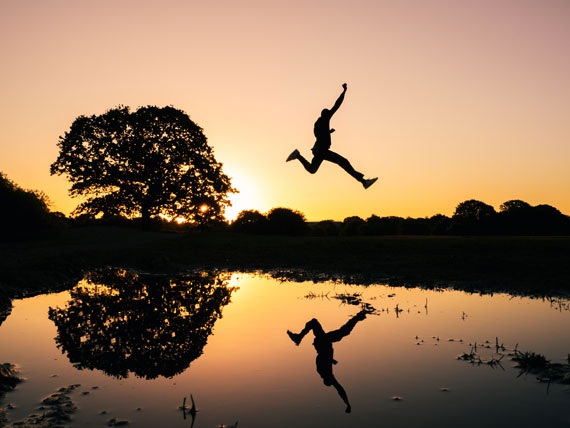
- Silhouettes
- Uniform skies with no textures
- Side light on heavily textured surfaces
If you read between those lines, what we are saying is, many situations that people would consider non-conducive to landscape photography are ideal for making black and white images.
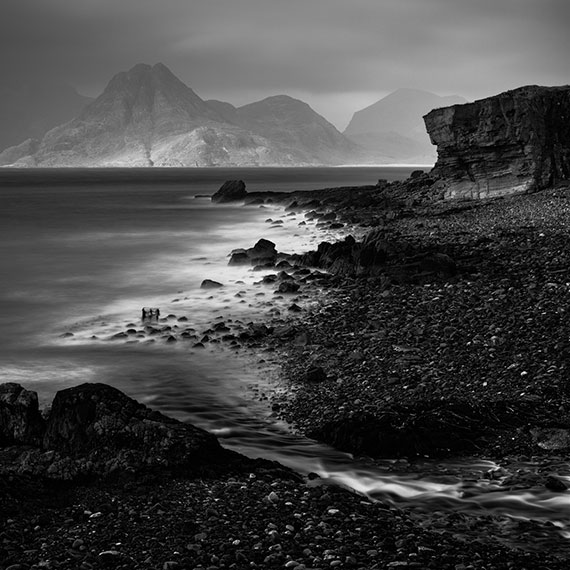
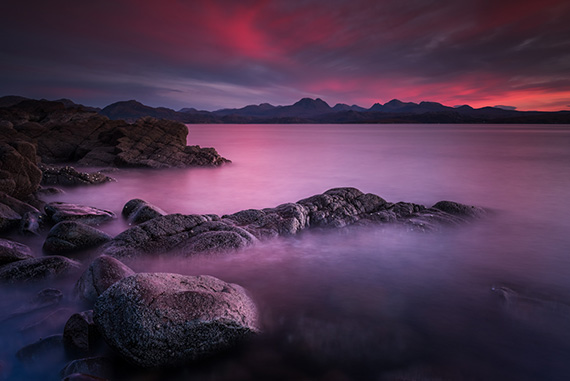
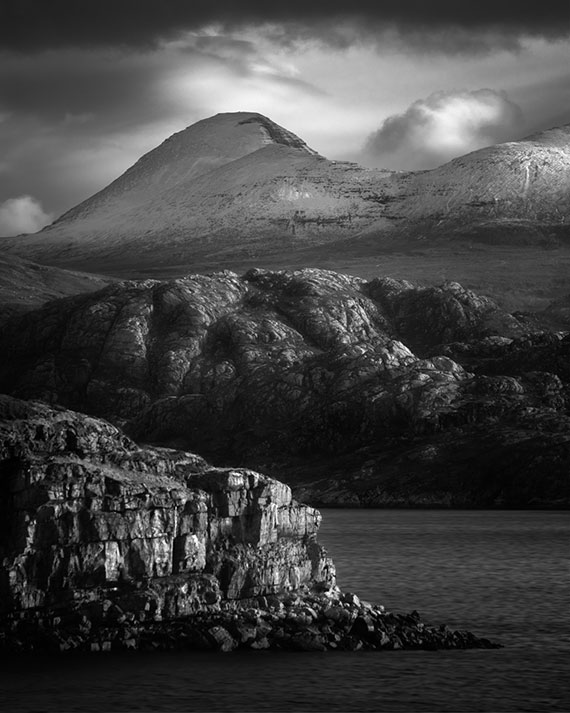
The moodiness of a Scottish afternoon
Suitable Intent for Black & White
If you read anything I have ever written you will become familiar with the word intent. It is something I drill into every image I make and every spoken or written statement about the creative process.
If you sit a painter down with a black canvas in front of a landscape, they decide where to paint, how to paint, and why to paint. Every brush stroke has intention.
While landscape photographers may not have that degree of creative license, we can still decide what to include in the frame and very much how we want to post-process that image. We have plenty of opportunity for intention; it’s just that most choose to let the cameras or computers make creative choices for them!
By stripping our images of color, they can, in fact, be more expressive, as they lend themselves naturally to some, or all of the following intentions:
- Timeless character
- Ambiguity
- Mood and mystery
- Departure from reality
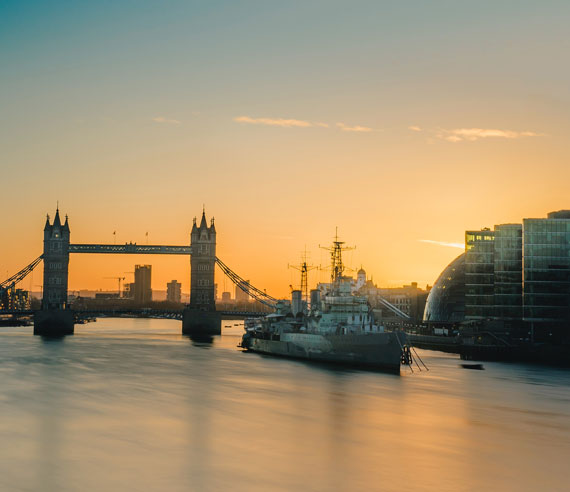
The whole genre of fine art photography rests on the shoulders of mono images, from cityscapes to bridges, architecture, lilies, portraits, and of course, landscapes. It is almost as if by stripping the world of color, the viewer truly sees it for the first time as a graphical series of shapes and tones.
Suitable Subjects for Black & White
We could be forgiven for being comical and saying anything is a suitable subject for black and white photography! But, some subjects do lend themselves to mono photography:
- Strongly graphical elements
- Scenes full of tonal contrast
- Moody scenes
- Monochromatic subject matter
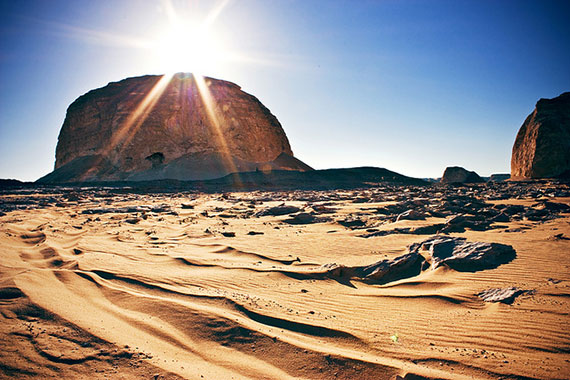
- Raw natural elements, such as rocks
Ultimately, the choice of subject is a very personal thing, as you choose to shoot what stimulates you and help you make some form of articulate statement about that place and yourself.
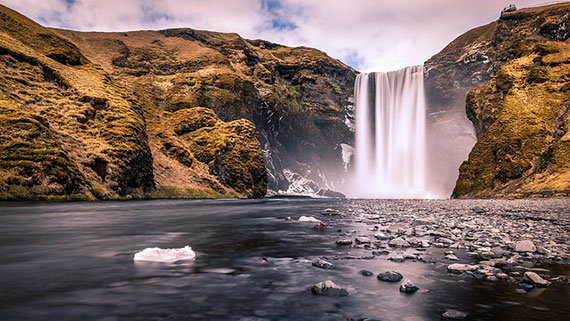
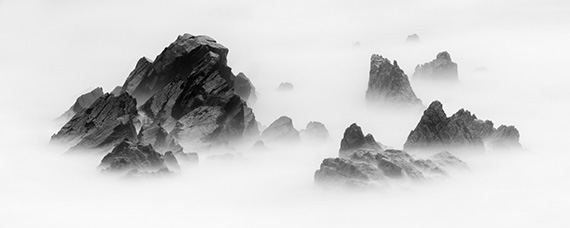
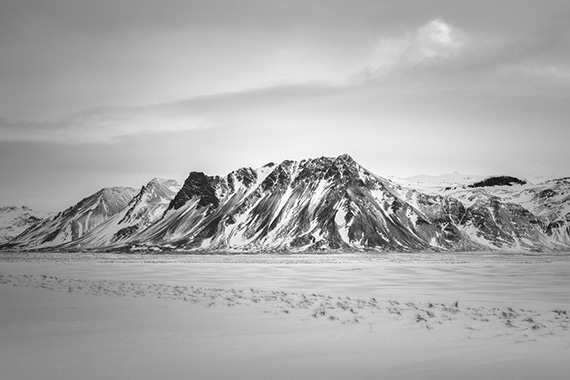
Landscapes can be simple, or they can be complex, and each of those should act as a trigger to focus your creative attention. Each of those types of landscape lends themselves to different images and will ultimately have a different effect and impact on your viewer.
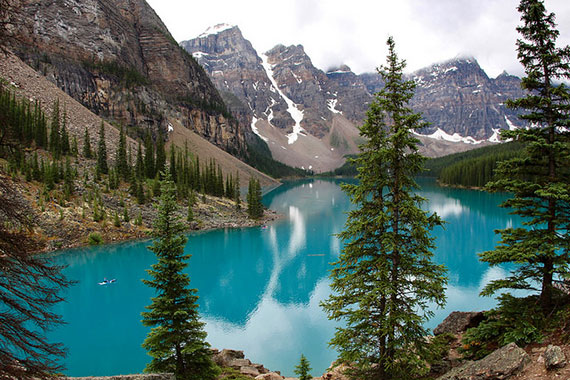
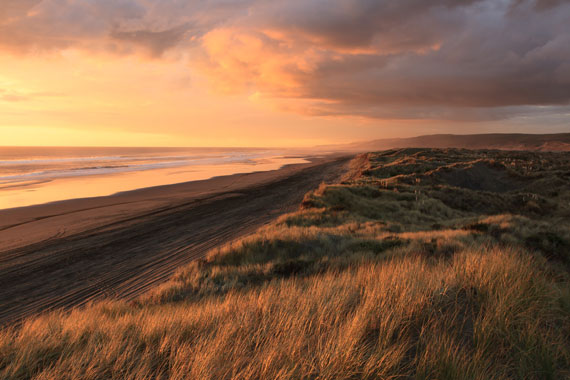
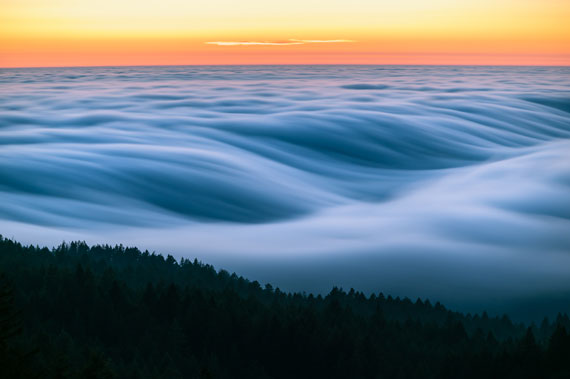
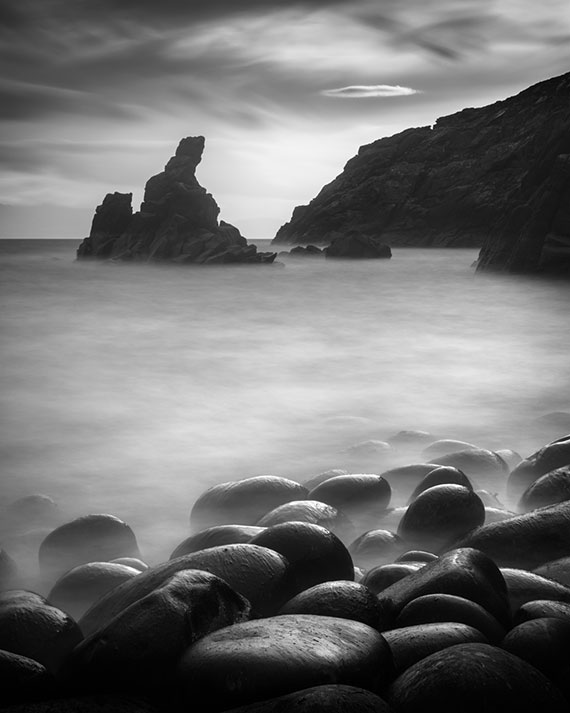
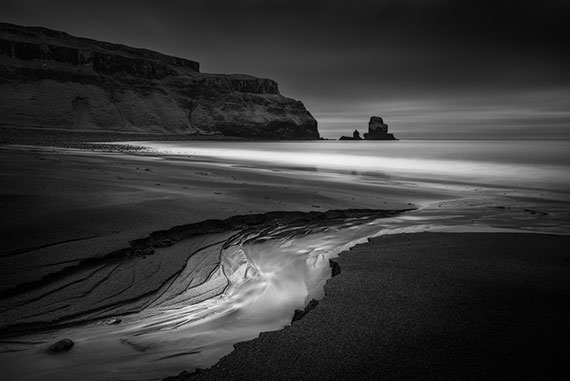
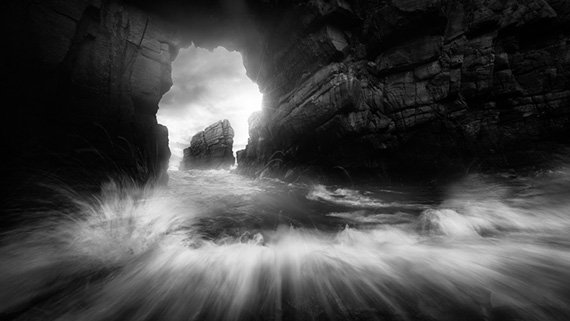
Taking these two examples below —one simple, one complex—try to describe each using only emotional words. How do they feel?
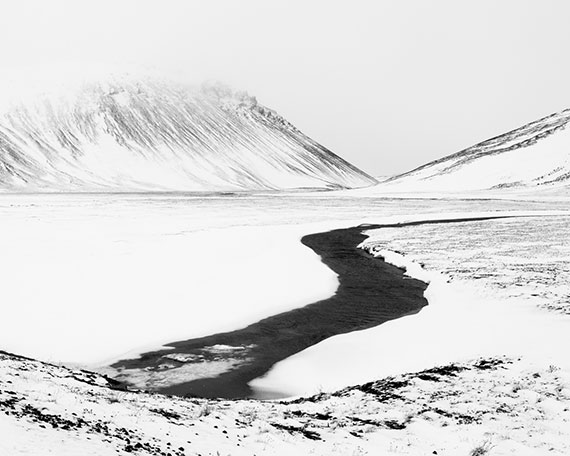
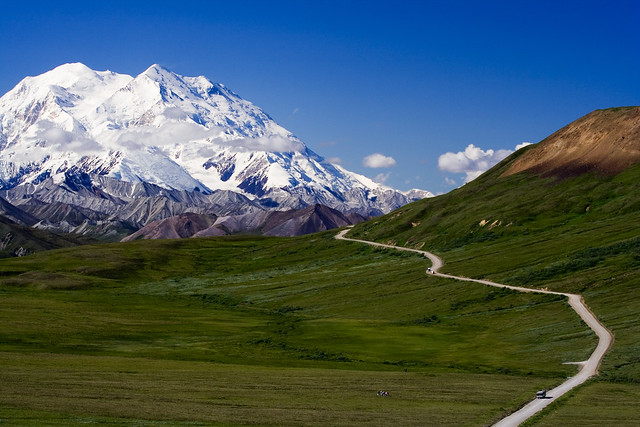
Light, airy, calm, barren, minimalistic, reflective
Dark, moody, dramatic, majestic, ominous
Pre-Capture Visualization
Looking is not the same as seeing. When we enter the landscape with a camera in our hands, more often than not we do not consider the image we are going to make. Instead, we become engrossed in the place and our reaction to it. We see a nice scene and raise the camera to record it. Later, at home, we can reflect and measure the success of our images by comparing them to the memories of the event.
Our viewers do not have that luxury of comparison; they get what we give them! Intention, again.
Our photographs are better by design; they are improved when we have a clear vision of what we want to shoot and how we want to present it to the viewers.
Black and white images can be visualized after the event, at home in front of the computer. We can select an image that is graphical, simple or naturally muted – perhaps when we were shooting in poor light, or in the middle of the day. Most DSLRs come with software that allows for mono processing and there is always Adobe Lightroom, which has an amazingly powerful array of creative tools.
Top 10 Tips for Seeing in Black and White
- If possible, set your camera to monochrome and then all your previews will be stripped of color. If you are shooting RAW, the color information is still recorded – if you still shoot jpeg, your images will now be in black and white.
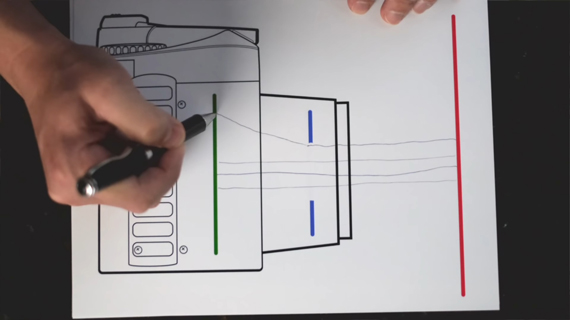
- Experiment with the color filters in your DSLR mono settings. Shoot the same scene with a Blue Filter, then a Red Filter, then a Green Filter. The more colorful the subjects (blue sky, red rocks, green grass, etc.), the more dramatic the differences will be. When colors are converted into tones, they can be portrayed anywhere between white and black. Above, we see the original on the left, a Blue Filter in the middle and a Red Filter on the right. Creative post-processing plays a huge part in black and white photography, as it always has done.
- Start looking for shapes in the landscape—triangles, squares, circles. Stop seeing the world as a selection of subjects. Stripping the landscape down to geometry is an excellent way to understand the interaction and relationships of elements within the frame.
- Remember that the frame is a shape: four straight lines making up a square or rectangle. How subjects converge with these four lines is a key to simplicity and articulation.
- Find the flow. This is easy if there is flowing water in the scene, but if not, where is the eye leading through the frame? Is there a natural route, or is there something blocking the flow?
- Find simplicity. Black and white images are not the same as color images. You can get away with a lot more negative space in mono. One single rock, or subject in a field of negative space can be powerful.
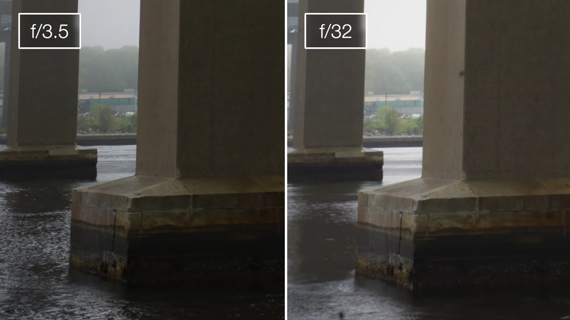
- Consider investing in a neutral density filter. Something like a 10 stop ND Filter allows you to take long exposures of tens of seconds in the middle of the day. This is ideal for rendering the moving ocean as a mist of regular tone. Super for creating ethereal images full of calmness and isolating key subjects.
- Begin approaching post-processing as a creative process. Use the interface to try images with high or low contrast, brighter, or darker. How does the mood change?
- Go into the landscape without expectation. Shoot what you see and react to, not what you hoped to shoot.
- Invest in your development. Take to time to read and think about what you want your images to say and then work on the techniques necessary to realize that vision.
Summary
Poor light or the sunset or sunrise that failed to deliver is no longer an excuse to pack up early and go home – literally at any time of the day in any light you can find simple, graphic situation in which to make wonderful black and white images full of expression and articulation.
Your images can be bright and airy, or dark and mysterious, rich in detail, or stripped down to the most basic of elements. Either way, black and white allows for a huge spectrum of emotions to be expressed.
As with any other discipline of study, we can start simple and work up to complexity – letting the camera or the computer make some decisions is fine, but in time, taking creative control of the entire process becomes easier as post-processing and creative capture techniques are added to your toolbox.
Ansel Adams made some of the most exquisite and expressive landscape images ever. Nothing has really changed—just the tools. Be inspired.
About the Author
Alister Benn is a multi-award winning Scottish landscape photographer, author, and educator. He lives on the isle of Skye off the northwest coast of Scotland. They lead very small group tours and workshops to various locations on the west of Scotland, Iceland, and occasionally farther afield in China and Tibet. His teaching focuses very heavily on the technical and creative development of the participants and encourages the role of images as expressive and articulate statements.
- - - - - - - - - - - - - - - - - - - - - - - - - - - - - - - - - - - - - - - - - - - - - - - - - - - - - - - - - - - - - - - - - - - - - - - - - -
Did you appreciate this newsletter? Please help us keep it going by Joining Our Patreon Supporters
What are your thoughts on this article? Join the discussion on our Facebook Page
PictureCorrect subscribers can also learn more today with our #1 bestseller: The Photography Tutorial eBook
- - - - - - - - - - - - - - - - - - - - - - - - - - - - - - - - - - - - - - - - - - - - - - - - - - - - - - - - - - - - - - - - - - - - - - - - - -
The post Learning to See in Black & White appeared first in the Photography Tips category on PictureCorrect.
from PictureCorrect https://ift.tt/SVvdjYA
via
IFTTT