With 4th of July Independence Day celebrations quickly approaching, we have been receiving requests for more training on how to photograph fireworks. Fireworks photography is indeed one of the most daunting types of photography. This in-depth tutorial eBook explains the process from start to finish, everything from gear and camera settings to composition and post-processing to achieve great results with fireworks of any kind. Currently 55% off to help photographers prepare for the July 4th! Deal ending soon: How to Photograph Fireworks Guide at 55% Off
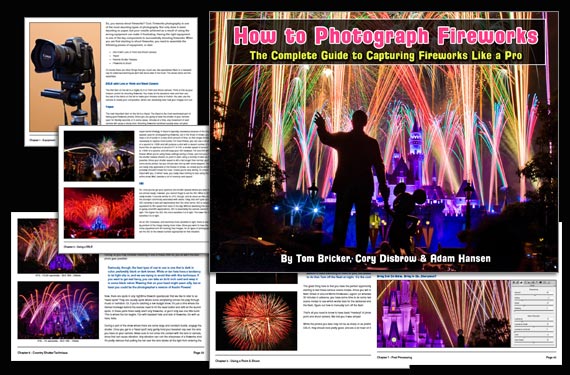
The How to Photograph Fireworks eBook
A common result of photographers new to fireworks photography is capturing nothing but bright white spots instead of colorful bursts. But with the guidance of this eBook in hand, you should be fully prepared to photograph brilliant fireworks displays. While the exposure fundamentals of aperture, shutter speed, and ISO are essential to great fireworks, it’s important to also be aware of the right accessories and set up for your shots correctly.
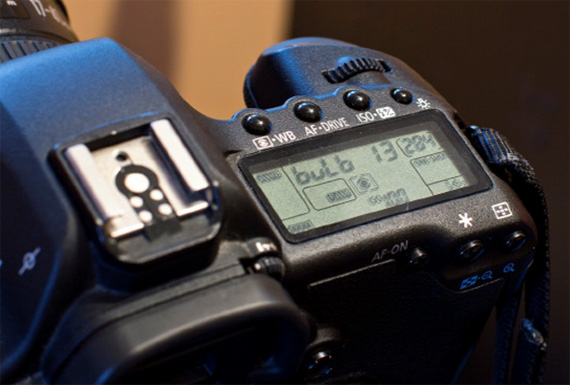
How to use bulb mode for long shutter speeds
Some of the Many Topics Covered (50 Pages):
- Equipment & Accessories Needed
- Using a DSLR for Fireworks
- Using a Point & Shoot for Fireworks
- Composition
- Using a Neutral Density Filter
- Country Shutter Technique
- Post Processing
- Conclusion
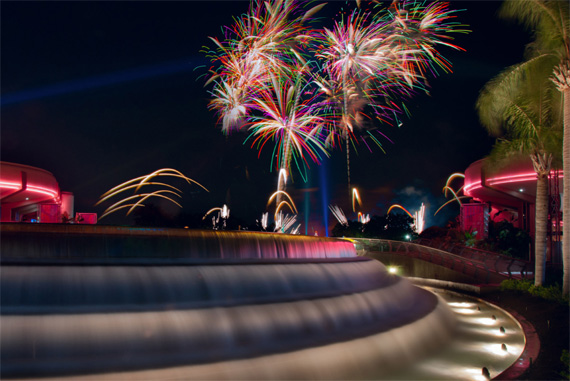
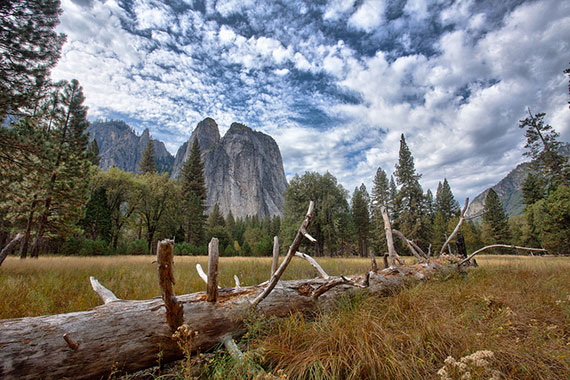
In-depth tutorials on how to photograph fireworks in challenging conditions
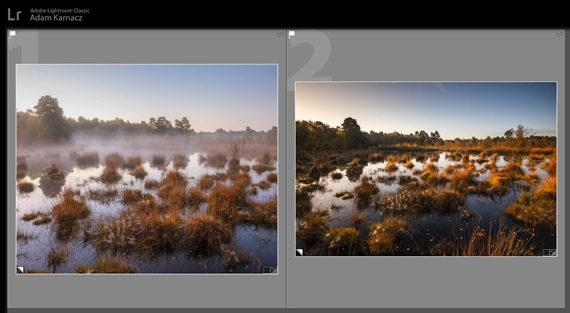
Like post processing in general, there are a myriad of ways to approach the post processing of fireworks shots. To start, they describe general tips and explain how they are universally applicable, and then they apply the techniques to example photos, explaining how they change the overall result.

Pages from How to Photograph Fireworks
How to Photograph Fireworks is a downloadable eBook PDF file, which can be viewed on a number of devices – laptop and desktop computers, iPhone or Android devices, iPads, and other tablets.
How to Get a Discounted Copy Before July 4:
It is currently 55% off until the 4th of July to help photographers prepare for fireworks shows! It also carries a 90 day guarantee, if you do not find the eBook useful just let us know to receive a full refund. So there is nothing to lose in trying it.
Deal found here: The How to Photograph Fireworks eBook at 55% Off
- - - - - - - - - - - - - - - - - - - - - - - - - - - - - - - - - - - - - - - - - - - - - - - - - - - - - - - - - - - - - - - - - - - - - - - - - -
Did you appreciate this newsletter? Please help us keep it going by Joining Our Patreon Supporters
What are your thoughts on this article? Join the discussion on our Facebook Page
PictureCorrect subscribers can also learn more today with our #1 bestseller: The Photography Tutorial eBook
Become a photography VIP with the All Access Pass to Photography Training
- - - - - - - - - - - - - - - - - - - - - - - - - - - - - - - - - - - - - - - - - - - - - - - - - - - - - - - - - - - - - - - - - - - - - - - - - -
The post Fireworks Photography Guide on Sale Until July 4 appeared first on PictureCorrect.
from PictureCorrect https://ift.tt/3B184d7
via IFTTT