


If you’ve spent any time learning night photography, you’ve probably heard the advice: “Keep your ISO as low as possible.”
It’s one of the most common recommendations in photography—and one of the most misunderstood.
Many photographers become so focused on using the lowest ISO possible that they end up with images that are darker, noisier, and lower quality than they could have been. The truth is that ISO doesn’t work the way most people think it does.
Before we continue, a quick reminder: there is now just 1 day left to grab the Milky Way Photography Field Guide during the Core Season Sale (70% off). The guide covers everything from planning Milky Way shoots and choosing camera settings to focusing on stars, avoiding star trails, stacking images, and post-processing techniques. If you want to make the most of Milky Way season, now is a great time to pick it up before the sale ends.
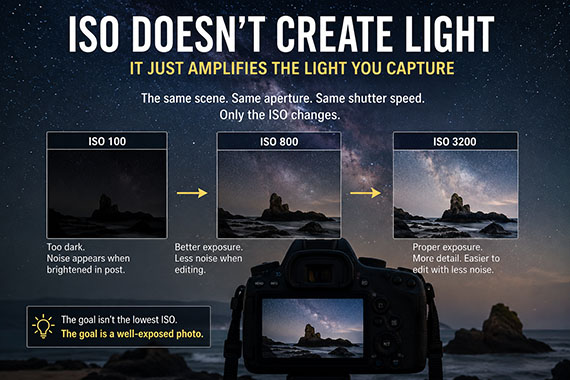
ISO Doesn’t Create Light
One of the biggest misconceptions about ISO is that it makes your camera sensor more sensitive to light.
It doesn’t.
The amount of light your sensor captures is determined primarily by your aperture and shutter speed. ISO simply amplifies the signal that was already recorded.
Think of it like turning up the volume on a speaker. The music doesn’t change—you simply hear more of what’s already there.
This is why increasing ISO doesn’t magically improve exposure by capturing more light. It only boosts the brightness of the information your camera has already collected.
The Real Enemy Is Underexposure
Many photographers assume that shooting at ISO 100 will always produce the cleanest image.
That can be true in daylight when plenty of light is available. Night photography is different.
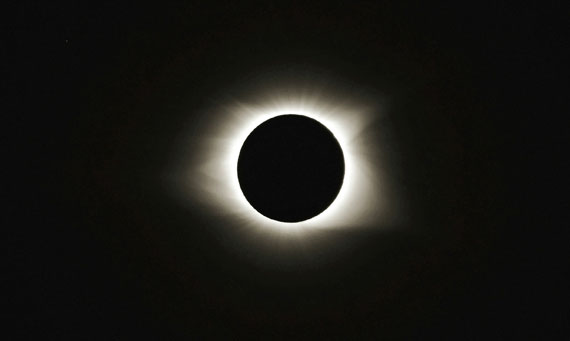
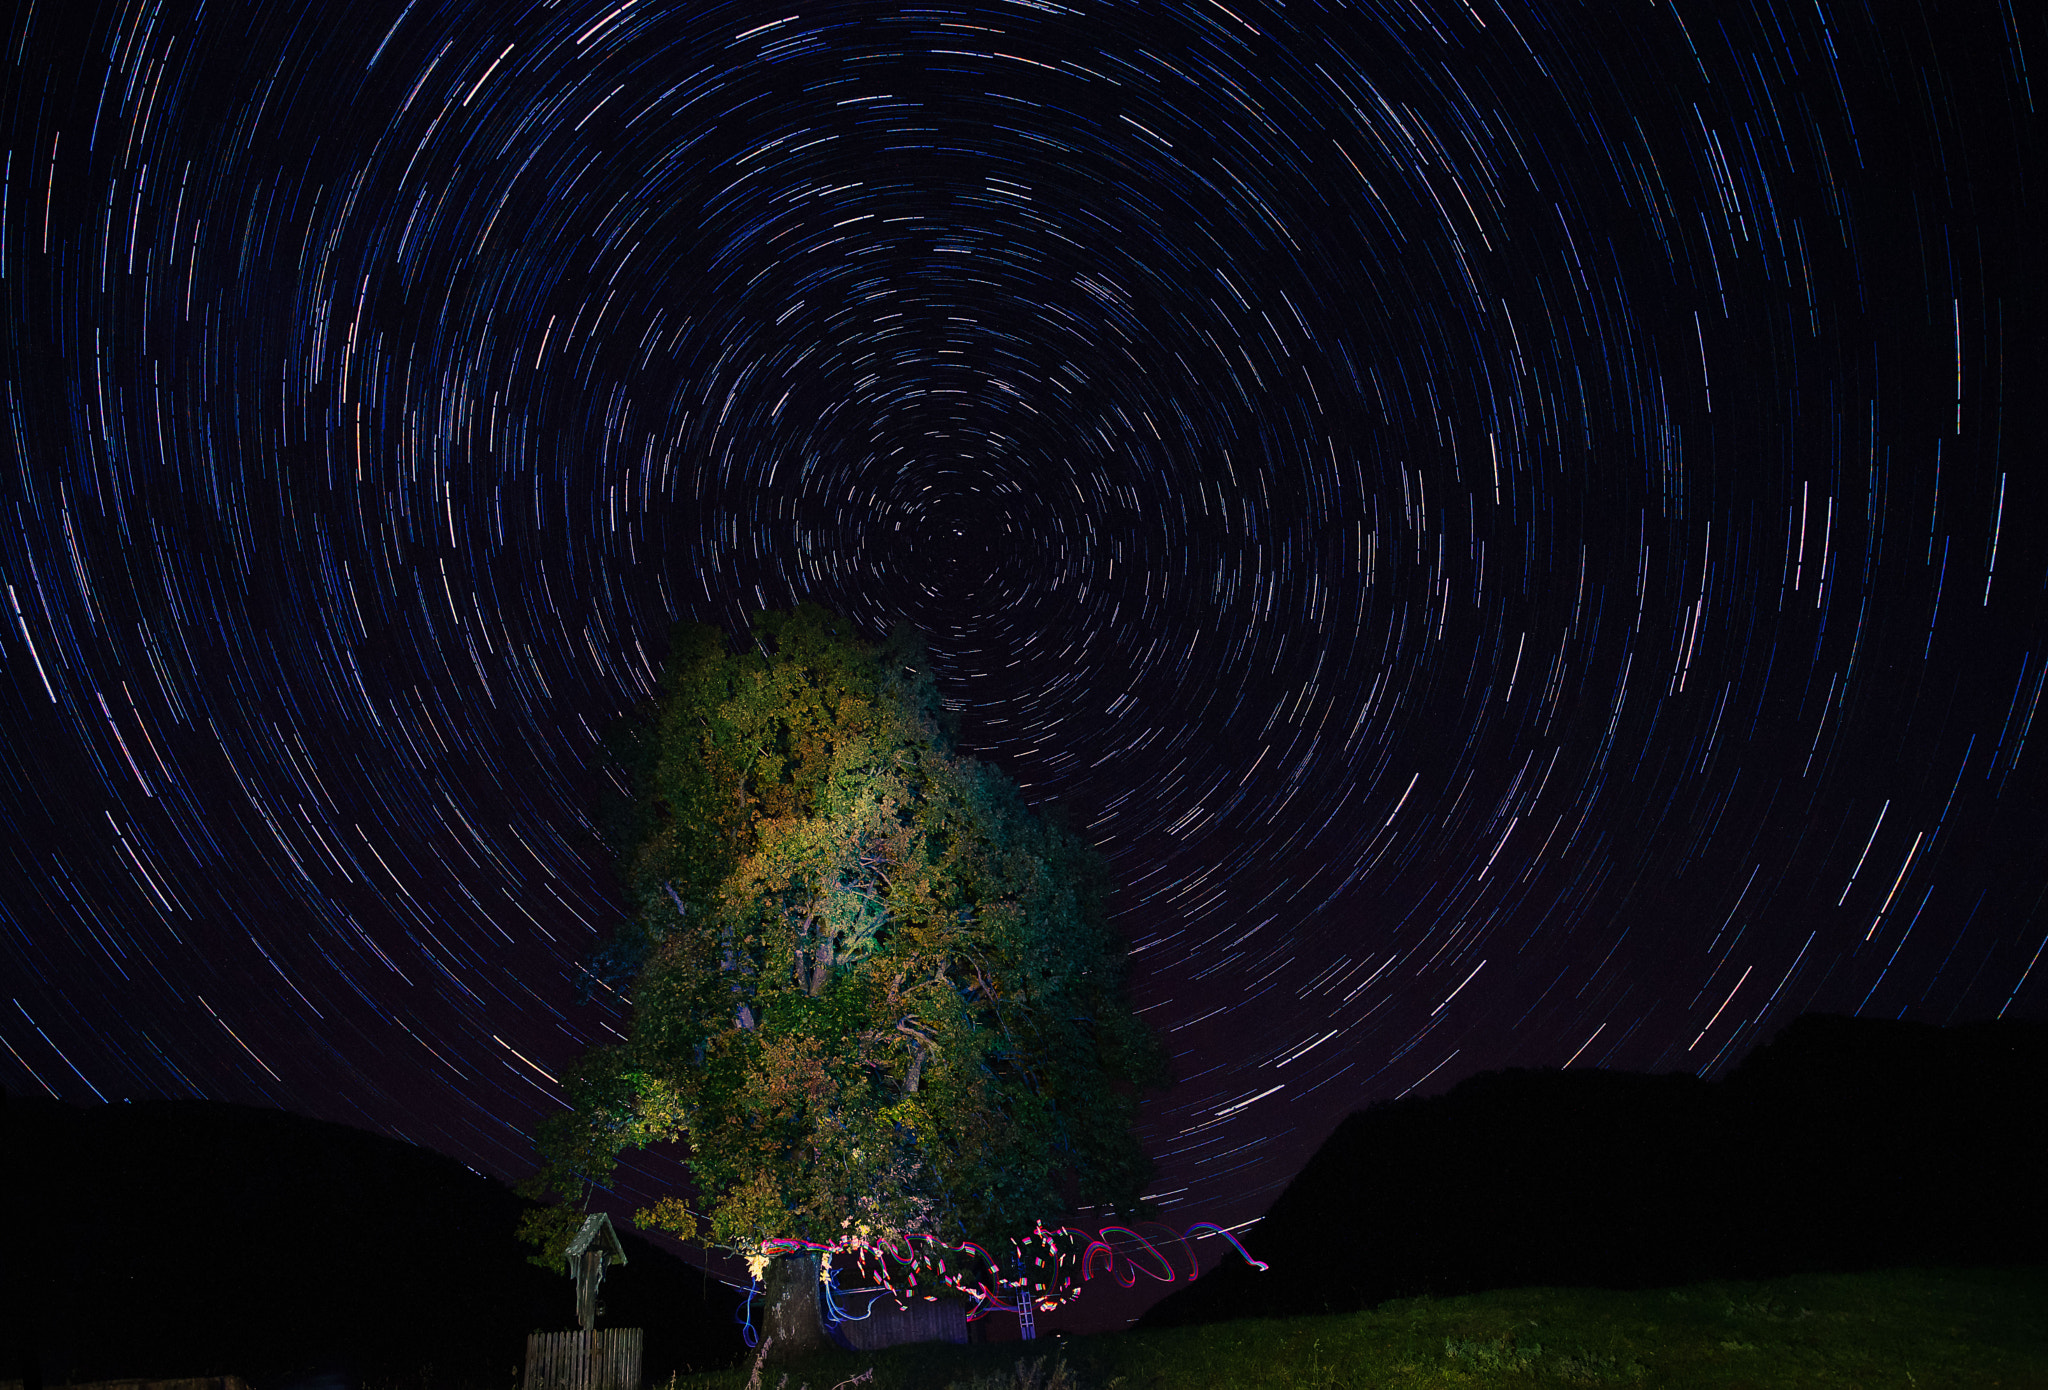
Imagine photographing the Milky Way at ISO 100. Your image will likely be extremely dark. To make it usable, you’ll have to dramatically brighten it later during editing.
The result?
You’ll often reveal just as much noise—and sometimes even more—than if you had simply used a higher ISO in the first place.
The real problem isn’t high ISO.
The real problem is underexposure.
Why Experienced Night Photographers Use Higher ISO Values
If you look at the settings used by experienced Milky Way photographers, you’ll commonly see ISO values between 1600 and 6400.
That doesn’t mean they’re ignoring noise.
It means they understand that a properly exposed image at ISO 3200 is usually far better than a severely underexposed image at ISO 100.
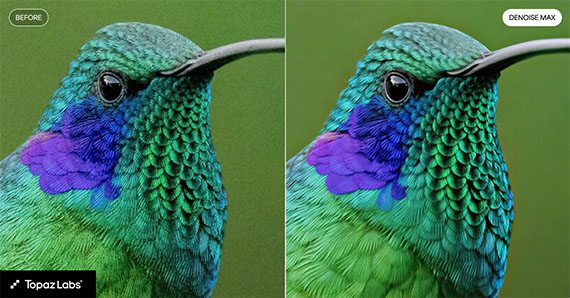
Modern camera sensors perform remarkably well at higher ISO settings. Combined with today’s noise reduction software, moderate ISO noise is often much easier to manage than trying to recover detail from extremely dark shadows.
Focus on Capturing Enough Light
The goal of night photography isn’t to use the lowest ISO possible.
The goal is to capture enough light.
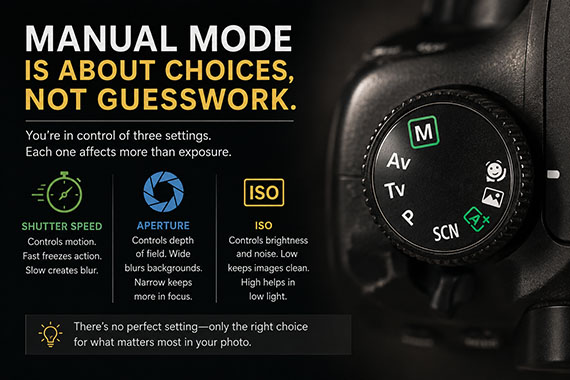
A good night photography exposure typically involves:
- Using the widest practical aperture
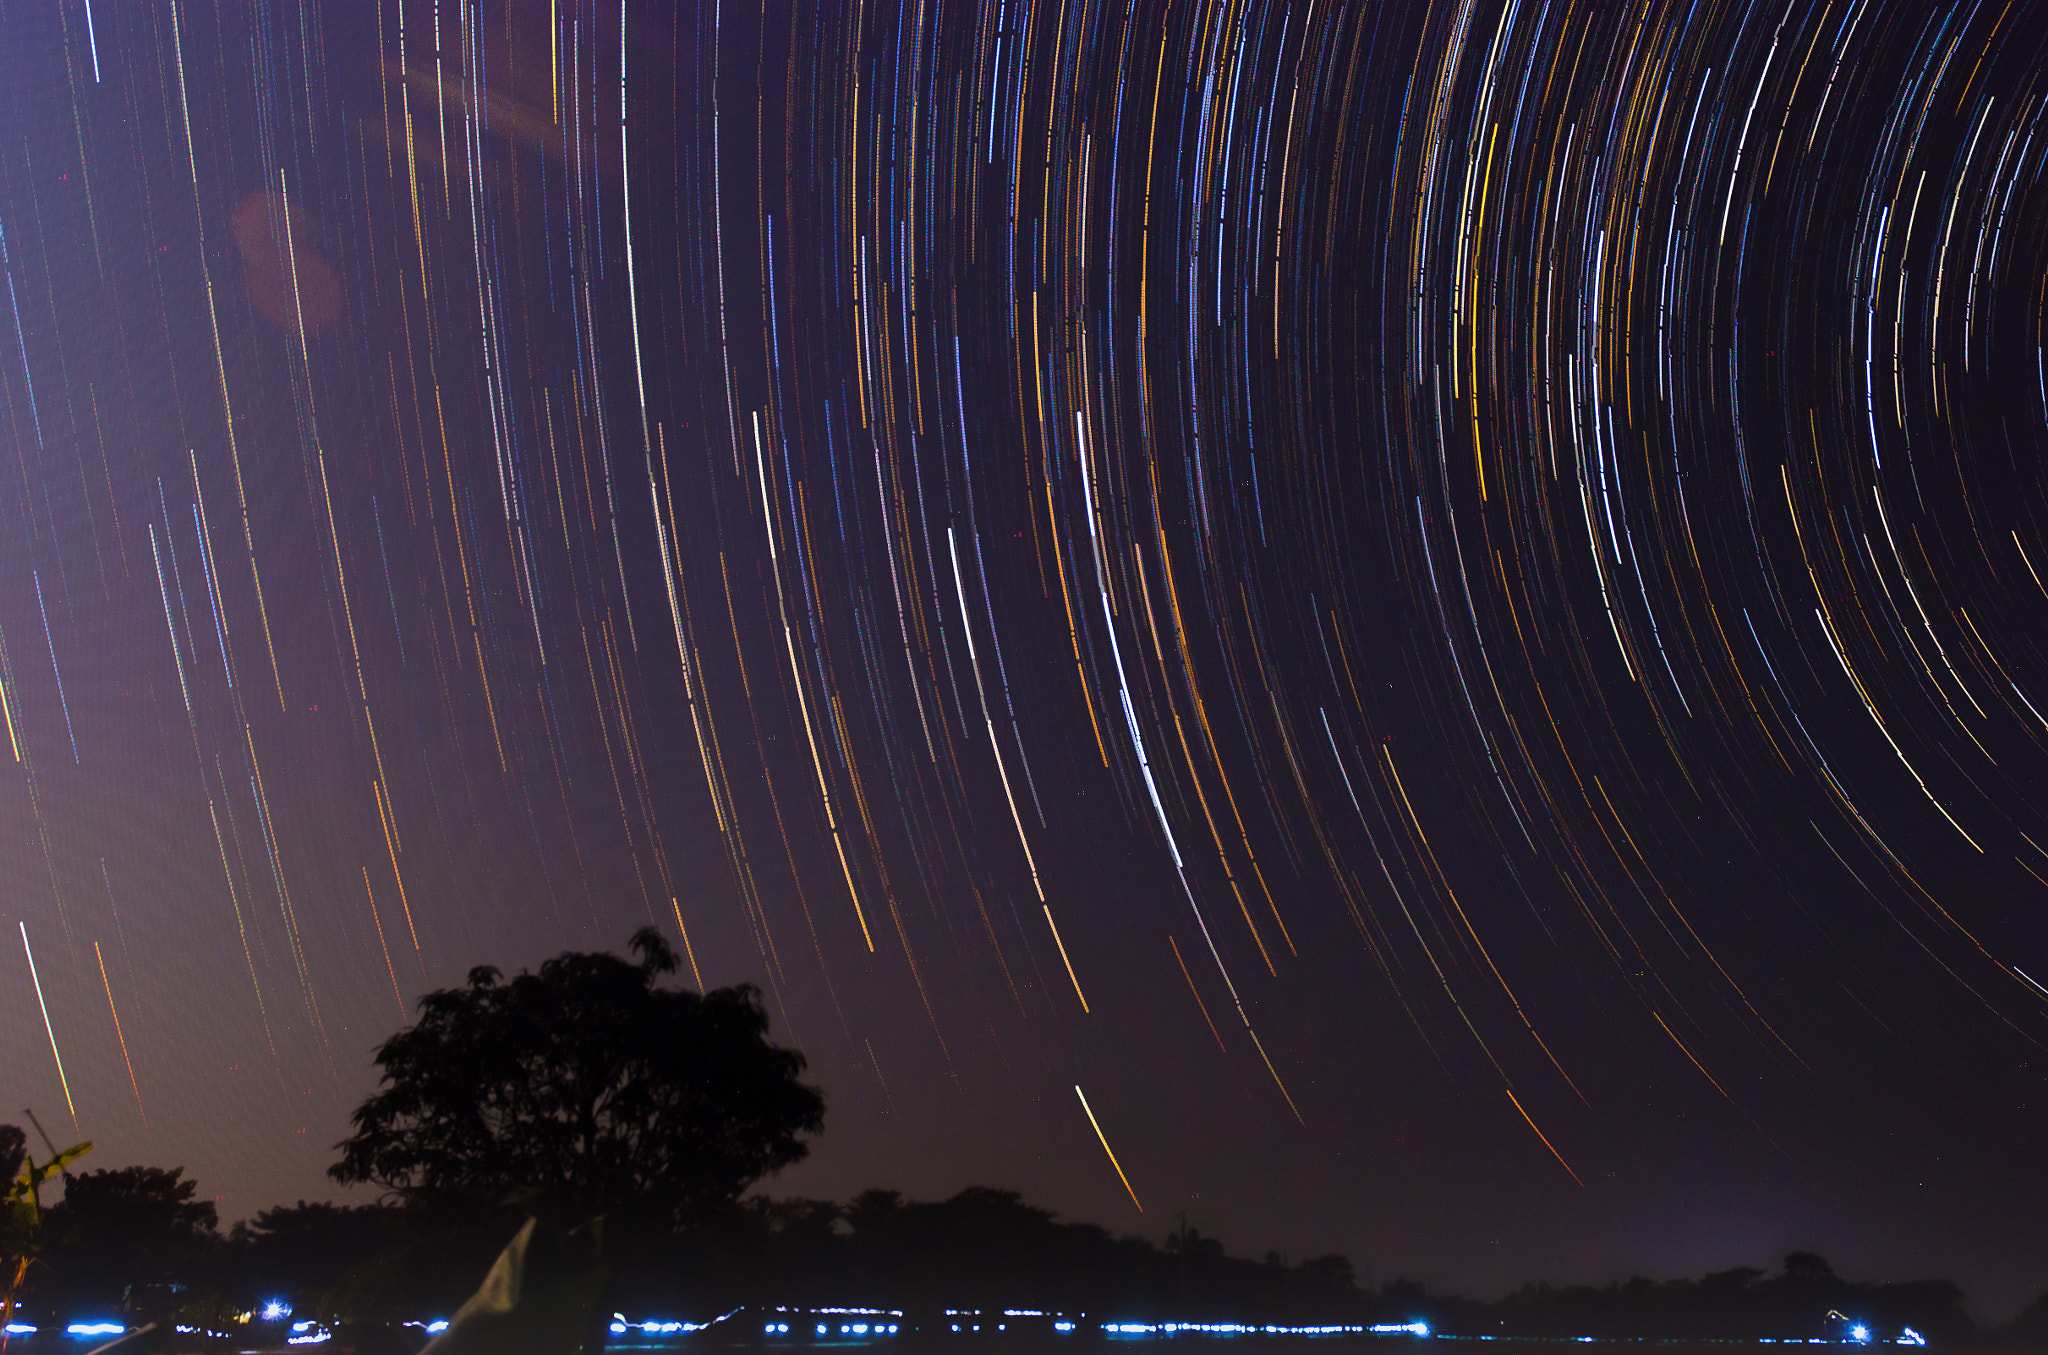
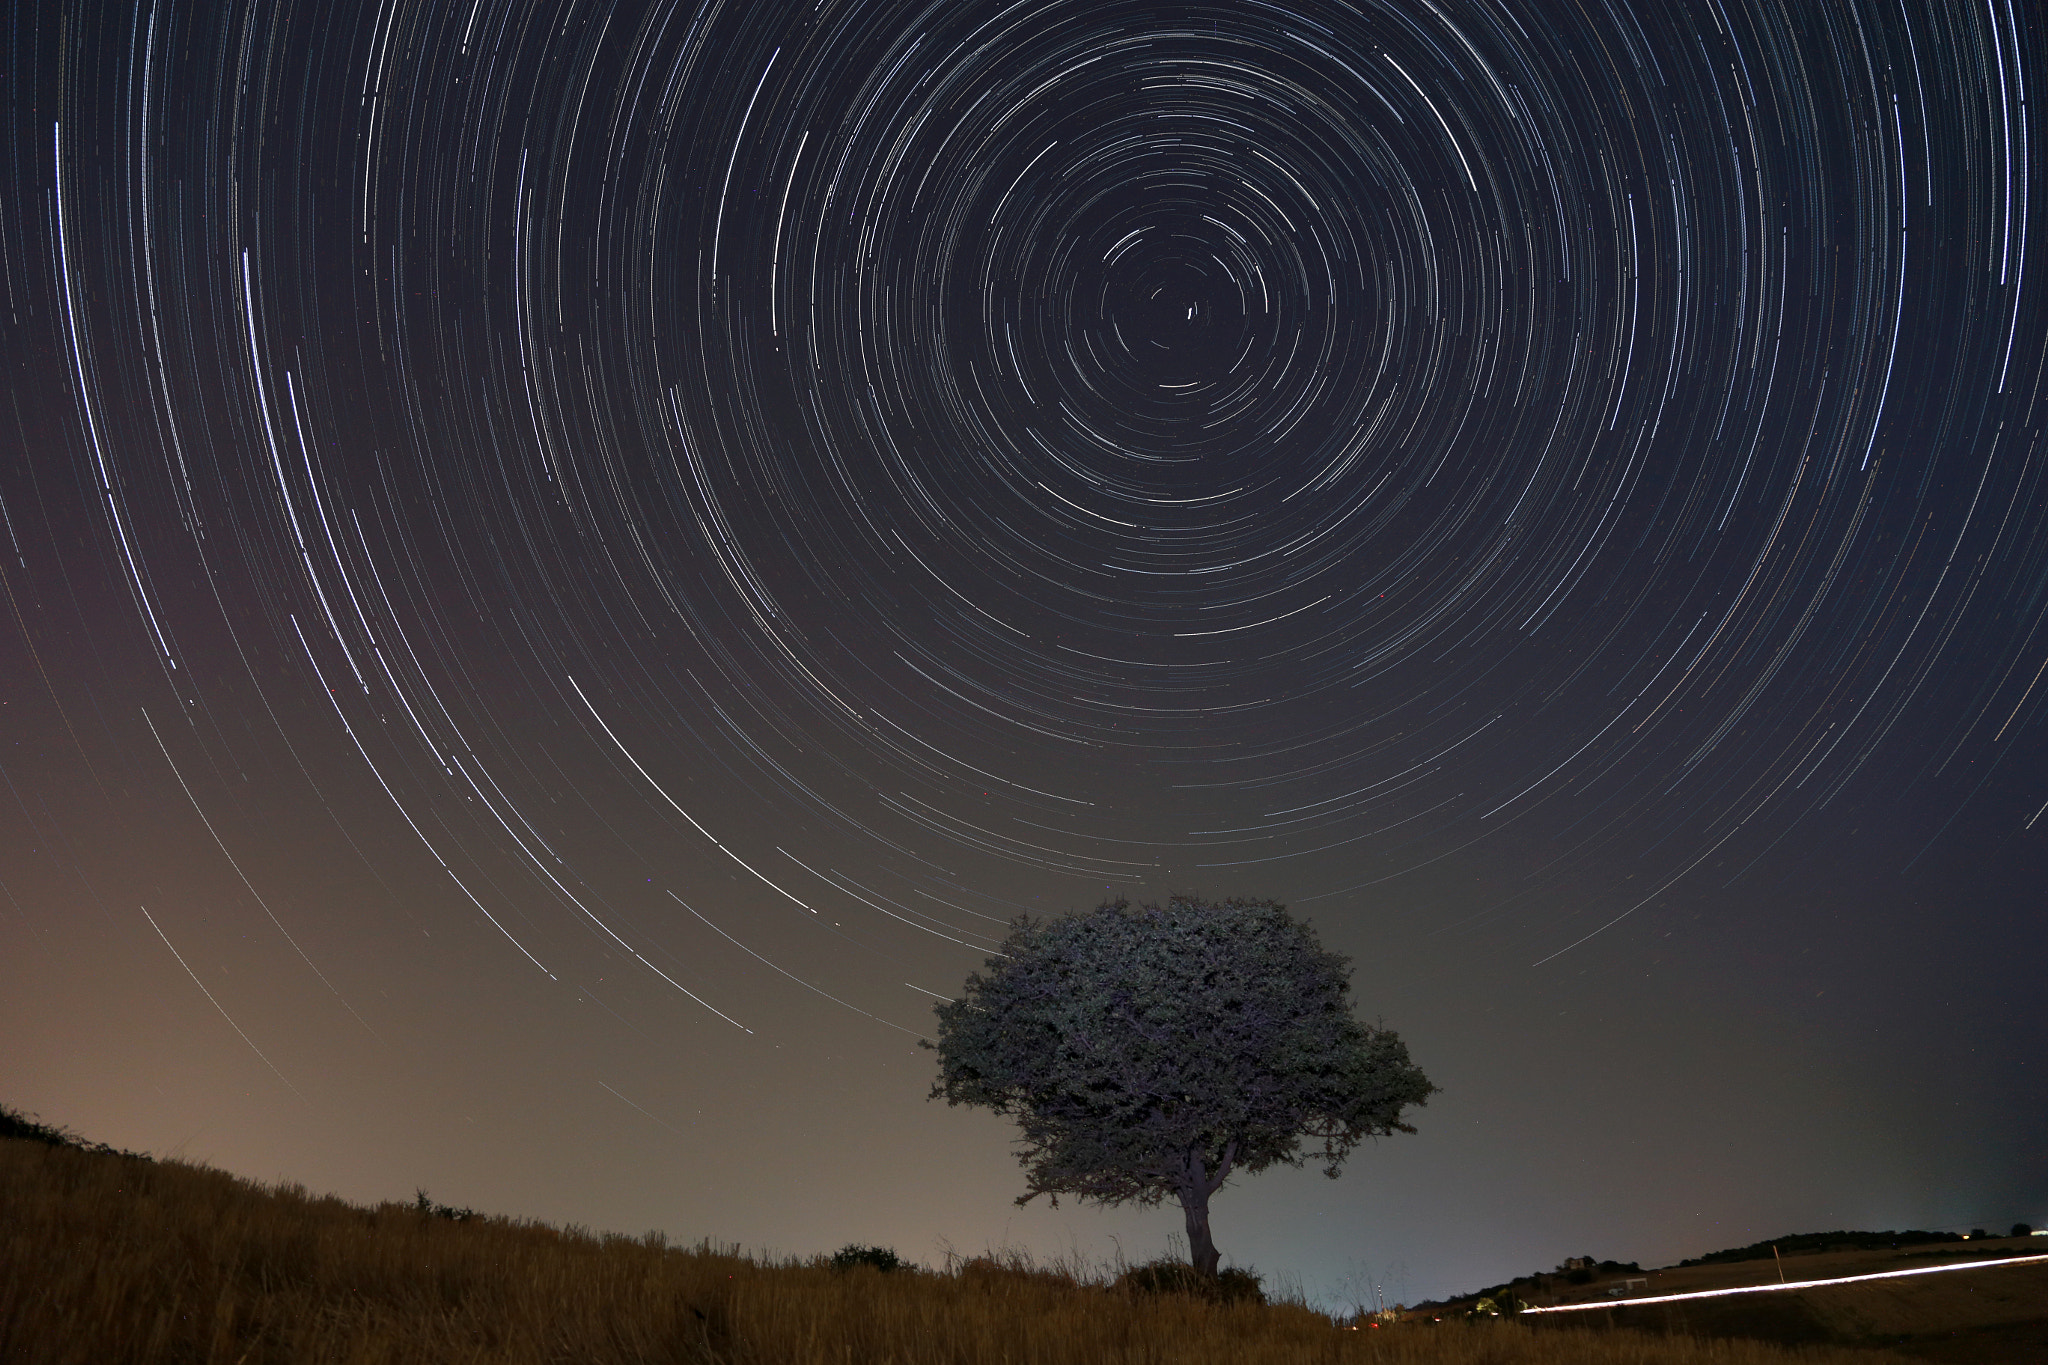
- Using the longest shutter speed that avoids unwanted blur or star trails
- Choosing an ISO high enough to produce a healthy exposure
When those three factors work together, you’ll generally achieve better image quality than obsessing over a specific ISO number.
There Is No Perfect ISO
Photographers often ask, “What’s the best ISO for Milky Way photography?”
The answer is that it depends on your camera, lens, sky conditions, and exposure settings.
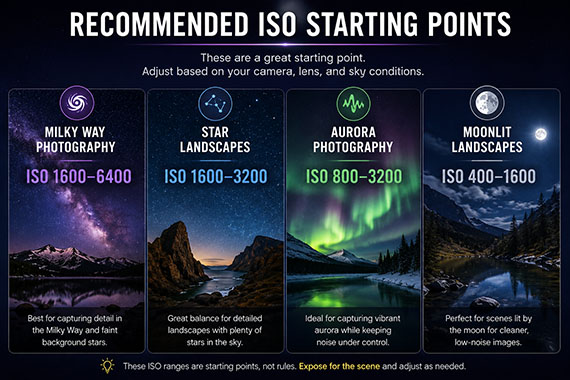
As a starting point:
- Milky Way photography: ISO 1600–6400
- Star landscapes: ISO 1600–3200
- Aurora photography: ISO 800–3200
- Moonlit landscapes: ISO 400–1600
The important thing is understanding that these values are tools—not mistakes.
The Bottom Line
One of the biggest breakthroughs in night photography comes when you stop worrying about keeping ISO as low as possible.
A properly exposed image at ISO 3200 will often look significantly better than an underexposed image at ISO 100 that requires heavy editing later.
Instead of asking:
“How low can I keep my ISO?”
Ask:
“Am I capturing enough light?”
That simple shift in thinking can dramatically improve your night photography results.
And if you’d like a complete guide to capturing better Milky Way images this season, don’t forget there is now only 1 day left to get the Milky Way Photography Field Guide during the Core Season Sale (70% off). The guide covers planning, camera settings, focusing techniques, composition, stacking, editing, and much more. With Milky Way season underway and the sale ending tomorrow, this is your last chance to save before the price goes back up.
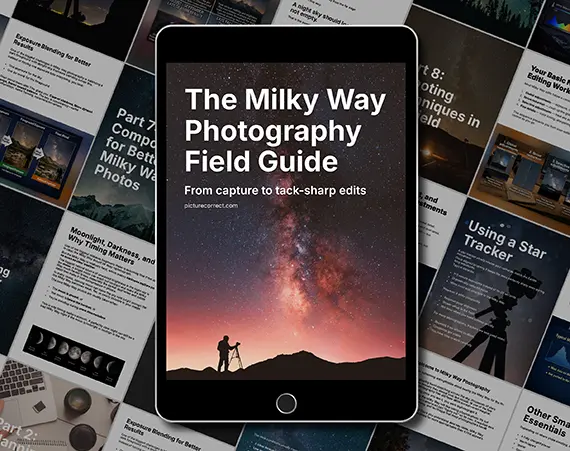
It walks through:
- Exact camera settings that work in real conditions
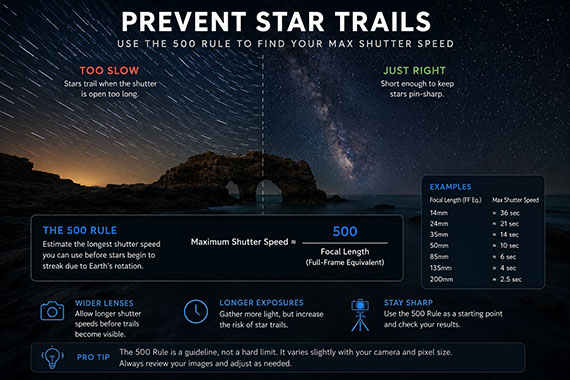
- How to avoid star trails, including the 500 Rule and beyond
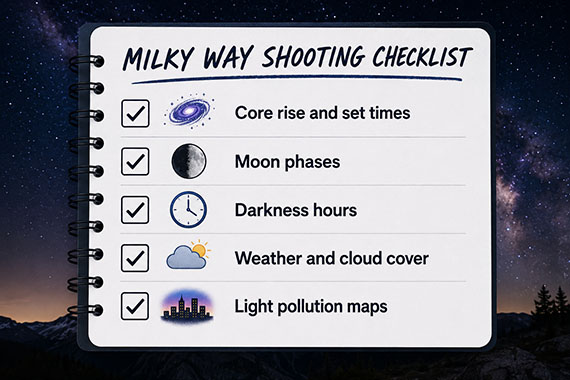
- Planning when and where the Milky Way will appear
- Step-by-step shooting workflows in the field
- Editing techniques to bring out detail without overprocessing
Only 1 day left: The Milky Way Photography Field Guide at 70% Off
from PictureCorrect https://ift.tt/3PsFYWR
via IFTTT


 Golden Spring Sale


 —built to help you get sharp, detailed results without guesswork.
 Spring Sale


 with 70% off
 Core Season Sale
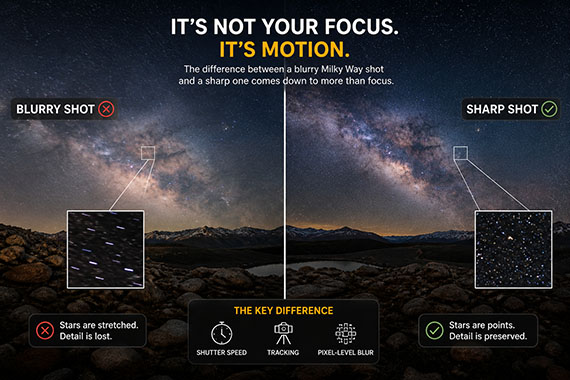
 Get a cheat sheet on both the

