At this time of year, many of the world’s cultures and religions celebrate holidays that involve lights. While the use of lights and candles is often explained in terms of the rites of the particular culture, most scholars agree that the lights came first; the explanations followed. After all, since humans gained control of fire, light has been used to illuminate the darkness – especially, during the depths of winter – rather than curse it.
Relevant reminder: only a little while left for the Luminar Neo Holiday Sale

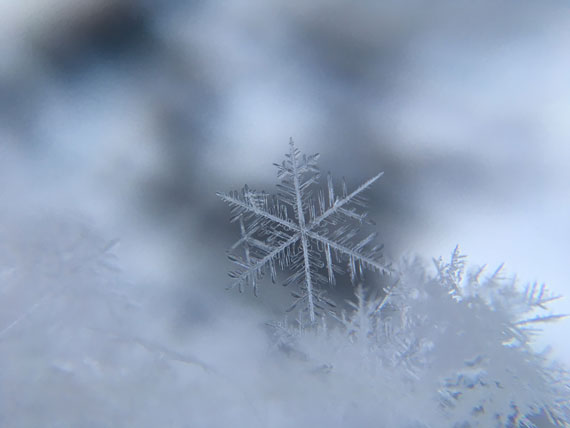
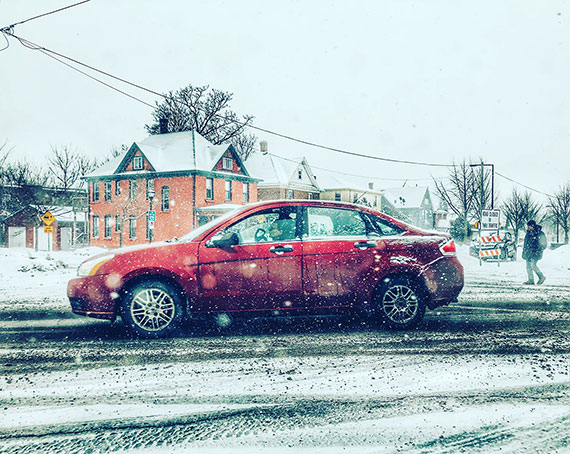
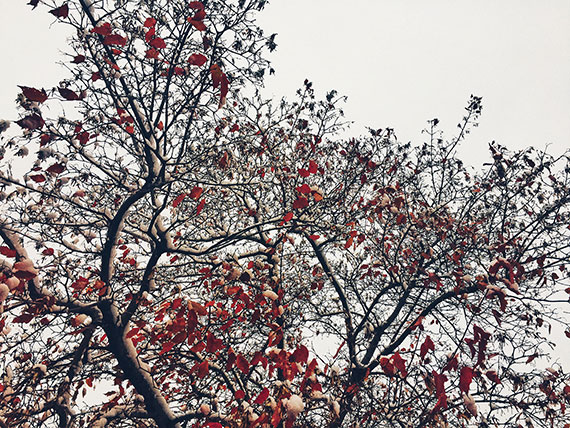
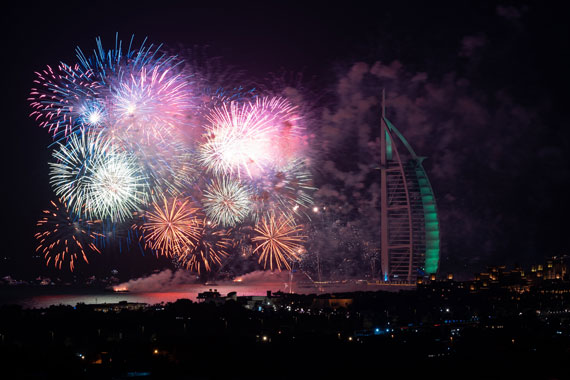
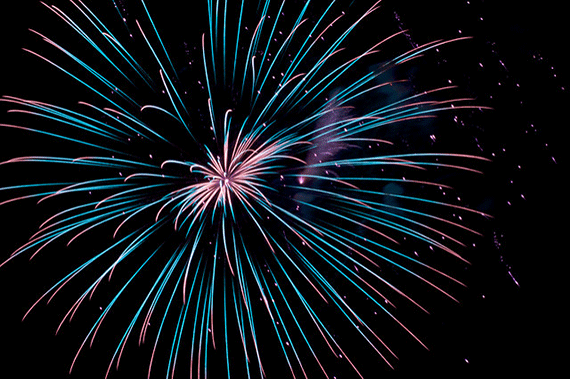
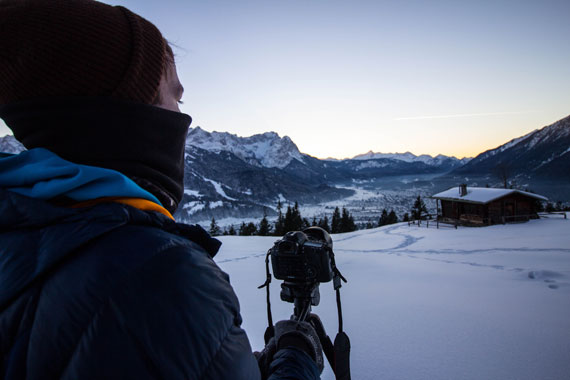
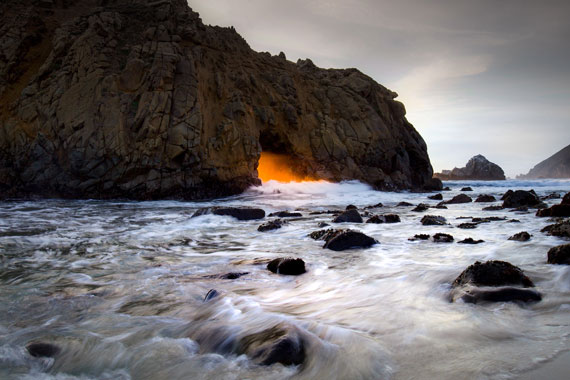
Photo by kennysarmy; ISO 100, f/16, 20-second exposure.
Christians explain the candles, tree lights, and Yule log in terms of the birth of Christ and the Star of Bethlehem. The impact of these lights – if not the explanation – is so powerful that even modern-day Buddhist and Shinto Japan is ablaze with lights and decorations at “Christmas time.” And, in the same dark days of the winter solstice, Hanukkah is the “Festival of Lights” celebrated by Jews around the world.
Years ago, taking great photographs of holiday lights was difficult because the films of yesteryear weren’t very sensitive. They had difficulty recording an image in the low-light of a candle, for example.
This is no longer the case as technology has solved these problems. Many DSLRs or Mirrorless cameras can be set to ISO 800, 1600 and even higher settings with little noise.
In addition, most photographers today rely on auto-exposure with their point-and-shoots or SLRs. Unlike the light meters of old, which were often “fooled” by low-light situations, today’s meters in auto-exposure cameras are able to give good readings even in low light.
This is an important point because holiday lights usually look their best when shot without added light. In fact, this is Rule One when it comes to getting good pictures of lights: Turn off your flash. Let’s repeat that: For most pictures of holiday lights, turn off your flash!
Note that we said “most.” There are a few occasions when you will want to add light, but usually you won’t. So this brings us to the question: When should you use your flash, and when should you avoid it?
Now, let’s remember one important point if you’re taking a picture without flash: You’re probably going to need a slow shutter speed. This means you may need to mount your camera on a solid unmoving surface to avoid camera-shake. A tripod is best.
When else might you want to use your flash? Let’s say the subject of your picture is your kids under the tree. How are you going to light their faces? On the one hand, you may find that the Christmas-tree lights are sufficient and give a very soft glow to their cherubic expressions. Or maybe it is Christmas morning, and they are lighted by window-light that is streaming into the room. In these cases, you don’t need your flash. But, on the other hand, maybe you don’t have enough light to really see their faces. Then you may have to use your flash. How do you know which way to go?
One approach is to shoot both ways, then select the better image. We think a better way is to plan ahead and meter your subject. Remember that Guideline One of the Three NYI Guidelines for Great Pictures is to decide on your subject before you do anything else. You can learn this at the photography school. In this case, you’ve decided that the subject is the faces of the kids. Guideline Two is to draw attention to your subject. One method of drawing attention is to make sure your subject is well-exposed. So meter the light that falls on their faces from the lighted tree. Get in close and meter just the faces! If there’s enough available light for a well-exposed picture, shoot it. If not, use your flash.
Now let’s move outdoors. Outdoor photo subjects include elaborate lighting and decoration on houses, stores, and streets. Again, if you want to capture the lights themselves, don’t use your flash. One other tip for outdoor lights – you’ll get the best results when you shoot at twilight. That way, you’ll capture some color in the sky, rather than the pitch-black tone that will be recorded on film later at night. But what if you want to take a picture of your friend in front of a brightly lit display?
You want to capture both the bright lights and your friend. If you use flash, you get your friend, but you’re in danger of minimizing the bright lights behind. On the other hand, if you don’t use flash, you get better detail of the lights but your friend is reduced to a silhouette.
There’s an answer. Many of today’s point-and-shoot cameras both film and digital have a funny-looking setting that looks like a person with a star in the background.
This setting tells the camera that you want the flash to fire (which will light your friend in the foreground), but that you also want the lens to stay open long enough to record the lights in the background. In fact, the symbol for this setting on many cameras is sort of a hieroglyph that tries to indicate “person at night in front of lights.” Your solution to getting light on your friend’s face and capturing the light display is to use this setting. The flash exposes the face. The long exposure captures the lights.
But, again, watch out here. The long exposure – typically, one-quarter of a second long – requires that you steady your camera to avoid camera shake. Once again, we advise you to use a tripod.
So, to take great holiday photos in this season of lights, we offer you these four tips we explore in our photography classes:
- Turn off your flash unless you have a very good reason to use it.
- Use a fast ISO – we suggest ISO 800.
- Avoid camera shake.
- Use a tripod…or, at least, brace the camera. Trust your camera’s built-in meter.
Some Special Considerations
Digital ISO
Amplifying a digital signal is like turning the volume up on your radio as loud as it will go. At the maximum volume every hiss, pop, and scratch is heard and, depending on the quality of the equipment, quality is diminished. The same thing happens in a digital camera. When the ISO setting is increased, every image artifact and defect is magnified.
To achieve the best image quality, you might try working with a slower ISO setting to start. If you are having trouble getting a good exposure, increase the ISO as needed. You might even try using the Auto ISO setting and see how the camera chooses to handle exposure.
Digital Noise
Regardless of the ISO setting chosen, most inexpensive digital cameras produce “noise” during long exposures. Noise is caused by the small electrical disturbances that are present in every electrical system. In order to capture a weak light signal, such as a subject in low-light, longer exposures are usually needed. The longer a digital camera shutter is open, the more electrical noise is recorded as well.
So, it seems we have a double-edged sword.
- Increase the ISO to achieve faster shutter speeds and you will amplify noise and other image problems.
- Reduce the ISO and shutter speeds are slower. As a result, you will record inherent noise that might not be seen in a “normal” exposure.
Limited Dynamic Range
To make things worse, digital cameras have a limited dynamic range. Image sensors are only sensitive to a specific range of brightness. Anything outside of that range is recorded as pure white or pure black. This can result in an image without shadow or highlight detail.
Solutions
Here are a few ways to solve these problems. Noise can be reduced with software. In fact some cameras offer in-camera noise reduction features. Proprietary software is used exclusively, yielding uneven results. Test your camera’s capabilities before committing to this feature. There are many noise reduction software products on the market today, some as stand-alone applications and others which are plug-ins that work in conjunction with your favorite image editor. This means you can select a camera with noise reduction or address any problems later in the digital “darkroom.”
Timing is Everything
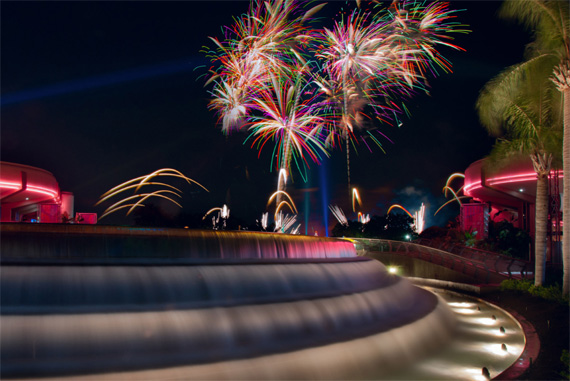
As we noted earlier in this article, when shooting holiday lights outside, I find that the best exposures can be made at twilight. Twilight is after the sun has set but before the dark of night. This fleeting balance of light and shadow will yield the brilliance of the lights while maintaining details in the shadow. Don’t underestimate shadow detail to help establish your composition. Consult your camera’s manual for details on your white balance options and how to adjust them. In the finished photo the viewer will perceive the twilight photo to be taken at night.
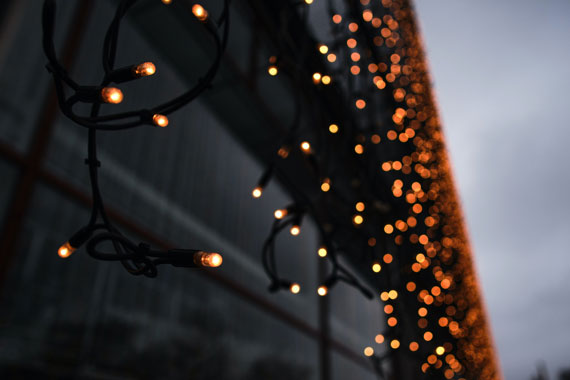
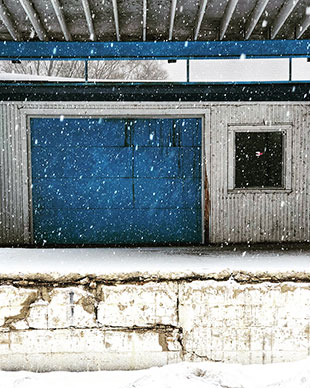
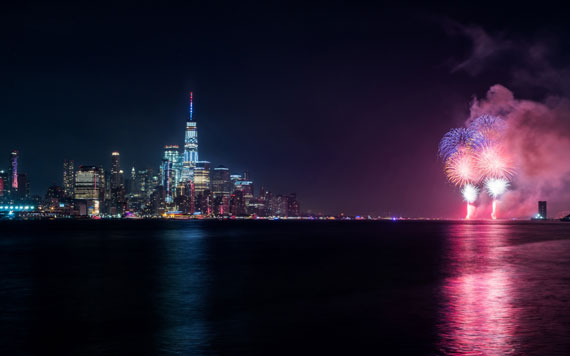
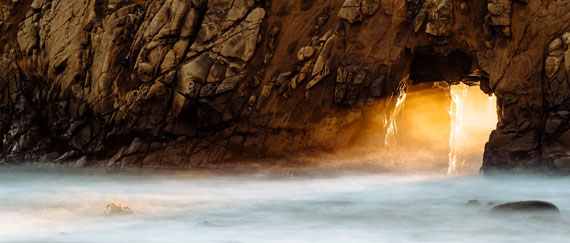
Photo captured by Tim Schmidbauer
When shooting holiday lights inside, try turning on lights in the room to increase the ambient light, rather than using a flash. Flash can produce a harsh, high-contrast quality that obliterates the brilliance of the light. A carefully positioned incandescent light can increase the ambient light without overpowering your holiday lights.
Shoot Two Exposures
One way to extend the tonal range of a digital image is by making two exposures of a scene. Shooting in Manual mode, make one exposure configured to capture the best highlight detail. Make a second exposure to capture the best shadow detail. Then combine the two exposures in Photoshop as separate Layers. Using the Eraser tool remove poorly exposed areas to reveal detail and take advantage of the best parts of each Layer/exposure. Using this technique you could extend the tonal range well beyond the possibility of any single exposure made with the same camera. Of course this requires a strong tripod to ensure both compositions match perfectly. Consider using a remote control to reduce the possibility of camera movement.
Accomplished photographers may also create two separate images’- one favoring highlights, the other shadows’ – from a single RAW file.
Turn Off Automatic White Balance
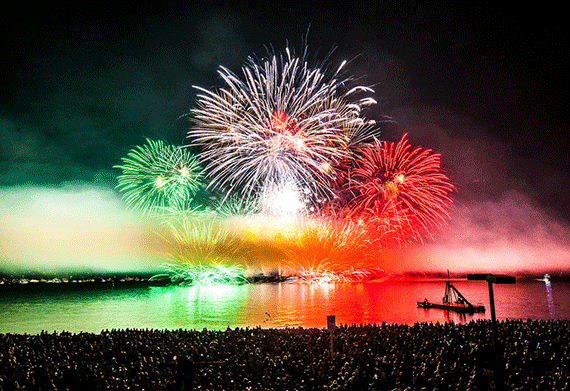
In many photographic situations white balance is a godsend. By automatically neutralizing extreme color casts, believable digital color is rendered without breaking a sweat. It is important to remember, not all photos require white balance. Tone down the rich, saturated colors of a sunset and you’re left with nothing. Attempt to white balance a fireworks display and you end up with dull lifeless, de-saturated bursts and streaks of light. Holiday lights should be treated similarly. By turning off the auto white balance feature you are sure to capture the exaggerated colors the holidays have to offer.
You could try turning off white balance altogether or even experiment with any of the other manual settings to find a color balance that suits your visual needs. Either way is a better bet than giving the decision to the camera.
Test, Test, Test
The immediate feedback of digital photography begs you to test your exposures to determine what works best. Take advantage of the metadata that most digital cameras embed inside every digital picture you make. Metadata can include camera make and model, exposure, flash, white balance and other important information that can help you to determine what works and what doesn’t work. This means you don’t even have to take notes! To access your digital image metadata, open a file in Adobe Photoshop.
Choose File > File Info. The File Info dialog box appears. Select the Camera Data option on the left side of the screen. The Camera Data screen reveals shutter speed, aperture, ISO settings, lens focal length, flash settings and even the metering modes. Holiday lights are usually around for more than a couple of days each year, take advantage of this by shooting early in the season and then re-shooting if you have too.
About the Author:
Chuck DeLaney has been a professional photographer for over 30 years. Since 1998 he has been the director of the NYIP, America’s oldest and largest photography school. DeLaney has taught photography classes in colleges, community programs and institutional settings. In addition to teaching, he has written two books about photography and written hundreds of magazine and Web articles also.
For Help with Photo Editing, Holiday Deal Ending Soon:
Skylum recently updated the Luminar Neo Photo Editor, an image editor designed to empower visual storytellers and bring their boldest ideas to life. They designed Luminar Neo with input from working photographers, artists, and colorists. Deal ending soon for a holiday sale if you want to explore it.

Luminar Neo Holiday Sale
An all-new editing engine drives Luminar Neo, making it possible to apply multiple tools to an image without significant performance loss. Luminar Neo allows for complex layering of several raw images. The new Luminar engine enables Skylum to further optimize and refine the entire image-processing pipeline.
Offer ending soon: Luminar Neo Photo Editor Holiday Sale
- - - - - - - - - - - - - - - - - - - - - - - - - - - - - - - - - - - - - - - - - - - - - - - - - - - - - - - - - - - - - - - - - - - - - - - - - -
Photography, like any art or skill, thrives on consistency. The journey to becoming an adept photographer is paved with regular practice. Learn how PictureCorrect Insiders can help.
- - - - - - - - - - - - - - - - - - - - - - - - - - - - - - - - - - - - - - - - - - - - - - - - - - - - - - - - - - - - - - - - - - - - - - - - - -
This post Christmas Light Photography Tips appeared on PictureCorrect.
from PictureCorrect https://ift.tt/pSUKqRe
via
IFTTT


 Christmas Sale wrapping up soon on the popular