lauantai 31. elokuuta 2019

PictureCorrect.com: Stray Light and Lens Flares in Photography

A camera lens is made up of several elements—pieces of special glass ground to a specific curve according to computer calculations. Each element directs light in a particular way and corrects aberrations caused by other lens elements. A telephoto lens may have from 10 to 20 elements.

photography and flare

photo by Marketa

Usually, elements are joined together with optically clear cement in groups. Rare earth components and minerals are used to make each element perform its task efficiently, and these elements are coated with high quality anti-reflective coatings. It’s a highly complex and expensive process, yet in spite of all the research the perfect lens has to date not been made.

What Causes Lens Flare?

If a very bright light from outside the subject hits the glass, the reflections can cause a range of major image effects. These include washed out color, loss of contrast, bright shapes in the image, often polygonal, the shape of the diaphragm. It’s not unusual to see bright streaks as well. The name for these occurrences is lens flare, which can occupy a large portion of the image area. Because flare is much brighter than the subject it tends to pull the viewer’s eye toward it, sometimes losing the impact of the picture.
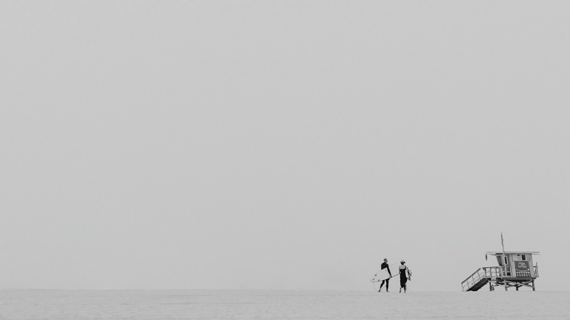
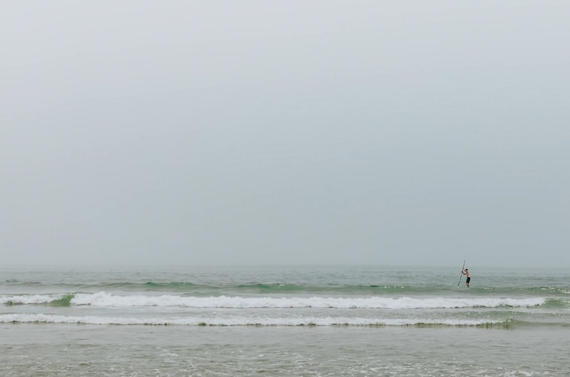
water with lens flare

photo by Mark

Is the sun the only cause of flare?

It’s the most common one, but any source of bright light will do it. So you could get a street light, car headlight, even the full moon in a night shot. The light source does not have to be in the frame, but any stray light just outside it can cause an obvious effect. Efficient, modern anti-reflective coatings are great, but they will not stop all flare.

bright light flare

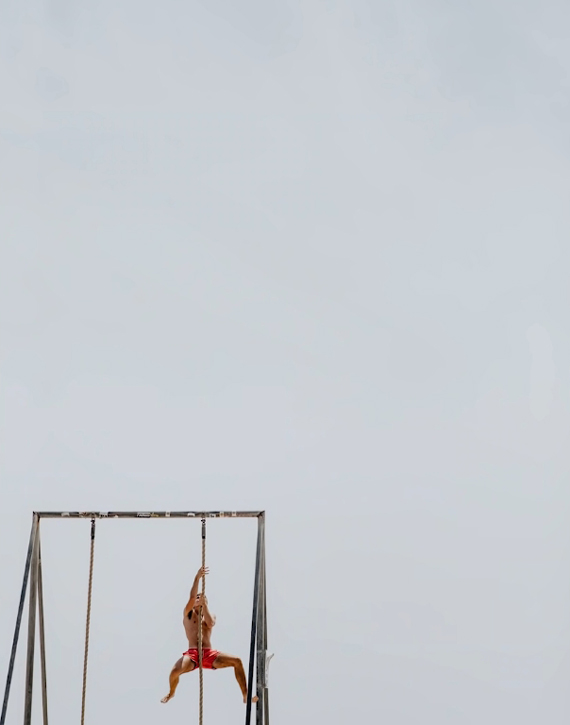
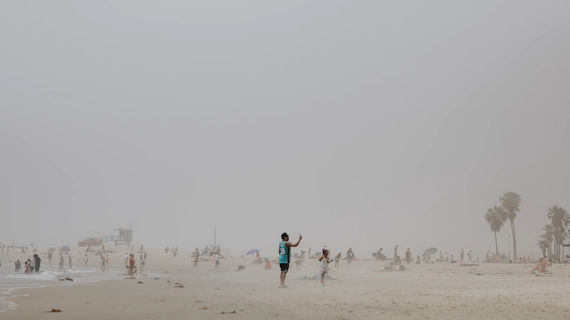
photo by Will Foster

What if I want to avoid lens flares?

Make sure the lens is shielded from bright light outside the picture area striking the front element. Ways to do this include using the black hood that came with your lens. This fits over the front and provides a protective barrier. No hood? Use your hand (make sure it’s not in the picture). A piece of card (often called a ‘flag’ in this application) or some object between the lens and the sun—a tree, post or other object to avoid a direct hit on the lens—usually works.
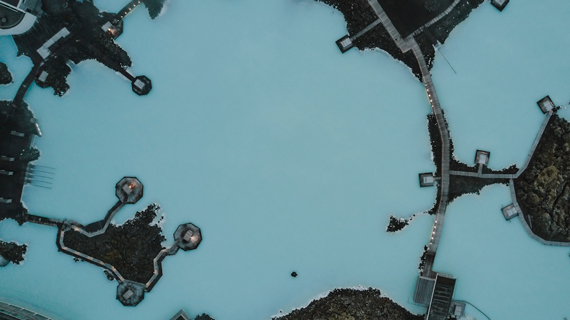
landscape with sun flare

photo by Mitchel

Any precautions in using a lens hood?

Mainly, be careful they don’t appear in the picture. Zoom lenses give more problems than fixed focal length lenses, because as the angle of view widens, the chance of getting the edge of the hood in the picture is greater. Therefore the supplied lens hood with a zoom lens is designed for the widest angle of view. As you switch to a longer focal length the use of an extended hood is possible. Of the round and petal shapes, petal shapes are better because the hood is designed to match the oblong shape of the sensor.

When is flare acceptable?

Artistic effects such as creating drama, a feeling of realism, in a silhouette, are all possible subjects where flare could help. Bright rays shining through trees—the early morning feeling—is an example of the so called veiling flare. This washes out color and contrast too but adds to the impression.

A word of warning. Use manual focus and experiment. Auto focus tends to latch onto the brightest part of the subject, which won’t be your intention with this kind of photography. You will need to look at the result to see if you’re getting the effects you want.

portrait with lens flare

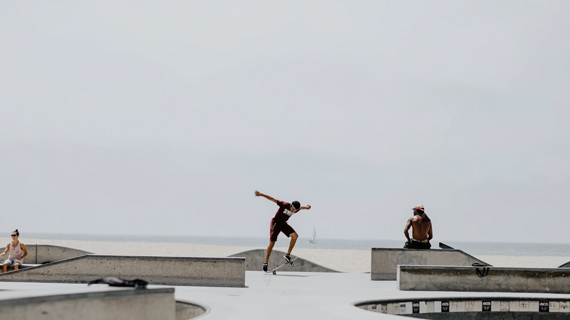
photo by Mustafa Sayed

Everything depends on your original intention and perception, as in all creative work, as to whether the effects are good or bad. Used effectively, flare is a good way of expressing a feeling of light and airiness, drama, morning, hope, freedom, amongst others. The best way is to achieve it is to go try it. Get out of bed early. Meet the sunrise, find a subject, put the light just outside the viewfinder and experiment. You may surprise yourself. And if you miss it you can always add it in later in software. (But the real ones look better.) Happy shooting.

About the Author
John Rundle is a professional photographer and recently retired head of photography at the Australian International College of Art. He teaches workshops on photographic topics in Australia and New Zealand. He is also active as a musician and musical director.


Go to full article: Stray Light and Lens Flares in Photography

What are your thoughts on this article? Join the discussion on Facebook

PictureCorrect subscribers can also learn more today with our #1 bestseller: The Photography Tutorial eBook

The post Stray Light and Lens Flares in Photography appeared first on PictureCorrect.


from PictureCorrect https://ift.tt/34knVkj
via IFTTT

PictureCorrect.com: Interesting Photo of the Day: Glow Sticks Dropped Down a Waterfall

There are no limitations when it comes to lighting a subject, or on what to light them with. Sean Lenz and Kristoffer Abildgaard dropped colorful high-powered Cyalume glow sticks into a waterfall and photographed it with a long exposure. The result is truly stunning:

A long exposure of glow sticks dropped into a waterfall.  (Via Imgur. Click to view full size.)

The duo photographed a series of waterfalls around Northern California, now part of a collection titled “Neon Luminance.” Lenz and Abildgaard would drop in individual glow sticks or string several together to create different patterns of light, with exposures lasting anywhere from 30 seconds to 7 minutes.

For those of you with the environment on your mind, the photographers say the glow sticks were left intact and fished out of the stream after every session.


Go to full article: Interesting Photo of the Day: Glow Sticks Dropped Down a Waterfall

What are your thoughts on this article? Join the discussion on Facebook

PictureCorrect subscribers can also learn more today with our #1 bestseller: The Photography Tutorial eBook

The post Interesting Photo of the Day: Glow Sticks Dropped Down a Waterfall appeared first on PictureCorrect.


from PictureCorrect https://ift.tt/2Uiyq2S
via IFTTT

PictureCorrect.com: Making the Most of Negative Space for Minimalist Photos

When used correctly, empty spaces, which are referred to as negative space in photography, can help your subjects stand out. In this video, Mango Street shares some interesting tips on using negative space to create striking images:

Negative space draws more attention to the subject by simply isolating it. At the same time, negative space lets your photos breathe and also conveys a mood of solitude. When used correctly, negative space itself can be the subject of your photograph. The following are things to keep in mind when working with negative space:

1. Location

Get to a location where you can find plenty of open space or unobstructed sky. Locations like the beach, an open field, or a place where you can see hills work great.

2. Light & Time of Day

The lighting and time of day dictate the mood conveyed by the negative space. For instance, during foggy conditions, the grey negative space will convey a moody feeling.

gloomy negative space

But, if you take a similar photo during the colorful hours of sunset or sunrise, the feeling will be more joyous.

vibrant negative space

“Think about what type of light will reinforce the mood  you want for your photos.”

3. Perspective

The perspective from which you shoot plays a huge role in isolating your subjects. For instance, if you want to isolate your subjects with the sky as the backdrop, shooting from a lower perspective will help. Place your subjects on higher ground and shoot from below.

shooting with negative space from a lower perspective

On the other hand, if the ground is clear of distractions, you can shoot from a higher vantage point with the subject placed below.

negative space from a higher vantage point

4. Focal Length

The choice of focal length will entirely depend on the location and the style you’re going for. A longer focal length will let you photograph subjects that are farther away. Another advantage of using a longer focal length is that the compression will draw the background closer to the subject and make your work a bit easier.

negative space with long focal length

That doesn’t mean wide-angle lenses aren’t fit for the job. If the background is clean, you can shoot with a wider perspective to place your elements against that background.

negative space with a wide angle lens

“Experiment with what you have and find what you like best.”

5. Post Processing

If time and resources are constraints, it’s always best to get the images right in camera. By photographing in locations that are free from distractions, you’ll save yourself a lot of time. But since conditions aren’t ideal every time, you can get away with editing the images.

Use Lightroom or other similar software to adjust parameters like exposure, white balance, and contrast. But, to do more of the heavy lifting tasks like removing elements from the image, you can switch over to Photoshop. The clone stamp tool and healing brushes in Photoshop work great to get rid of distractions.

distractions in negative space

Notice the distracting elements in the background.

distractions removed in Photoshop

Distractions in the background removed in Photoshop.

In Photoshop, you can even create some extra negative space by extending the background. This works best in images that have a really flat and uniform background. Here’s how to do it:

  • Using the Crop tool, extend the crop in the direction of the background.
  • Then, select the blank extended area and hit Shift + Delete.
  • Choose Content-Aware fill and hit OK. This will do most of the heavy lifting and fill the empty space with similar content to the background.
  • If you notice hard lines along the fill, use the healing brush tool to give it the finishing touches.

image before extending background

image after extending background in Photoshop

6. Bonus Tips

Feel free to break any traditional rules of composition. Rather than investing your time in abiding by the rules, see how you can convey your message. The image below doesn’t comply with the rule of thirds but shows the openness and the vastness of the sea very well.

breaking the rule of thirds

If your subject is colorful, it will stand out better from the background.

subject with colorful prop

If there are lot of elements in your image, have the subject placed closest to your lens. This will help in directing viewers toward the subject rather than leaving them wondering.

placing the subject closest to the lens

These simple yet effective tips will definitely help you make better use of negative space to draw more attention to your subjects.


Go to full article: Making the Most of Negative Space for Minimalist Photos

What are your thoughts on this article? Join the discussion on Facebook

PictureCorrect subscribers can also learn more today with our #1 bestseller: The Photography Tutorial eBook

The post Making the Most of Negative Space for Minimalist Photos appeared first on PictureCorrect.


from PictureCorrect https://ift.tt/2MNx4MG
via IFTTT

perjantai 30. elokuuta 2019

PictureCorrect.com: How to Use Lightroom’s Graduated Filter to Improve Landscapes

Lightroom’s graduated filter is an extremely powerful tool when used with purpose. For landscape photographers there are several different things that you can accomplish with the graduated filter, and in this article we’ll look at four specific uses.

1. Replicate the Effect of a Graduated Neutral Density Filter

Graduated neutral density filters can be used to balance the exposure in situations where you have very dark and light areas in the same scene (for example, dark shadows below the horizon and a bright sky above the horizon). While using a graduated neutral density filter can be very effective, there may be times when you don’t have one with you or times when you would rather get by without one. Lightroom’s graduated filter will allow you to replicate the effect by selectively adjusting exposure.

Let’s take a look at an example. With this photo I would like to use the graduated filter in Lightroom to lighten the foreground by increasing exposure.

lightroom landscape tools

Example Image

Now, I’ll select the graduated filter tool with the keyboard shortcut “M” and add the filter so any settings that are changed will impact the bottom part of the photo.

graduated filters

Lightroom’s Graduated Filter

In this case I want to drastically lighten the foreground so I will change the exposure to +3.00.

exposure controls in lightroom

Increase Exposure

And after that change the photo looks like this.

using graduated filter in lightroom

Foreground is Lightened

So the graduated filter lightened the foreground without impacting the sky.

2. Boost Blue Skies

Improving the sky is one of the best ways to get the most out of your landscape photos. If the sky is a dull blue you can add some color with the help of the graduated filter.

boosting skies with lightroom

Example Image

I’ll add the graduated filter and get it lined up on the horizon.

enhance skies in landscape photography

Graduated Filter on Horizon

And then I’ll change the settings as shown below. Adding the blue color and bumping up the saturation will make the biggest impact, but I’ll also decrease the exposure a little, and add some contrast and clarity and bring down the highlights a little.

highlights

Settings to Enhance the Sky

And with those changes the photo looks like this.

enhancing landscape photos with graduated filter

Boosted Sky

3. Enhance Sunrises and Sunsets

Another great use for the graduated filter is to enhance the sky in a sunrise or sunset shot. Let’s take a look at this example.

enhance sunrises

Example Image

I will add a graduated filter at the horizon to impact the sky.

landscape photography sunrise enhancements

Graduate Filter for Sunrises and Sunsets

And then I’ll change the settings as shown below. This will add a purple color to the sky, increase saturation and contrast, decrease the exposure, and bring down the highlights a little.

lightroom tools for better sunset photos

Settings to Enhance Sunsets and Sunrises

And after those changes the photo looks like this.

lightroom graduated filter saturation

Enhanced Sunrises and Sunsets

4. Blur

There may be times when you find it helpful to use the graduated filter to apply blur selectively. I like to do this sometimes with photos of water, such as lakes.

With the photo below I would like to soften the water by bringing down the exposure and using negative clarity and sharpness to blur it a little.

lightroom blur

Example Image

I’ll add the graduated filter and situate it so the changes will impact the bottom part of the photo.

blurring using a graduated filter in lightroom

Graduated Filter for Blur

And then I’ll drop the exposure to -0.80 and reduce the clarity and sharpness each to -50.

blur graduated filter

Settings for Blur

And after those changes the photo looks like this.

graduated filter for blurring parts of image

Blur

These are just four examples of how you can use the graduated filter with your own landscapes and nature shots. The more comfortable you get with the tool the more ways it can be used.

About the Author:
Marc Andre is the editor Loaded Landscapes, a blog that focuses on landscape and nature photography.


Go to full article: How to Use Lightroom’s Graduated Filter to Improve Landscapes

What are your thoughts on this article? Join the discussion on Facebook

PictureCorrect subscribers can also learn more today with our #1 bestseller: The Photography Tutorial eBook

The post How to Use Lightroom’s Graduated Filter to Improve Landscapes appeared first on PictureCorrect.


from PictureCorrect https://ift.tt/2Upmuwk
via IFTTT

PictureCorrect.com: Interesting Photo of the Day: Moonlit Waterfall

Technology in photography has come a long way. The developments have allowed photographers to capture images that were once nearly impossible to take. Whether it be the focusing system, the speed, or even sensitivity, cameras have matured very well. It’s now up to photographers to decide how to use such capable systems to capture their visions. Photographer Matt MacPherson captured the following image of Palouse Falls lit only by the moon:

“Palouse Falls by Moonlight” by Matt MacPherson (Via Reddit. Click image to see full size.)

MacPherson shot this incredible image with his Nikon D810 and 16mm lens. The center of attraction definitely has to be the silky smooth water of the falls. The low light conditions allowed him to take the image using a long exposure. To capture the shape of the water body, and the surrounding landscape, he took the photograph from a higher vantage point. Doing so also allowed him to get the moon in the shot, which is the only source lighting the scene.


Go to full article: Interesting Photo of the Day: Moonlit Waterfall

What are your thoughts on this article? Join the discussion on Facebook

PictureCorrect subscribers can also learn more today with our #1 bestseller: The Photography Tutorial eBook

The post Interesting Photo of the Day: Moonlit Waterfall appeared first on PictureCorrect.


from PictureCorrect https://ift.tt/2zBf6Ei
via IFTTT