


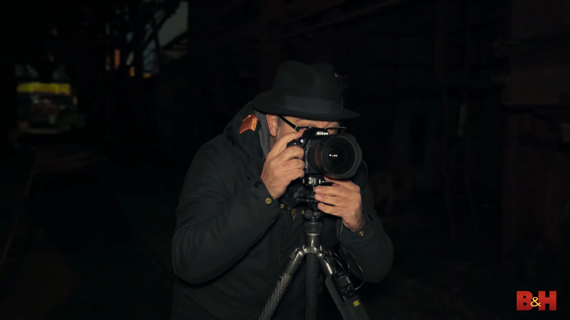
Light painting is a technique used in long exposure photography. While the shutter is open, you use a handheld light source to “paint” over areas, adding light. Photographer Gabe Biderman with B&H has put together this informative video that teaches you how to light paint:
Light Painting Equipment
You don’t need high-end equipment for light painting. Any camera that lets you have manual control over the settings will work fine. If your smartphone has a manual mode, then even that will do. And you don’t need a fast lens either. Since the shutter will be open to let light in, large apertures aren’t necessary.
“The most important thing a night photographer needs besides the camera and lens is the tripod.”
Be sure to have a sturdy tripod with you to stabilize the camera. Whether you want to go with an aluminum tripod or a carbon fiber tripod depends on your budget. Other than that, also pay attention to the height of the tripod.
“Look about how high the tripod gets without the center column raised and make sure that that’s about six to ten inches shorter than your eyes.”
What to Use as a Light Source
Now that you have the equipment needed to take the photograph sorted out, you might wonder what you can use to paint light. Well, a flashlight is quite a convenient tool. Biderman himself likes to use the Coast HP5R LED flashlight because of its high and low power settings and the zoomable head. Since LED lights tend to cast a blue tint, Biderman suggests that you use a warmer gel on the light. He uses a CTO half-cut gel for the purpose.

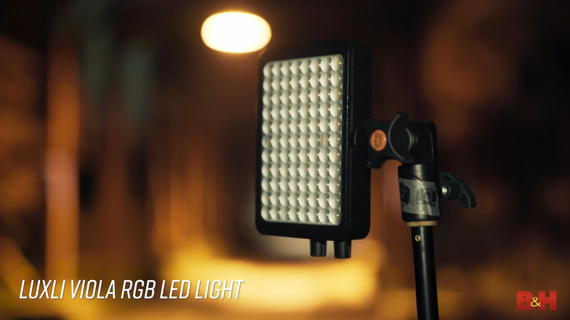
With their narrow beam, flashlights behave as hard brushes. However, when light painting, you can make use of soft brushes as well. And for that purpose, you have LED panels. Biderman likes to use the Luxli Viola RGB LED light. Using that panel, you can dial in any color temperature from 3000K to 10,000K.
“The flashlight will give us a more focused beam with more contrast there, whereas the LED light is a wider and softer spread of light.”
Using Bulb Mode
Almost every camera can go up to 30 seconds of exposure natively. But, the 30 second time period may not be adequate for light painting purposes. To go beyond the 30-second limit, you’ll need to be in the camera’s bulb mode, and this is where you’ll need a remote shutter release.

Using a remote shutter release like the Vello ShutterBoss lets you program in any exposure time. This is just perfect for you to go around the scene and paint with light.
Focusing at Night
“Focusing is always tricky at night. “
Since the camera cannot see properly in low light conditions, focusing can be a challenge. Here’s a simple tip that Biderman shares to help you focus your camera in the dark:
- Turn the flashlight on and direct it at the scene.
- Set your camera to autofocus mode and place the autofocus point over a place with contrast.
- Lock your focus and switch the camera over to manual focus mode.
- Once done, be sure not to change the distance between the camera and the subject or to turn the focus ring on the lens.
Taking the Image
“Before we add light painting, let’s get a base shot of the ambient light that’s in the scene.”
It is not always necessary to paint with light. Always take a base shot first, and then decide whether or not you need to add light to the scene.
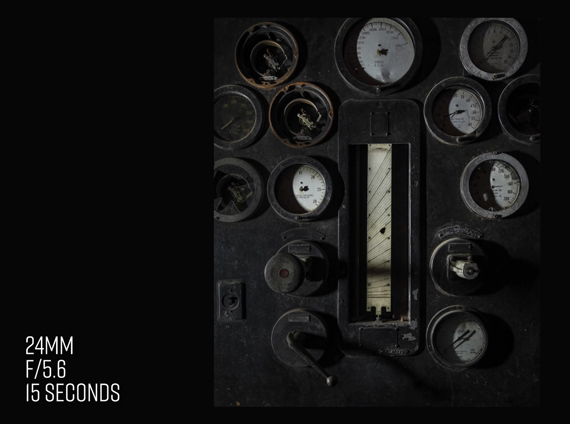
In Biderman’s case, here’s what he got as a base shot:
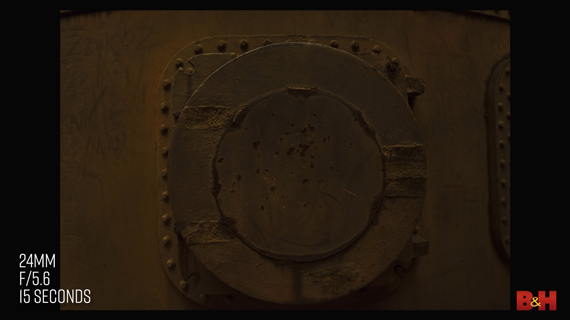
As you can tell, the image looks flat and boring. To make it appear more interesting, Biderman decides to light paint.
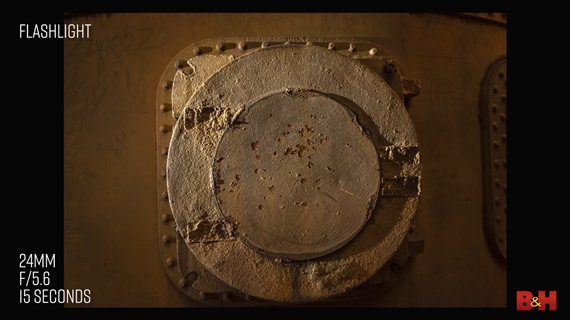
Biderman sets up a Luxli LED panel at 1 percent power to light the scene for 5 seconds from the side and the image. Having the light come in at an angle reveals more texture and details while creating interesting shadows.
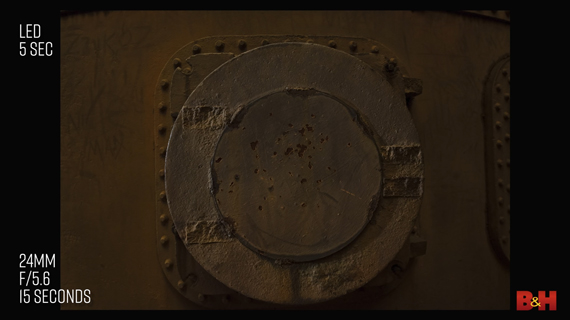
However, the image still lacks some punch. Using the flashlight, Biderman zoomed in and painted some more light on the left side.
Working in a Situation With No Ambient Light
When you’re working in complete darkness with no ambient light, leaving the shutter open will not light up the scene in the final image. However, this opens up an immense opportunity for light painting. You can determine what your exposure should be. Simply open the shutter, walk in at an angle, and start painting with light.
“That’s the cool thing about light painting. We can be so creative. We could kind of do anything. So, experiment with this at home. Turn off the lights in your room and start playing with light.”
Be sure to give this technique a try with different types and colors of light. Also, see how changing the shutter speed affects your photos. Experiment and have fun!!!
- - - - - - - - - - - - - - - - - - - - - - - - - - - - - - - - - - - - - - - - - - - - - - - - - - - - - - - - - - - - - - - - - - - - - - - - - -
Did you appreciate this newsletter? Please help us keep it going by Joining Our Patreon Supporters
What are your thoughts on this article? Join the discussion on our Facebook Page
PictureCorrect subscribers can also learn more today with our #1 bestseller: The Photography Tutorial eBook
- - - - - - - - - - - - - - - - - - - - - - - - - - - - - - - - - - - - - - - - - - - - - - - - - - - - - - - - - - - - - - - - - - - - - - - - - -
The post Light Painting in Night Photography Tutorial appeared first in the Photography Tips category on PictureCorrect.
from PictureCorrect https://ift.tt/RC7KO8X
via IFTTT


0 kommenttia:
Lähetä kommentti