


In the realm of digital photo editing, layers are a revolutionary concept that has transformed the way photographers, designers, and artists work. They allow for non-destructive editing, meaning you can modify an image without permanently altering the original. This article will break down how to use layers in photo editing, enhancing your understanding and skill to allow for more complex and creative edits.
Related reminder: only a little while left for the Photo Editing Cheat Sheets  Summer Sale
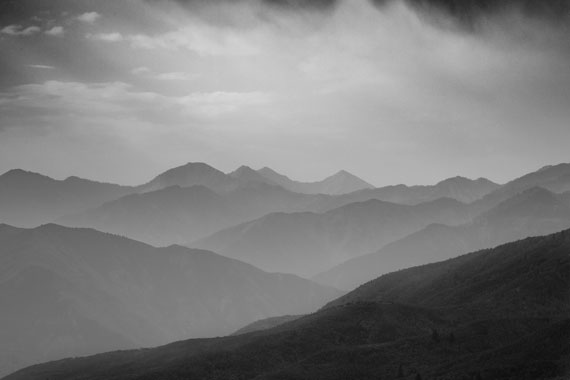
Photo captured by John Thomas
Understanding Layers:
Think of layers as sheets of glass stacked on top of each other. Each sheet can hold different parts of your image, such as text, color, effects, or even another image. The magic of layers is that they can be individually modified, rearranged, or even removed without affecting the rest of the image.
Creating and Managing Layers:
Most photo editing software such as Luminar Neo or Photoshop comes with a dedicated layers panel. When you open an image, it becomes the background layer, the base of your editing canvas.
To create a new layer, you typically navigate to the layers panel and click on the “New Layer” button. Name your layers thoughtfully to keep track of what each one contains, especially when working with complex edits involving many layers.
Here’s how layers can be utilized in Photo Editing:
Non-Destructive Editing: Layers allow you to make changes to your images without altering the original photo. This means you can always revert back to the original image if needed. It’s a safer, more flexible way of editing.
Selective Adjustments: With layers, you can apply edits to just a part of your image. For example, you might want to increase the brightness of your subject without affecting the background. You can do this by creating a new adjustment layer and using a layer mask to select where the adjustment should be applied.
Blending Different Images or Effects: You can use layers to blend different images together, or to apply different effects to different parts of an image. For example, you could replace the sky in a landscape photo by placing a new sky image on a separate layer and blending it with the original photo.
Creating Complex Compositions: If you’re creating a complex composition – for example, a photo montage – you can use layers to manage the different elements of your composition. Each element can be placed on a separate layer, which you can then move, transform, or edit independently of the others.
Adjustment Layers: You can use adjustment layers to apply effects or adjustments to your entire image, or just to selected parts of it. For example, you could use an adjustment layer to increase the saturation of your entire image, or to apply a vignette effect.
Layer Opacity: Each layer has an opacity setting, which controls how transparent it is. This allows you to control how much of the layer’s effect or image is visible, and how it blends with the layers beneath it.
Layer Blending Modes: Control how the colors and tones in one layer interact with those in the layers beneath it. This can be used to create a wide range of creative effects.
Layer Masks:
Layer masks are a powerful tool for selectively hiding and revealing portions of your layer. The principle is simple: black conceals, and white reveals. Painting with black on a layer mask will hide the associated part of the layer, while painting with white will reveal it. This non-destructive method is perfect for blending images, retouching, and creating sophisticated compositions.
Using Layer Blending Modes:
Blending modes determine how the pixels on one layer interact with the pixels on the layers beneath it. They can be used to create various effects such as darken, lighten, multiply, screen, overlay, and more. Experiment with different blending modes to achieve unique results.
Conclusion:
Mastering layers can significantly enhance your photo editing prowess, offering you greater flexibility and creative control. Remember, the key to becoming proficient with layers lies in practice and experimentation. So, open your favorite photo editing software and start layering your way to stunning images.
For Further Training:
If editing often feels scattered or uncertain, these cheat sheets provide a clear, repeatable process for tackling exposure, color, masking, retouching, and finishing touches in the right order.
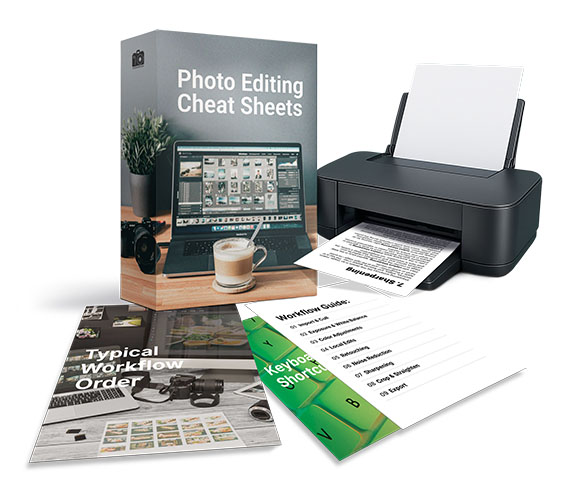
Paired with time-saving keyboard shortcuts, they help you edit faster, stay consistent, and know when an image is truly finished.
Deal ending soon: The Photo Editing Cheat Sheets Summer Sale
from PictureCorrect https://ift.tt/xK8eho9
via IFTTT


0 kommenttia:
Lähetä kommentti