


Most people never change their phone’s camera settings. They simply open the Camera app, tap the shutter, and hope for the best.
The problem? Your smartphone includes powerful features that can dramatically improve your photos—but many are turned off, hidden in menus, or simply ignored.
Here are 10 camera settings worth checking today.
Reminder: only 1 day left for the Smartphone Photo Guide  Summer Escape Sale
1. Turn On Grid Lines
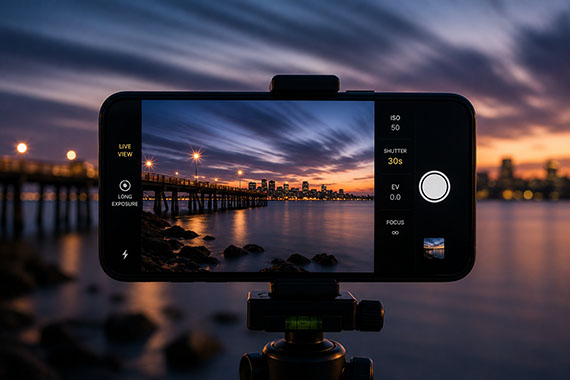
Grid lines help you compose stronger images by following the Rule of Thirds. They also make it much easier to keep horizons level when photographing landscapes or architecture.
It’s one of the simplest ways to improve your photos instantly.
2. Enable HDR (or Smart HDR)
HDR helps balance bright skies and dark shadows in high-contrast scenes.
Modern phones usually handle this automatically, but it’s worth confirming the feature is enabled so you don’t lose detail in difficult lighting.
3. Shoot at the Highest Resolution
Many phones default to a lower resolution to save storage space.
When photographing landscapes, travel scenes, or anything you may want to print or crop later, switch to the highest available resolution for maximum detail.
4. Turn On Lens Correction
Wide-angle lenses often produce distortion near the edges of the frame.
Lens correction automatically straightens lines and reduces optical distortion, producing cleaner-looking images with almost no downside.
5. Use ProRAW or RAW (When It Matters)
If your phone supports RAW capture, use it for important shots you’ll edit later.
RAW files retain much more image information, giving you greater flexibility when adjusting exposure, shadows, highlights, and white balance.
6. Adjust Exposure Before You Shoot
Most camera apps let you brighten or darken the image before taking the photo.
Instead of fixing everything afterward, take a second to fine-tune the exposure. A properly exposed photo almost always produces better editing results.
7. Turn On Live Photos (Selectively)
Many photographers disable Live Photos, but they can be incredibly useful.
They let you choose the sharpest frame after shooting, create long-exposure effects, or generate fun motion clips. Just remember they also use more storage.
8. Record Video at the Right Resolution
Higher isn’t always better.
For most people, 4K provides excellent quality, while 1080p saves storage and is easier to edit and share. Choose the setting that fits how you’ll actually use your videos.
9. Use Night Mode Instead of Flash
Phone flashes often produce harsh, flat lighting.
Night Mode captures multiple exposures and combines them into a brighter, more natural-looking image. Whenever possible, let the software do the work instead of using the flash.
10. Clean Your Camera Lens
Technically not a software setting—but it might be the most important “setting” of all.
A fingerprint on the lens can reduce sharpness, lower contrast, and create strange glare. A quick wipe with a microfiber cloth often makes a surprisingly big difference.
Final Thoughts
Your smartphone camera is already capable of producing incredible photos. The secret isn’t always buying a newer phone—it’s learning how to use the features you already have.
Spend a few minutes exploring your camera settings, and you may be surprised how much better your next photos look.
If you’re ready to improve every aspect of your phone photography, don’t miss our Summer Escape Sale. For a limited time, you can get the Smartphone Photography Guide for 78% off and learn simple techniques that will help you capture sharper landscapes, better portraits, incredible night photos, and much more—all with the camera already in your pocket.
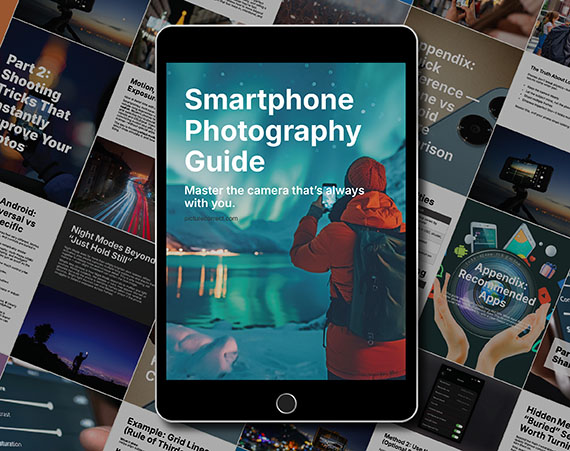
The guide walks through real, usable techniques—manual controls, motion blur, low-light shooting, and creative effects—so you’re not just relying on auto mode and luck. If this post helped, the guide goes much deeper.
Deal ending soon: Smartphone Photography Guide Summer Escape Sale
from PictureCorrect https://ift.tt/KQxnpDB
via IFTTT


0 kommenttia:
Lähetä kommentti