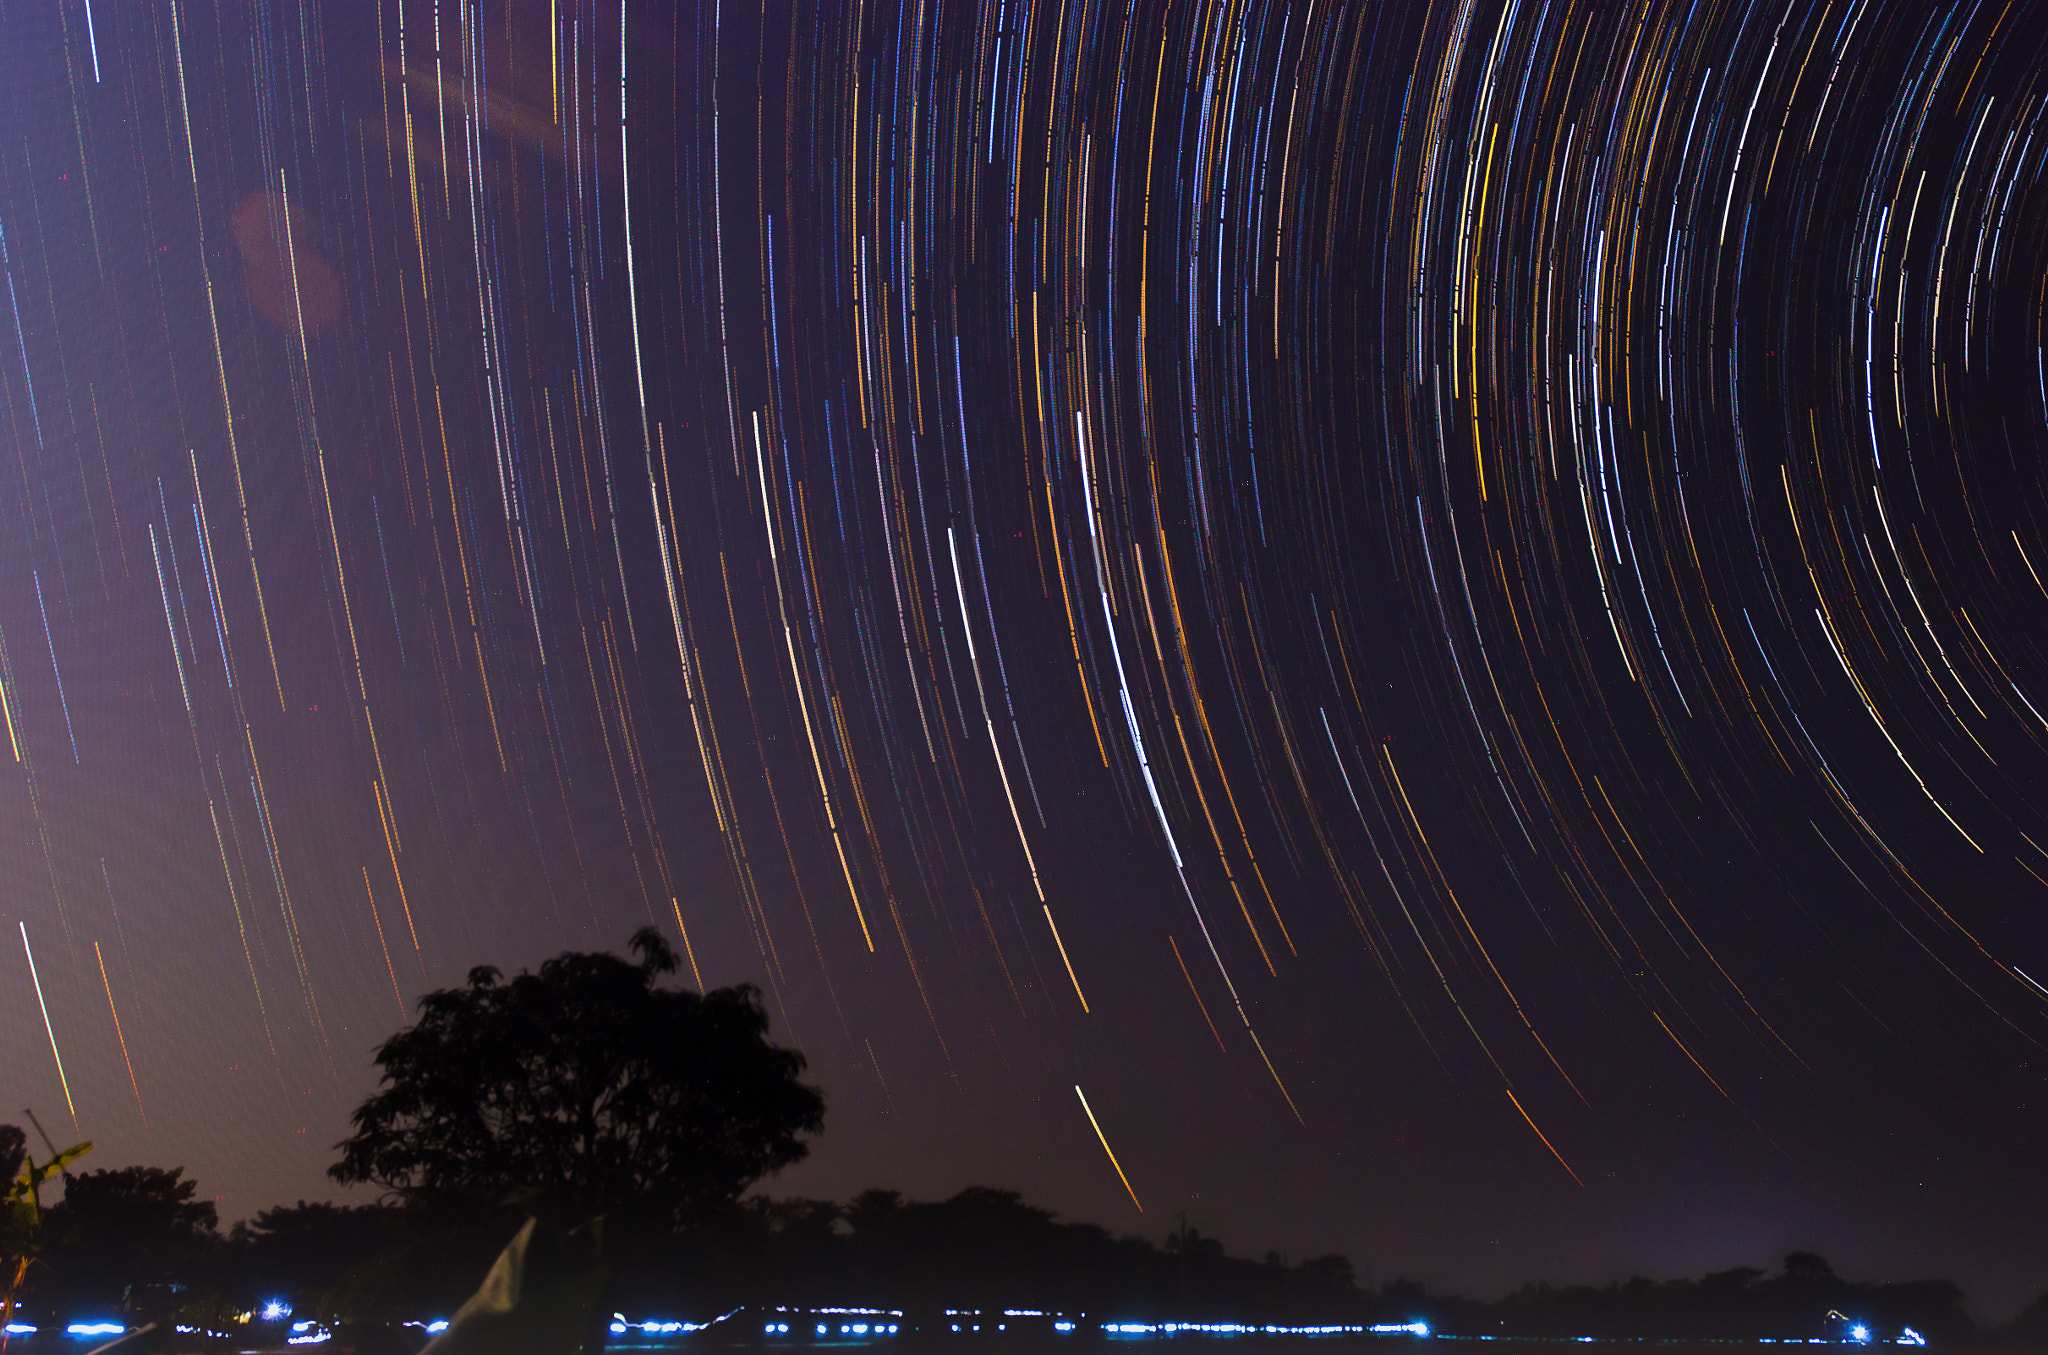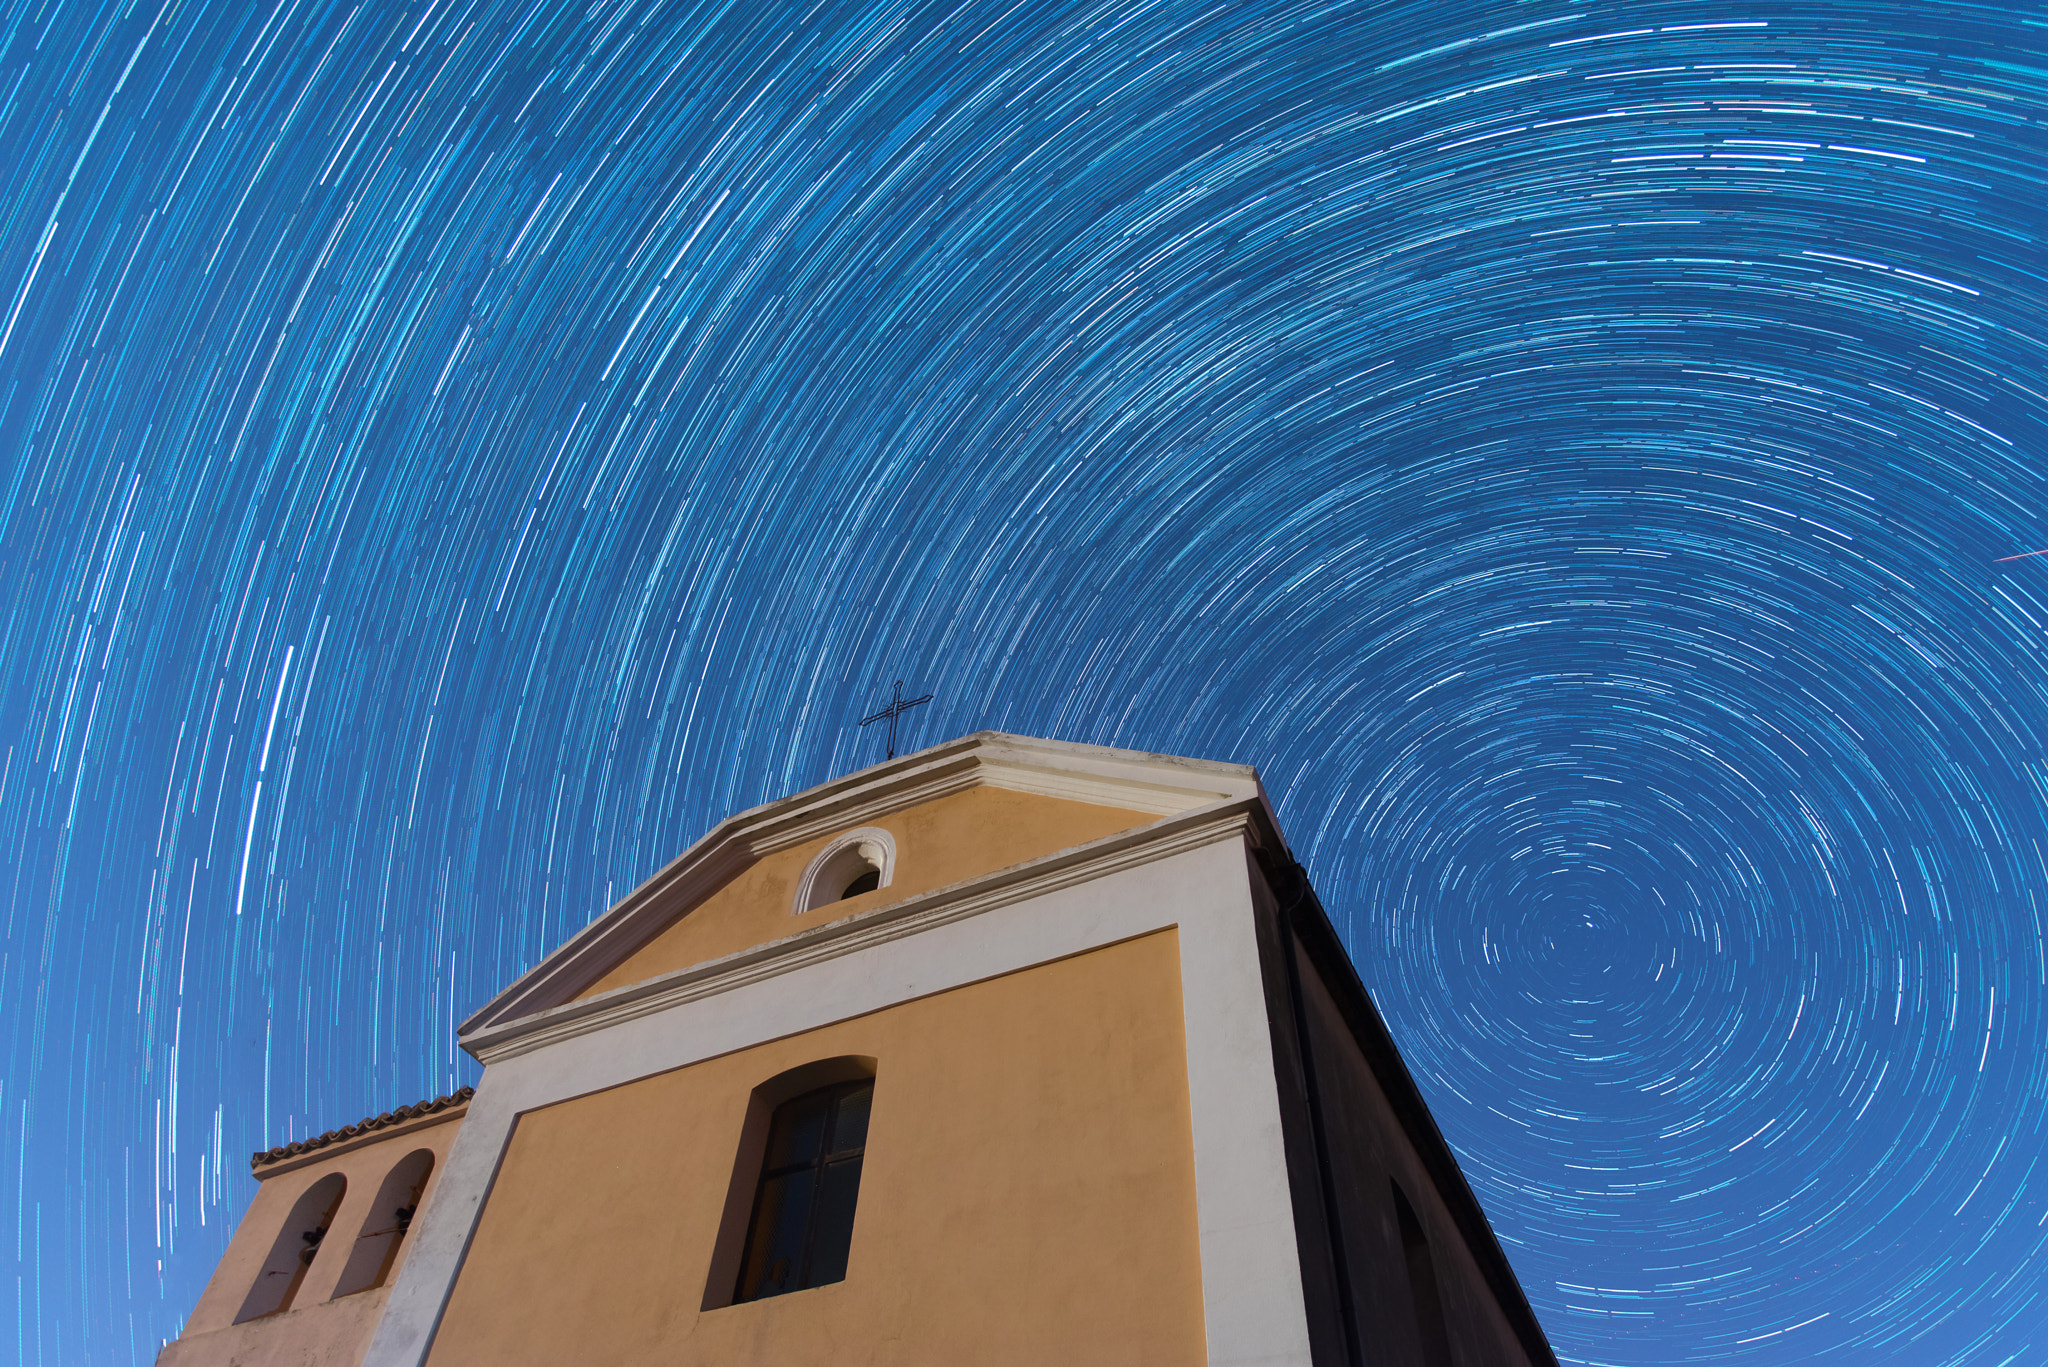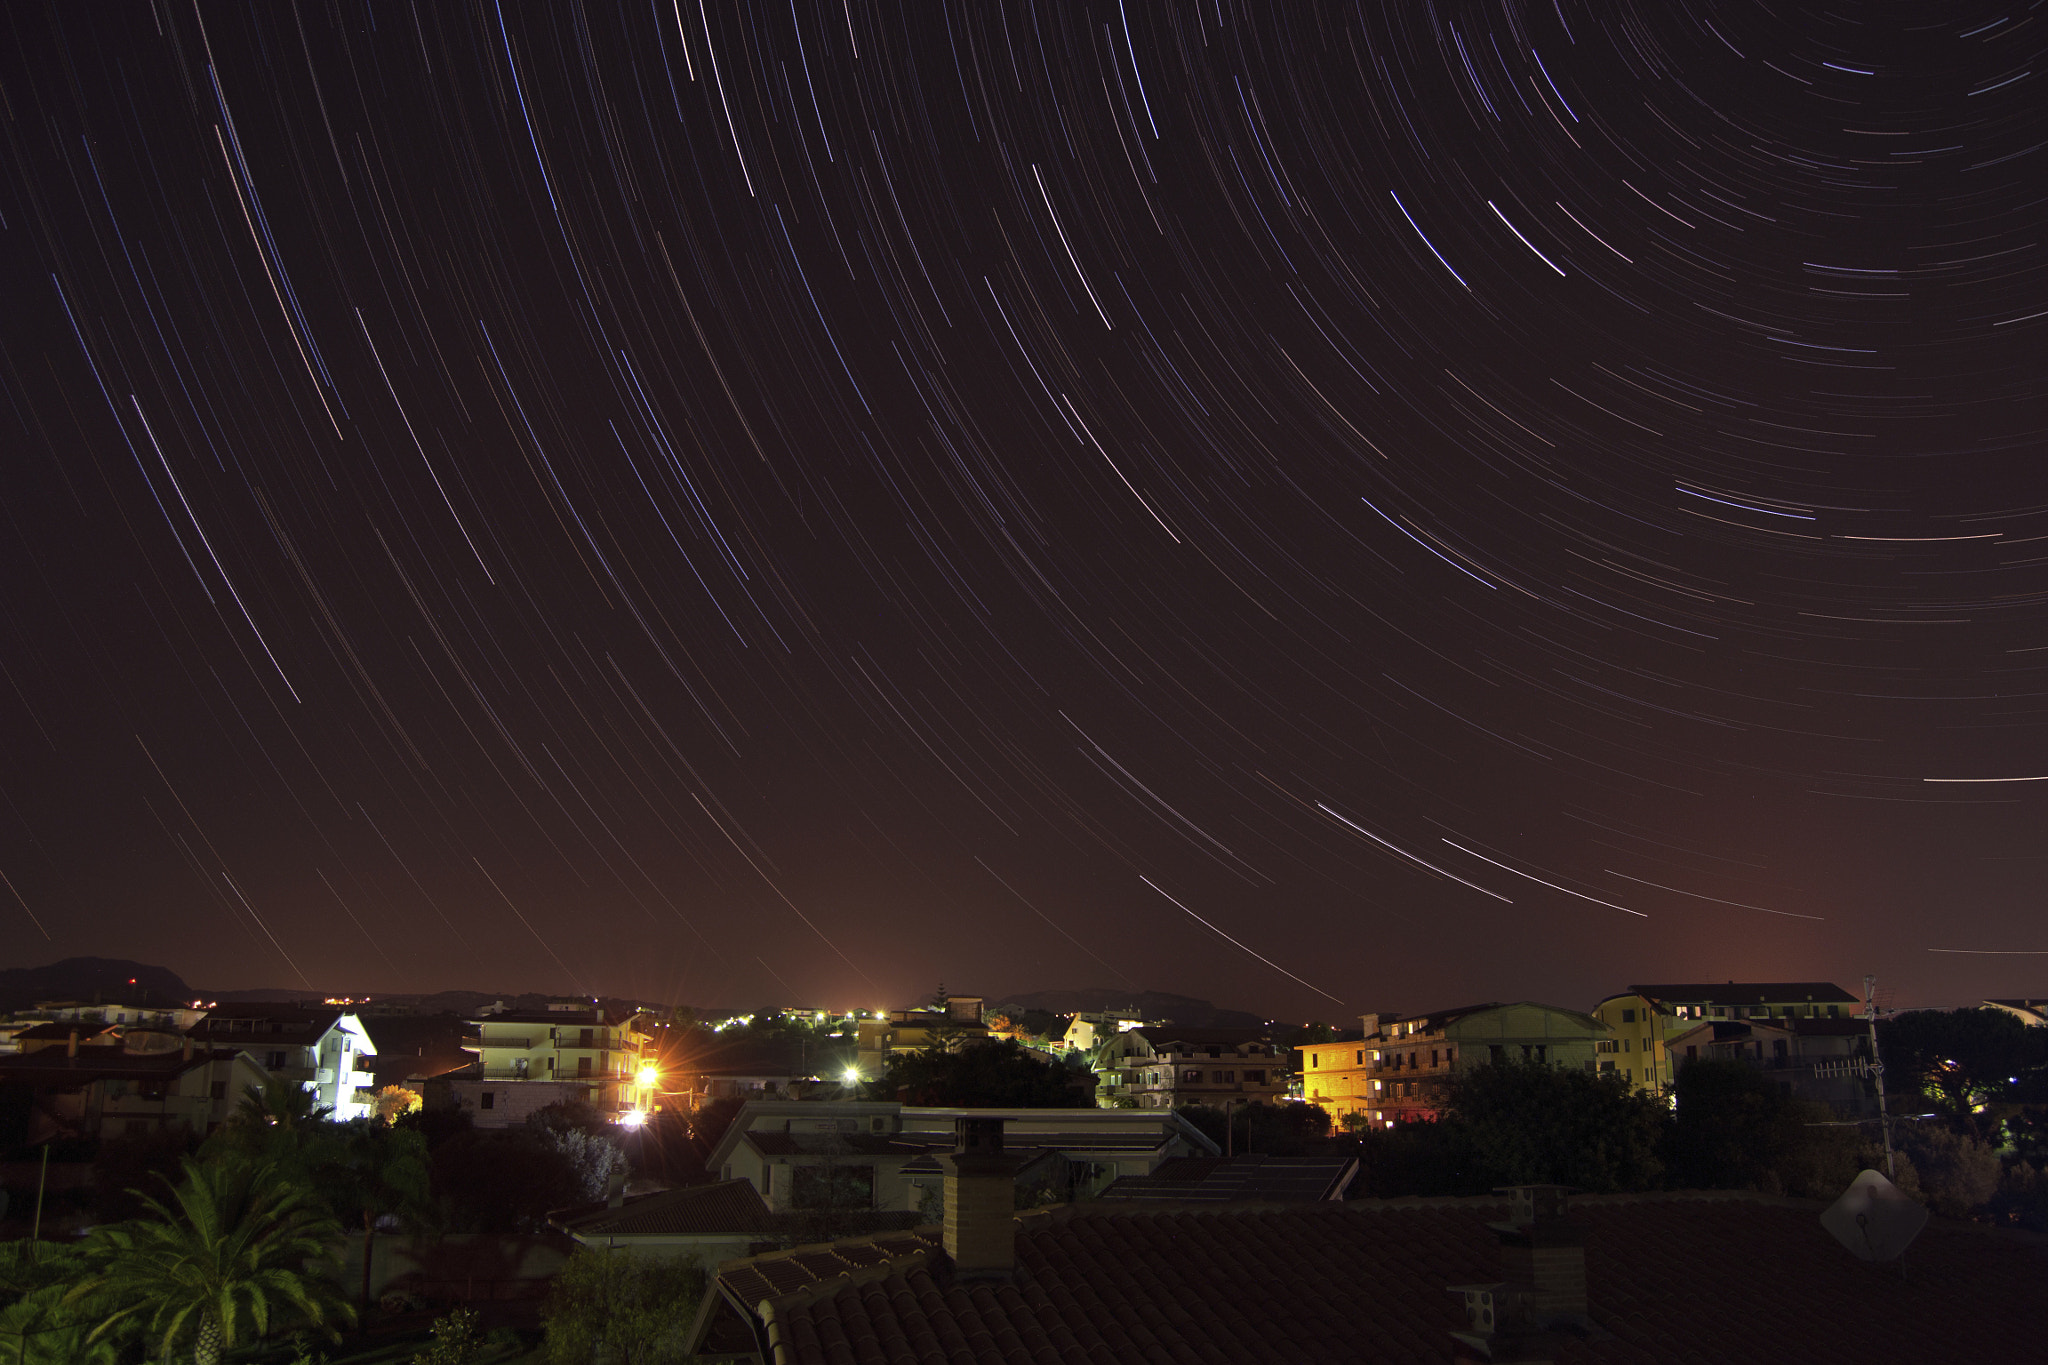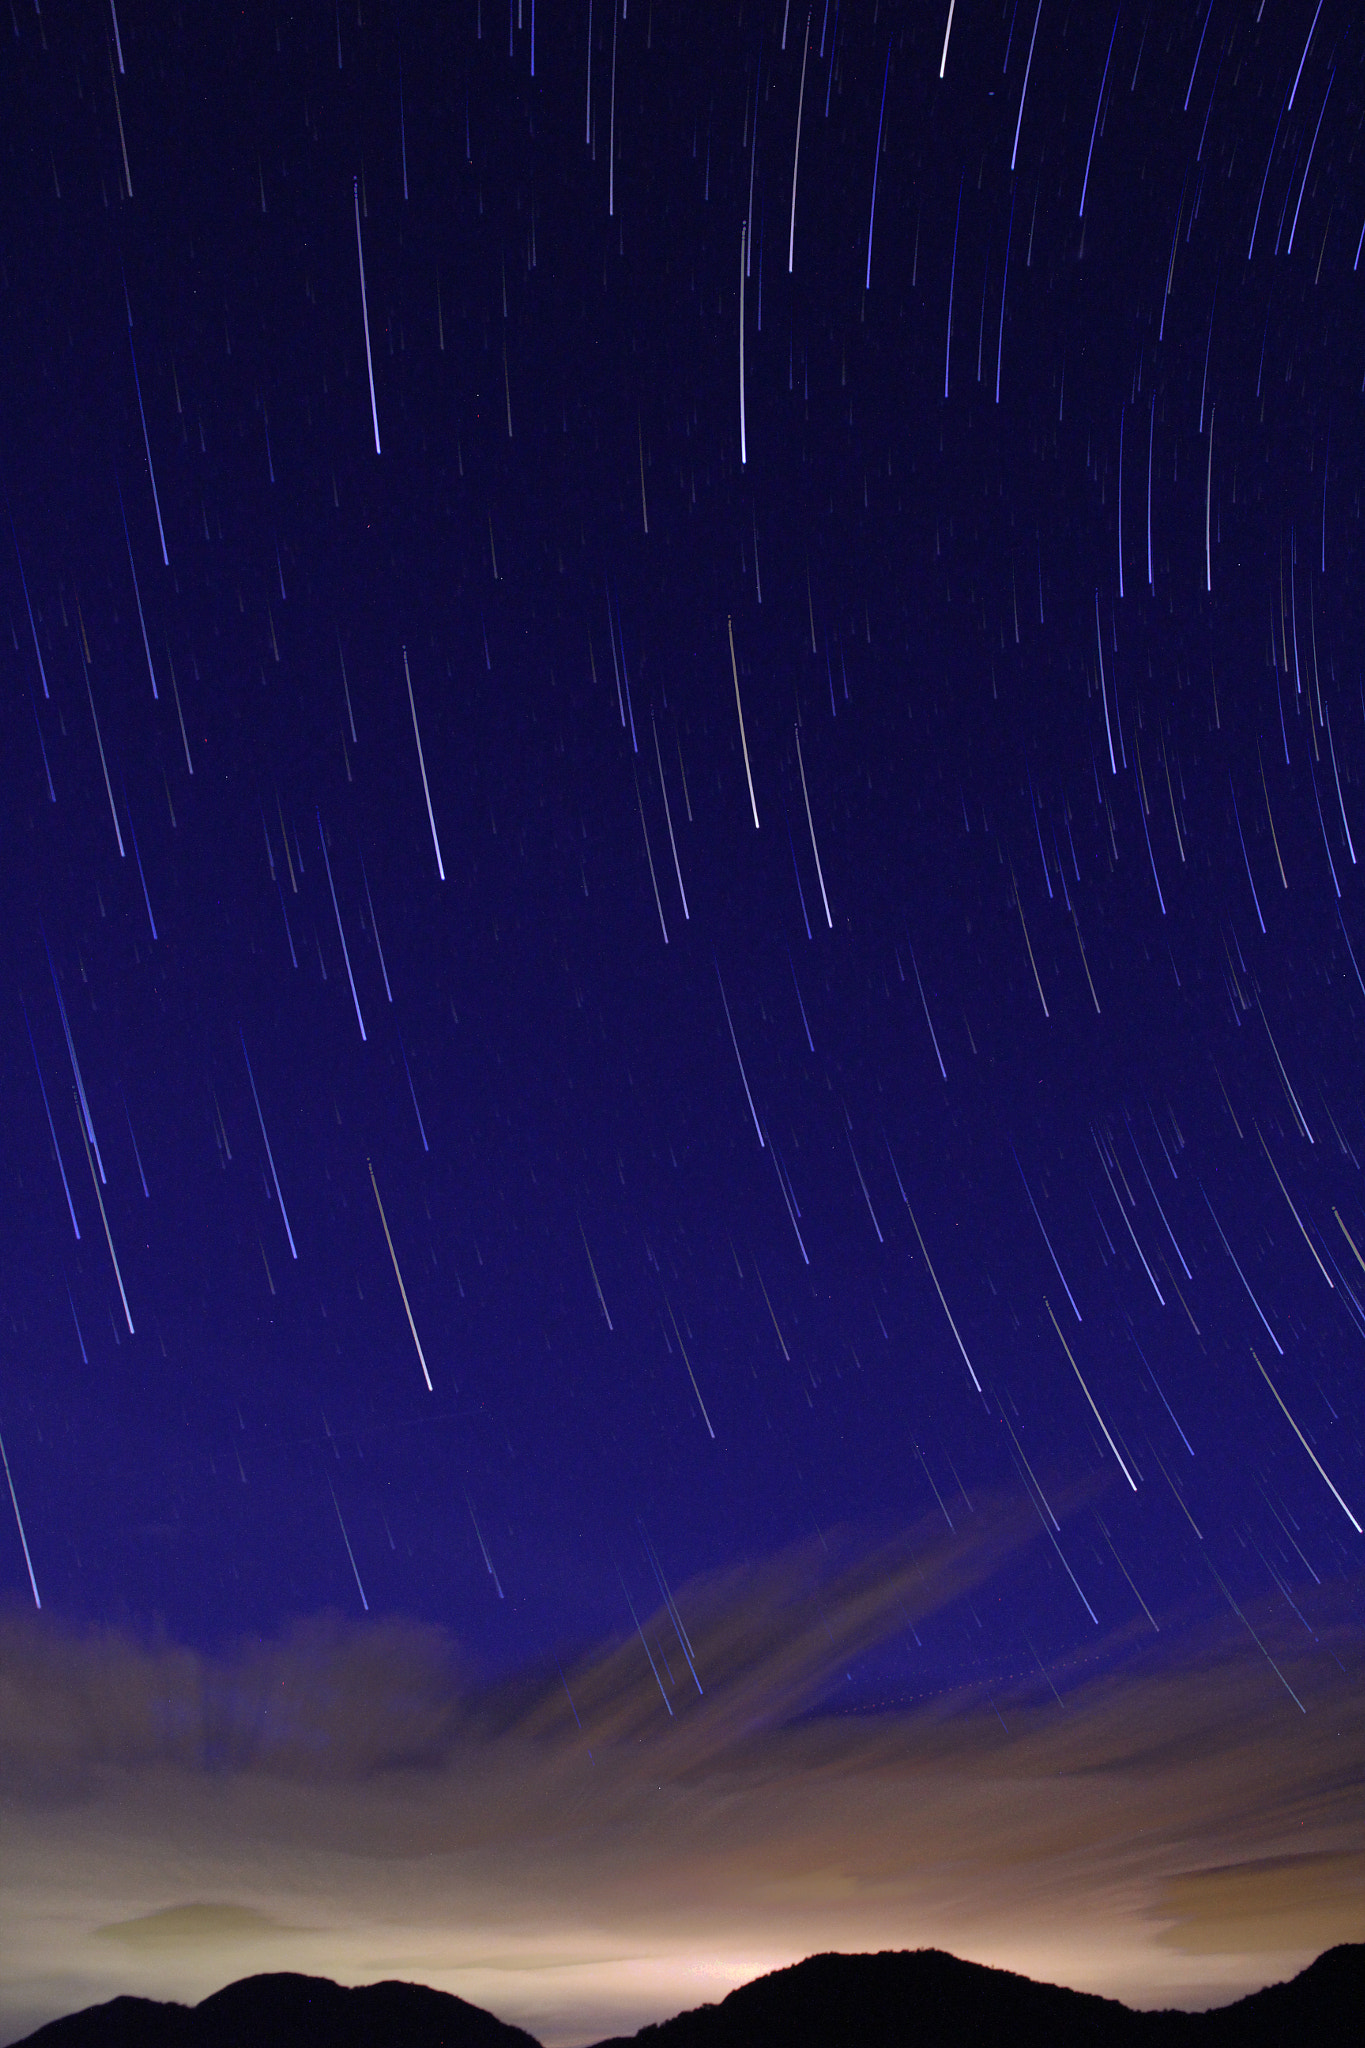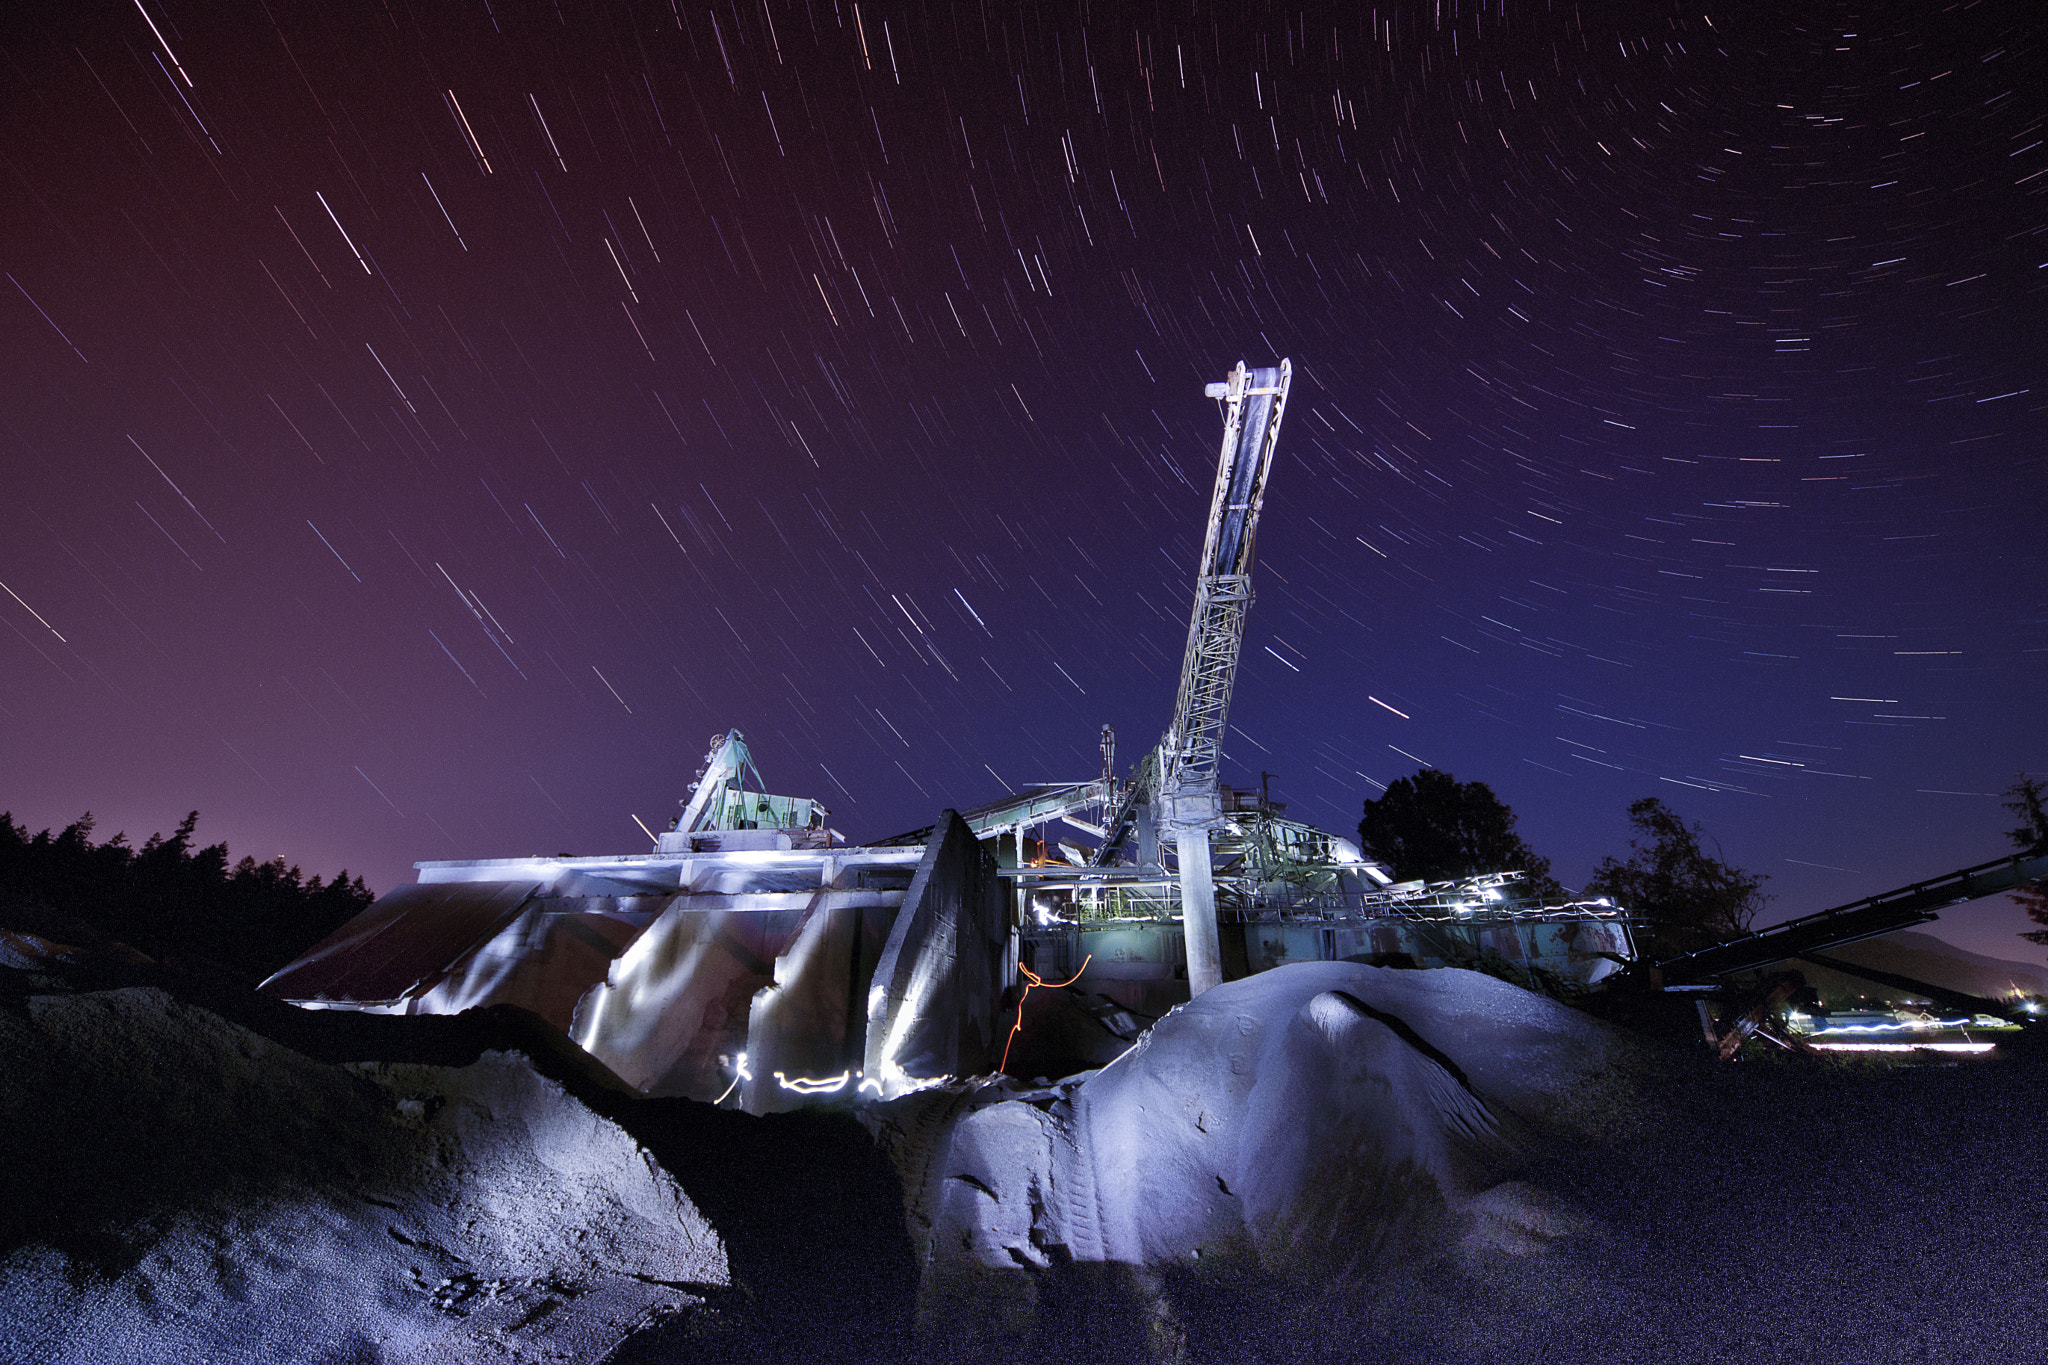
The gravel pit was lit up by me .. about 15 minutes with a Led Lenser torch! via 500px https://ift.tt/XEDhdPF


Most people never change their phone’s camera settings. They simply open the Camera app, tap the shutter, and hope for the best.
The problem? Your smartphone includes powerful features that can dramatically improve your photos—but many are turned off, hidden in menus, or simply ignored.
Here are 10 camera settings worth checking today.
Reminder: only 1 day left for the Smartphone Photo Guide  Summer Escape Sale
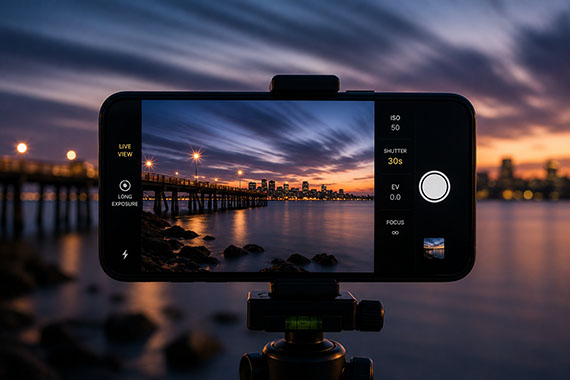
Grid lines help you compose stronger images by following the Rule of Thirds. They also make it much easier to keep horizons level when photographing landscapes or architecture.
It’s one of the simplest ways to improve your photos instantly.
HDR helps balance bright skies and dark shadows in high-contrast scenes.
Modern phones usually handle this automatically, but it’s worth confirming the feature is enabled so you don’t lose detail in difficult lighting.
Many phones default to a lower resolution to save storage space.
When photographing landscapes, travel scenes, or anything you may want to print or crop later, switch to the highest available resolution for maximum detail.
Wide-angle lenses often produce distortion near the edges of the frame.
Lens correction automatically straightens lines and reduces optical distortion, producing cleaner-looking images with almost no downside.
If your phone supports RAW capture, use it for important shots you’ll edit later.
RAW files retain much more image information, giving you greater flexibility when adjusting exposure, shadows, highlights, and white balance.
Most camera apps let you brighten or darken the image before taking the photo.
Instead of fixing everything afterward, take a second to fine-tune the exposure. A properly exposed photo almost always produces better editing results.
Many photographers disable Live Photos, but they can be incredibly useful.
They let you choose the sharpest frame after shooting, create long-exposure effects, or generate fun motion clips. Just remember they also use more storage.
Higher isn’t always better.
For most people, 4K provides excellent quality, while 1080p saves storage and is easier to edit and share. Choose the setting that fits how you’ll actually use your videos.
Phone flashes often produce harsh, flat lighting.
Night Mode captures multiple exposures and combines them into a brighter, more natural-looking image. Whenever possible, let the software do the work instead of using the flash.
Technically not a software setting—but it might be the most important “setting” of all.
A fingerprint on the lens can reduce sharpness, lower contrast, and create strange glare. A quick wipe with a microfiber cloth often makes a surprisingly big difference.
Your smartphone camera is already capable of producing incredible photos. The secret isn’t always buying a newer phone—it’s learning how to use the features you already have.
Spend a few minutes exploring your camera settings, and you may be surprised how much better your next photos look.
If you’re ready to improve every aspect of your phone photography, don’t miss our Summer Escape Sale. For a limited time, you can get the Smartphone Photography Guide for 78% off and learn simple techniques that will help you capture sharper landscapes, better portraits, incredible night photos, and much more—all with the camera already in your pocket.

The guide walks through real, usable techniques—manual controls, motion blur, low-light shooting, and creative effects—so you’re not just relying on auto mode and luck. If this post helped, the guide goes much deeper.
Deal ending soon: Smartphone Photography Guide Summer Escape Sale
Taking pictures at night gives an image a completely different feel because it captures different stories of daily life—sometimes more dramatic than the ones captured during the day. There is also a whole new cast of characters at night that make taking pictures on the streets after dark an even more adventurous experience in street photography.

Barcelona, Spain © Juan Jose Reyes
Just by decreasing the available light, we increase the element of mystery in the image. Don’t get me wrong, it could still be an average image. Just because it was taken at night the picture won’t magically become a great photograph, but it might become a little bit more interesting. It may make the viewer ask just a few more questions. And depending on where you are, it may even add an element of danger.
“You don’t have to go looking for pictures. The material is generous. You go out and the pictures are staring at you.” –Lee Friedlander

South Beach, Miami Beach, FL © Juan Jose Reyes
I think this is key for several reasons. First, the ugly artificial light that results from the flash is just too harsh and unnatural. It also calls way too much attention to the photographer, and the idea in street photography is to blend in, not stand out like a lighthouse. Also, people expect the flash to go off after you take a picture at night; when they don’t see the bright light coming from the camera that was pointed at them, they think that you didn’t take a photo and they probably won’t question you. I never use flash when I shoot at night (or day or ever, for that matter). It might take some practice but in a short time you won’t miss it.

Barcelona, Spain © Juan Jose Reyes
More than a suggestion, this is a necessity. Unless you increase the ISO, the shutter speed might become too slow and the whole picture will be way too blurry to even see what’s going on. As I wrote before, a little bit of motion blur is fantastic and makes for great street photography shots. But if the photo’s too blurry it loses the effect and is just confusing.
High ISO will also give the image some “noise” and it will look grainy, which is a great look for street photography. Make grain and blur your friends, not your enemies.
“New images surround us everywhere. They are invisible only because of sterile routine convention and fear.” –Lisette Model
Find a bright corner or a storefront window and position yourself in a way that it will light your subject’s face. Or maybe you want the light to their backs to make them silhouettes. Either way is fine, the choice is yours. It’s all a matter of moving around the light. Find what works and wait for an interesting subject to walk by. Try pointing the camera into the inside of storefronts or brightly lit buses; the light may be just enough to capture great scenes of people unaware that you are capturing the scene.

Barcelona, Spain © Juan Jose Reyes
4. Use fast lenses
Fast lenses, with maximum apertures such as f/2.8 or f/1.4 are great for low light situations. The same thing applies to full frame cameras. Any lens or camera is fine but full frame cameras or fast lenses make things easier because they have a better sensitivity to light. Use what you have and practice and look at the results before you invest your paycheck in a more expensive camera or lens.
“Anything that excites me for any reason, I will photograph; not searching for unusual subject matter, but making the commonplace unusual” –Edward Weston
It’s not necessary to go to a dangerous area to get interesting pictures. Any crowded area will do, especially if you are just starting.

Miami Beach, FL © Juan Jose Reyes
Taking pictures on the streets at night is not the usual thing to do, but if you want to give your street photography a little extra excitement consider going out for a walk after the sunlight has been replaced by street lamps.
About the Author:
Juan Jose Reyes is a street photographer based in Miami, Florida.
Capturing the raw power and beauty of a lightning strike is a dream for many photographers. However, the unpredictability and speed of lightning make it a challenging subject. Enter lightning triggers: devices designed to help photographers capture these fleeting moments. In this blog post, we’ll delve deep into how lightning triggers work and provide tips for using them effectively.
Relevant note: for a lightning photography cheat sheet and more difficult rare weather situations, you may want to check out this summer sale wrapping up soon on the popular Photography Adventure Cheat Sheets at 80% Off
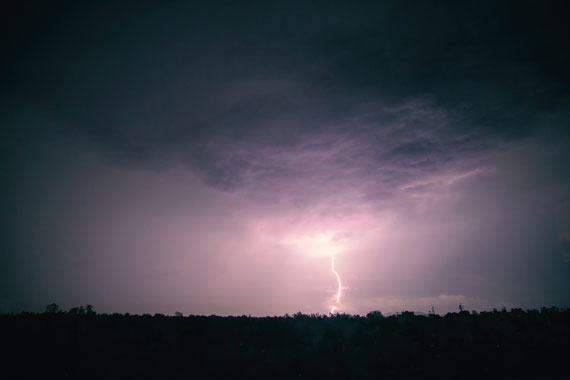
Photo captured by Dan Aragón
A lightning trigger is a device that detects a lightning strike’s initial flash and instantly triggers a camera’s shutter. This allows photographers to capture lightning with precision, without relying on luck or continuous shooting.
a. Detection Mechanism:
Most lightning triggers use an infrared (IR) or visible light sensor. When a sudden increase in light intensity is detected (indicative of a lightning strike), the device sends a signal to the camera to take a picture.
b. Response Time:
The key to a good lightning trigger is its response time. Lightning strikes are over in a matter of milliseconds, so the trigger needs to be fast. High-quality triggers can respond in less than a millisecond.
c. Sensitivity Adjustment:
Some triggers allow users to adjust sensitivity. This is useful in varying lighting conditions. For instance, during the day, a trigger might need to be more sensitive than at night.
a. Mount on a Tripod:
Given the long exposure times often required for lightning photography, it’s essential to have a stable setup. A tripod ensures that your camera remains steady, preventing blurry images.
b. Manual Focus:
Autofocus can struggle in low light conditions or with distant subjects like lightning. Set your lens to manual focus and focus on a distant object to ensure clarity.
c. Camera Settings:
d. Positioning:
Safety first! Stay inside a vehicle or a safe structure. Position your camera to have a wide view of the sky, anticipating where lightning might strike.
e. Test the Trigger:
Before the storm arrives, test your trigger to ensure it’s working and that your camera settings are correct.
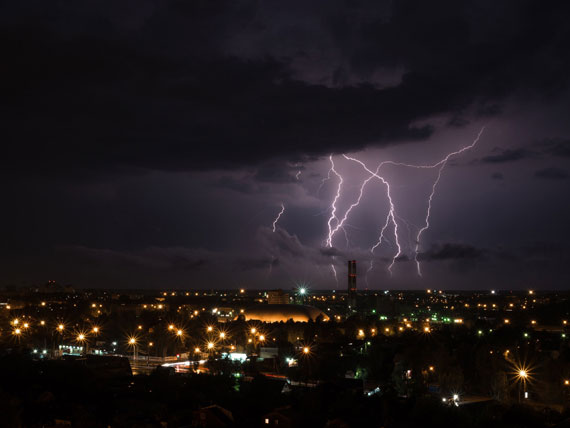
Photo captured by Natalya Letunova
a. Day vs. Night:
Lightning triggers can be more effective at night when a lightning strike provides a significant contrast against the dark sky. During the day, the sensitivity might need adjustment.
b. False Triggers:
Sudden changes in light, like car headlights or other flashes, can cause the trigger to activate. It’s essential to be aware of your surroundings.
c. Battery Life:
Using a lightning trigger can drain both the trigger’s and the camera’s batteries faster. Always have spare batteries on hand.
Lightning triggers are invaluable tools for photographers looking to capture the majesty of a storm. While they can significantly increase the chances of getting that perfect shot, it’s essential to understand their workings and limitations. With the right equipment, settings, and safety precautions, you’ll be well on your way to capturing nature’s spectacular light show.
For help remembering the camera settings for difficult situations like this, a set of Photography Adventure Cheat Sheets are designed to help. They are currently 80% off for a Summer Sale which ends soon if you want to check them out.
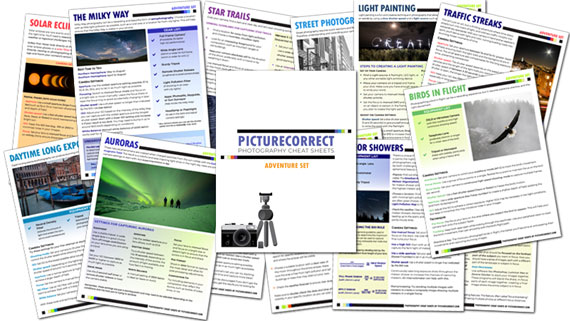
New! Cheat Sheets for Your Photography Adventures (see how they work)
The perfect companion for any photographer. Print one out whenever you need it. Whether you’re going on vacation or seeking out a specific photography adventure, these cheat sheets can provide you with the knowledge and inspiration you need to create your best work yet.
Offer ending soon: The Photography Adventure Cheat Sheets Summer Sale
Modern editing software is incredibly powerful. With just a few sliders, you can recover highlights, brighten shadows, sharpen details, reduce noise, and completely transform an image. AI tools can even rescue photos that once seemed unusable.
But there’s one thing your editing software doesn’t tell you:
Every adjustment comes with a tradeoff.
The more aggressively you push an edit, the more likely it is to affect another part of the image. Understanding these hidden compromises is what separates natural-looking edits from overprocessed ones.
Related reminder: only a little while left for the Photo Editing Cheat Sheets Summer Sale

Editing controls don’t work in isolation. Increasing contrast can make an image more dramatic, but it may also hide shadow detail. Boosting saturation creates richer colors, but can quickly make skin tones and foliage look unnatural. Sharpening adds crispness, yet too much creates halos and harsh textures.
Instead of relying on one extreme adjustment, aim for several subtle ones that work together.
RAW files contain impressive editing flexibility, but they’re not magic. If highlights were completely blown out when the photo was taken, no software can restore detail that doesn’t exist.
Editing is most effective when it enhances a well-exposed image—not when it tries to rescue a poorly exposed one.
Modern AI noise reduction is remarkably effective, but it still has to decide what’s real detail and what’s unwanted noise. Push it too far, and fine textures like hair, feathers, or distant foliage can begin to look soft or artificial.
Always zoom back out before exporting. An edit that looks perfect at 200% may appear overly processed at normal viewing sizes.
AI editing tools can produce amazing results, but they don’t understand your creative intent. Sometimes they remove subtle textures, invent detail, or make changes that look convincing at first glance but feel unnatural on closer inspection.
Compare your edited image to the original before exporting. Sometimes less really is more.
Even a perfectly edited photo can look different on another screen. Display brightness, color accuracy, and calibration all affect how an image appears. If your monitor is too bright, your prints will often come out too dark.
For photographers who print regularly, a calibrated monitor is one of the best investments you can make.
Editing software gives photographers incredible creative freedom, but it won’t warn you about the compromises behind each adjustment. Every slider has the potential to improve an image—or quietly reduce its quality when pushed too far.
The goal isn’t to use every editing tool available. It’s to make thoughtful, restrained adjustments that enhance your photograph while preserving its natural detail and character.
If editing often feels scattered or uncertain, these cheat sheets provide a clear, repeatable process for tackling exposure, color, masking, retouching, and finishing touches in the right order.

Paired with time-saving keyboard shortcuts, they help you edit faster, stay consistent, and know when an image is truly finished.
Deal ending soon: The Photo Editing Cheat Sheets Summer Sale
When most photographers think about city photography, they instinctively reach for a wide-angle lens. It makes sense—cities are full of towering skyscrapers, sweeping skylines, and bustling streets that seem to demand a broad perspective.
But sometimes, the most striking urban images come from doing the exact opposite.
Related: offer ending soon for the Composition Cheat Sheets  Summer Perspective Sale

Photo captured by Kit Ko, 70mm
A telephoto lens can transform an ordinary street into a dense maze of architecture by visually stacking buildings on top of one another. This effect, often called lens compression, creates photographs that feel more dramatic, more organized, and more visually powerful than what your eyes naturally see.
If you’ve never experimented with this technique, here’s how to make it work.
Despite the name, telephoto lenses don’t actually compress distance. Instead, the effect comes from photographing distant subjects with a narrow angle of view. As you move farther away and zoom in, objects that are physically separated begin to appear much closer together.
In a city, this means buildings that may be blocks apart suddenly look like they’re standing shoulder to shoulder.
The result is a photograph with:
It’s one of the easiest ways to make a familiar skyline feel fresh.
You don’t need an enormous super-telephoto to create compression. Even a standard 70–200mm zoom is capable of producing beautiful results.
As a general guide:
Try zooming in much farther than feels natural. Many photographers stop too early and miss the strongest compression effect.
The secret to this technique isn’t just the lens—it’s your position.
Look for places where your view extends deep into the city. Long streets, bridges, elevated walkways, rooftops, parking garages, and hilltops all create ideal shooting locations.
The farther you can see, the more opportunities you’ll have for buildings to overlap and create those beautiful layers.

Instead of photographing a single building, think about photographing an entire corridor of architecture.
Once you’ve found your viewpoint, resist the temptation to include lots of empty sky or foreground.
Zoom tighter until the architecture dominates the image.
This emphasizes repeating windows, textures, colors, and shapes while removing distractions that don’t contribute to the composition.
Often, the strongest image is much tighter than you’d expect.
Lighting plays a huge role in making compression work.
Early morning and late afternoon create shadows that separate each layer of buildings, helping viewers distinguish the stacked architecture.
Warm light reflecting off glass windows can also add beautiful color and contrast that isn’t present during the middle of the day.
Even slight side lighting can dramatically improve the depth of a compressed scene.
Don’t avoid hazy weather.
Light fog, humidity, or atmospheric haze often enhances compressed city photographs by naturally separating distant buildings with subtle changes in contrast.
Rather than looking flat, the scene gains depth while still maintaining that tightly packed urban feel.
Rainy days can also work wonderfully by adding reflections, saturated colors, and moody skies.
Compressed cityscapes become even more compelling when there’s something happening within them.
Watch for pedestrians crossing the street, cyclists, buses, trains, taxis, or even someone standing at a crosswalk.

Photo captured by jelle boele, 95mm
A single person surrounded by towering buildings immediately gives viewers a sense of scale while adding a storytelling element to the photograph.
One downside of telephoto photography is that camera shake becomes much more noticeable.
Use a fast enough shutter speed for your focal length, enable image stabilization if available, and whenever possible, brace yourself against a railing or wall.
If you’re photographing blue hour or nighttime cityscapes, a tripod will make a noticeable difference in image sharpness.
Most photographers automatically shoot city skylines horizontally, but vertical compositions can be just as effective.
A portrait orientation emphasizes the height of skyscrapers while allowing multiple buildings to stack dramatically from front to back.
Don’t be afraid to crop tightly either. Removing unnecessary elements often strengthens the feeling of density and focuses attention on the architectural layers.
Wide-angle lenses certainly have their place in city photography, but they aren’t the only way to tell the story of an urban landscape.
By stepping back, zooming in, and using the natural compression of a telephoto lens, you can transform ordinary streets into bold, graphic compositions filled with repeating patterns and dramatic architectural layers.
The next time you’re exploring a city, leave the ultra-wide lens in your bag for a while. Find a long street, zoom in, and see how the Compression Corridor technique can reveal a completely different perspective of the place you’re photographing.
Are you ever tired of your photos looking dull or boring? These popular Composition Cheat Sheets have you covered. With clear, concise information on all the essential elements of composition, you’ll never be unprepared again. They are currently 81% off for a Summer Perspective Sale which ends soon if you want to check them out.

The perfect companion for any photographer. Print one out whenever you need it. These cheat sheets consolidate crucial composition-related information, allowing you to concentrate on what truly matters – composing striking photographs.
Deal ending soon: The Composition Cheat Sheets at 81% Off
Noise is one of the biggest challenges photographers face, especially when shooting in low light or at high ISO settings. Traditional noise reduction often comes with a frustrating tradeoff: cleaner images, but softer details.
Modern AI-powered tools have changed that.
Denoise Max is designed to intelligently distinguish between real photographic detail and unwanted image noise. Instead of applying the same blur across the entire image, it analyzes the scene, recognizes objects and textures, and selectively removes noise while preserving fine details.
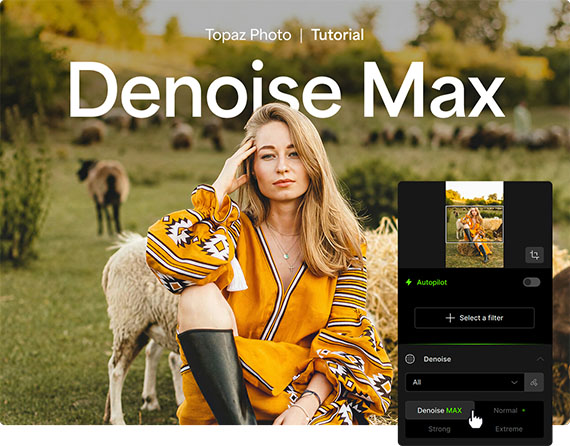
It can even sharpen slightly blurry areas without degrading parts of the image that are already crisp.
Here’s how to use it.
Open Topaz Photo and start a new editing session. Denoise Max is integrated directly into the workflow, making it easy to enhance your images without complicated settings.
Load the image you’d like to improve.
For the best results, choose a relatively high-quality original image that contains visible noise from high ISO settings or difficult lighting conditions. The cleaner the source file, the more effectively the AI can recover natural-looking detail.

Choose the Denoise tool, then select Denoise Max.
The AI analyzes your photo, identifying subjects, textures, edges, and fine details. It removes unwanted noise while preserving important features such as hair, feathers, foliage, skin texture, and architectural details.
Slightly soft areas can also be sharpened automatically, while already-sharp portions of the image remain untouched.
This selective approach helps produce a much more natural result than traditional global noise reduction.
Use the Strength slider to control how aggressively the noise reduction is applied.
A lower setting preserves more of the original image, while higher settings remove additional noise. It’s often best to increase the strength gradually until the noise is minimized without making the image appear overly processed.
Once you’re happy with the preview, process the image.
You can run the enhancement locally on your computer or choose cloud processing if available. Processing time will depend on your hardware and the size of the image.
If certain parts of the image need different treatment, edit the selection manually.
For example, you may want stronger noise reduction in smooth skies while preserving maximum detail in a bird’s feathers, a person’s face, or textured landscapes.
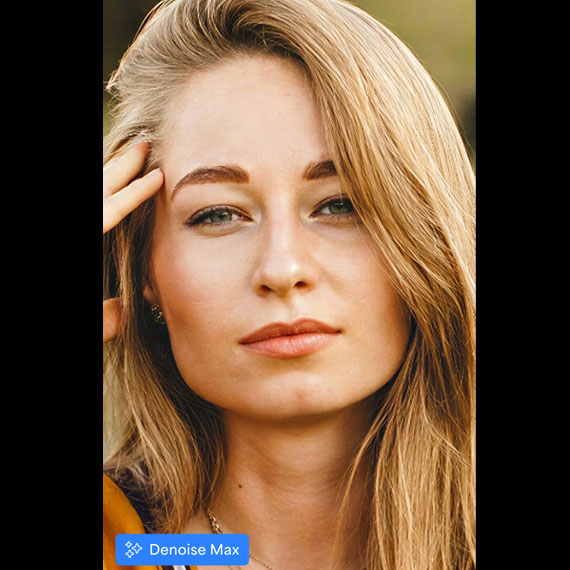
Selective adjustments give you greater control over the final result and help maintain a natural appearance throughout the image.
AI-powered noise reduction has advanced dramatically in recent years. Instead of simply blurring away grain, tools like Denoise Max intelligently analyze each image to preserve important detail while eliminating distracting noise.
Whether you’re photographing wildlife, landscapes, astrophotography, sports, or portraits, advanced AI denoising can help you recover cleaner, sharper images while maintaining a natural look.
Try it on Your Photo: New Denoise Max Model in Photo AI