


Black and white photography lives and dies by tonal nuance. When you remove color, you remove a major layer of separation. What’s left? Light, shadow, midtones, and texture. That means how you expose your image matters even more than it does in color.
One of the most powerful — and most misunderstood — exposure strategies for black and white work is ETTR: Expose To The Right.
Let’s break down what it actually does and why it can dramatically improve your monochrome conversions.
Related note: only a little while left for the Black and White Drills at 87% Off
What “Expose To The Right” Actually Means
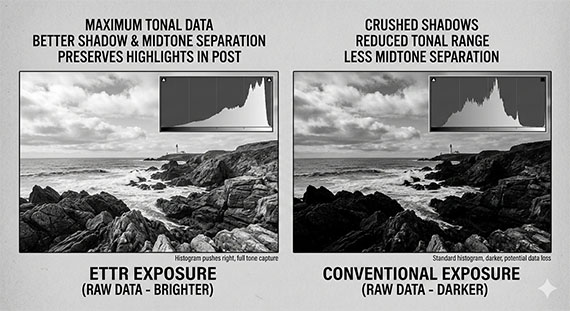
When you look at your histogram, the left side represents shadows and blacks.
The right side represents highlights.
Exposing to the right means increasing exposure so that the bulk of your histogram data shifts toward the highlight side — without clipping important highlights.
This does not mean blowing out whites.
It means placing your exposure as bright as possible while preserving detail.
Why ETTR Matters More in Black and White
Digital sensors capture more tonal information in brighter exposure values than darker ones.
In simple terms:
- The right side of the histogram contains more usable data.
- The left side contains fewer tonal steps and more noise.
When you underexpose, you compress shadow and midtone information into a narrower band of data. Later, when you convert to black and white and try to increase contrast, those compressed tones break apart quickly — leading to:
- Muddy midtones
- Blocky shadows
- Loss of subtle texture
- Increased noise
But when you expose to the right:
- Midtones are recorded with more tonal depth.
- Shadow detail survives adjustments.
- Contrast can be added later with precision.
Black and white conversion thrives on tonal flexibility. ETTR gives you that flexibility.
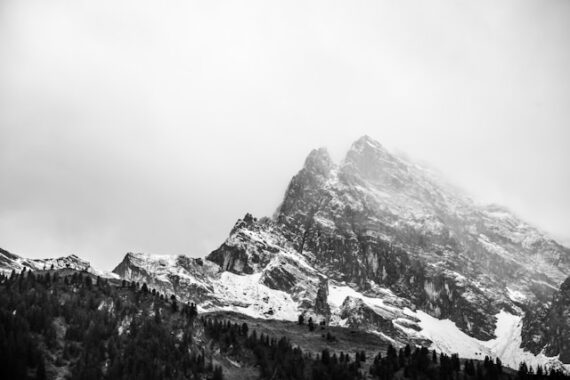
Photo captured by Chris Herath
The Midtone Separation Advantage
Most photographers think ETTR is about highlights.
In black and white, it’s actually about midtone separation.
Why?
Because when you brighten exposure in-camera:
- Skin tones sit in a richer tonal band.
- Textures (fabric, stone, foliage) retain more detail.
- Subtle brightness differences don’t collapse into gray mush.
When you later darken the image during editing to establish contrast, those midtones spread out beautifully instead of clumping together.
This is the key:
You capture data bright.
You shape contrast later.
But What About Highlight Detail?
Here’s where people get nervous.
“Yes, but won’t I lose highlights?”
Only if you push too far.
ETTR requires discipline:
- Watch your highlight warning (“blinkies”).
- Use the histogram, not just the LCD preview.
- Know which highlights matter.
Specular highlights (like reflections on water or metal) often don’t need detail. But clouds, skin, fabric, and architectural surfaces usually do.
The goal isn’t to eliminate bright areas. It’s to avoid clipping important ones.
ETTR and RAW: Non-Negotiable
This technique only works properly if you shoot RAW.
JPEG files compress tonal information aggressively. If you overexpose even slightly, highlight recovery becomes limited.
RAW files retain far more highlight latitude, giving you room to pull exposure back while preserving detail.
If you’re serious about black and white tonal control, RAW is not optional.
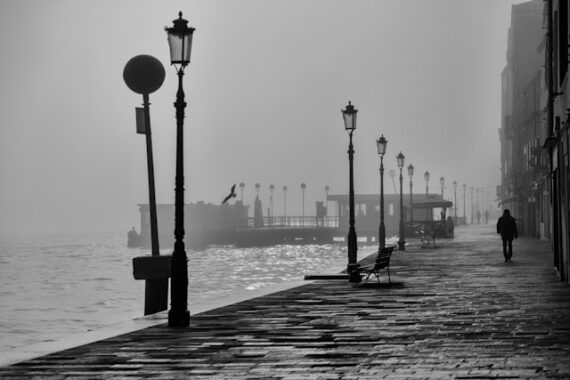
Photo captured by Philippe Mignot
When ETTR Doesn’t Make Sense
There are exceptions.
- High-contrast scenes where highlight protection is critical.
- Fast-moving subjects where you can’t carefully meter.
- Intentional low-key compositions.
ETTR is a tool — not a rule.
In true low-key black and white images, placing tones too far right can actually reduce mood.
A Simple Field Workflow
Try this next time you’re shooting with black and white in mind:
- Set your camera to show a histogram.
- Increase exposure until data approaches the right edge.
- Pull back slightly to avoid clipping important highlights.
- Shoot in RAW.
- In post-processing, lower exposure and build contrast intentionally.
You’ll notice something immediately:
The image feels more flexible.
More depth.
More separation.
Less mud.
The Bigger Picture
Black and white photography removes the safety net of color contrast.
That means tonal structure must carry the image.
ETTR helps you capture the maximum tonal information your sensor can deliver — especially in the midtones where most black and white images live.
You’re not just making the image brighter.
You’re preserving options.
And in monochrome work, options equal control.
Ever created black and white photos that are washed out and full of unwanted grey mid-tones? It’s not your fault!
These new Black and White Drills (currently 87% off today) will give you 7 unique and powerful black and white photography projects so that you can learn as you’re shooting.
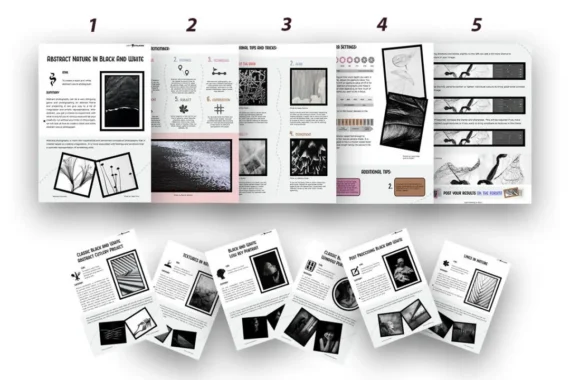
These projects take you through one fundamental black with everything you need to quickly learn that specific outcome – from concept through to shooting and onto post-production.
Deal ending soon: The Black and White Drills at 87% Off
from PictureCorrect https://ift.tt/daD8CBk
via IFTTT


0 kommenttia:
Lähetä kommentti