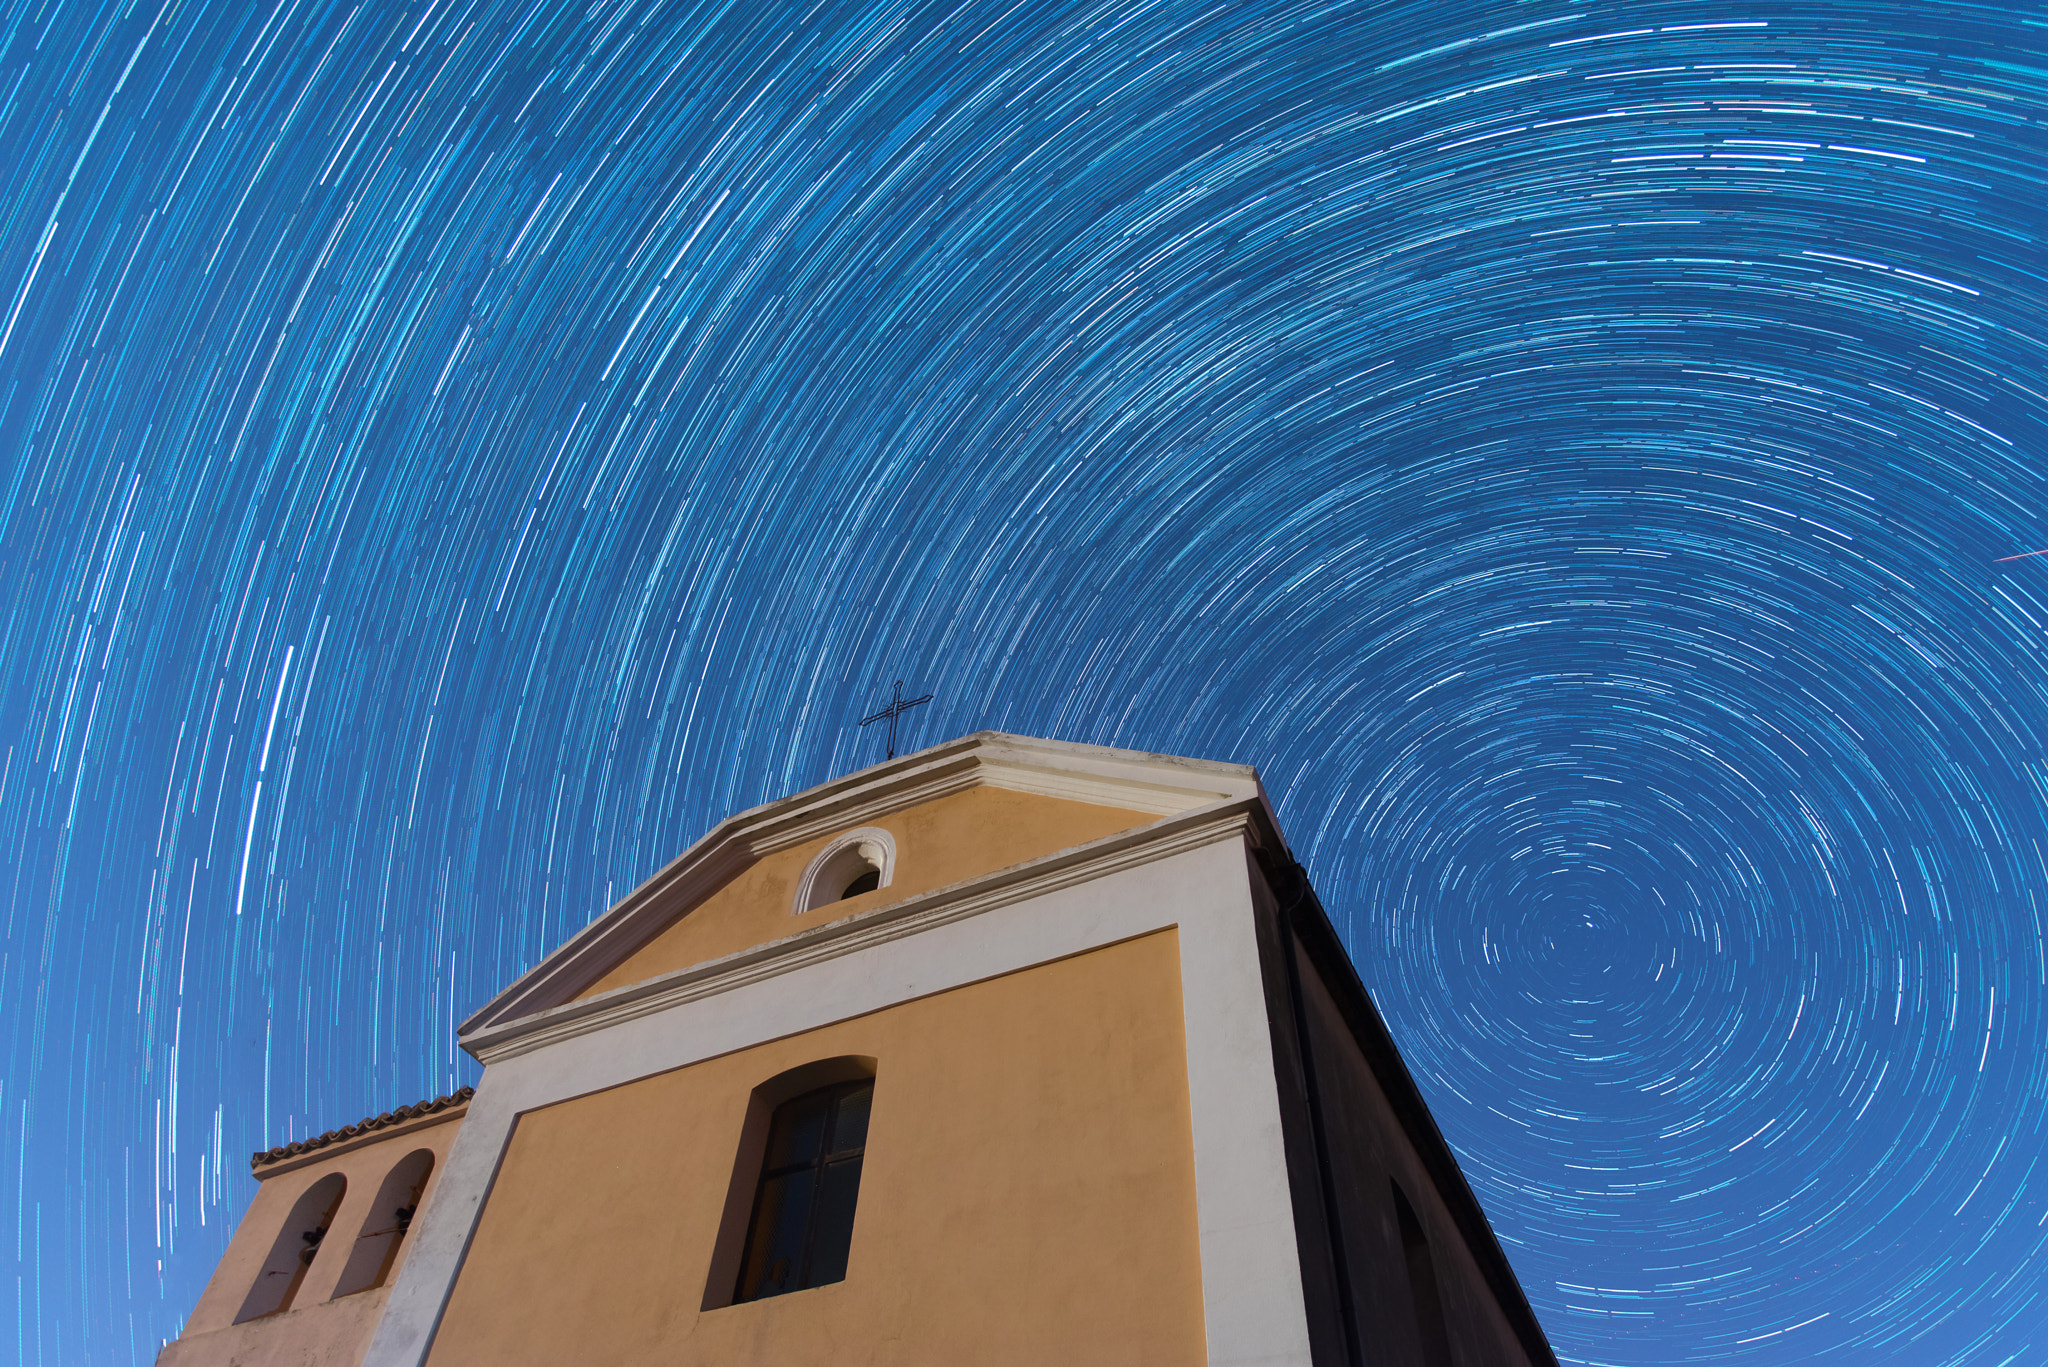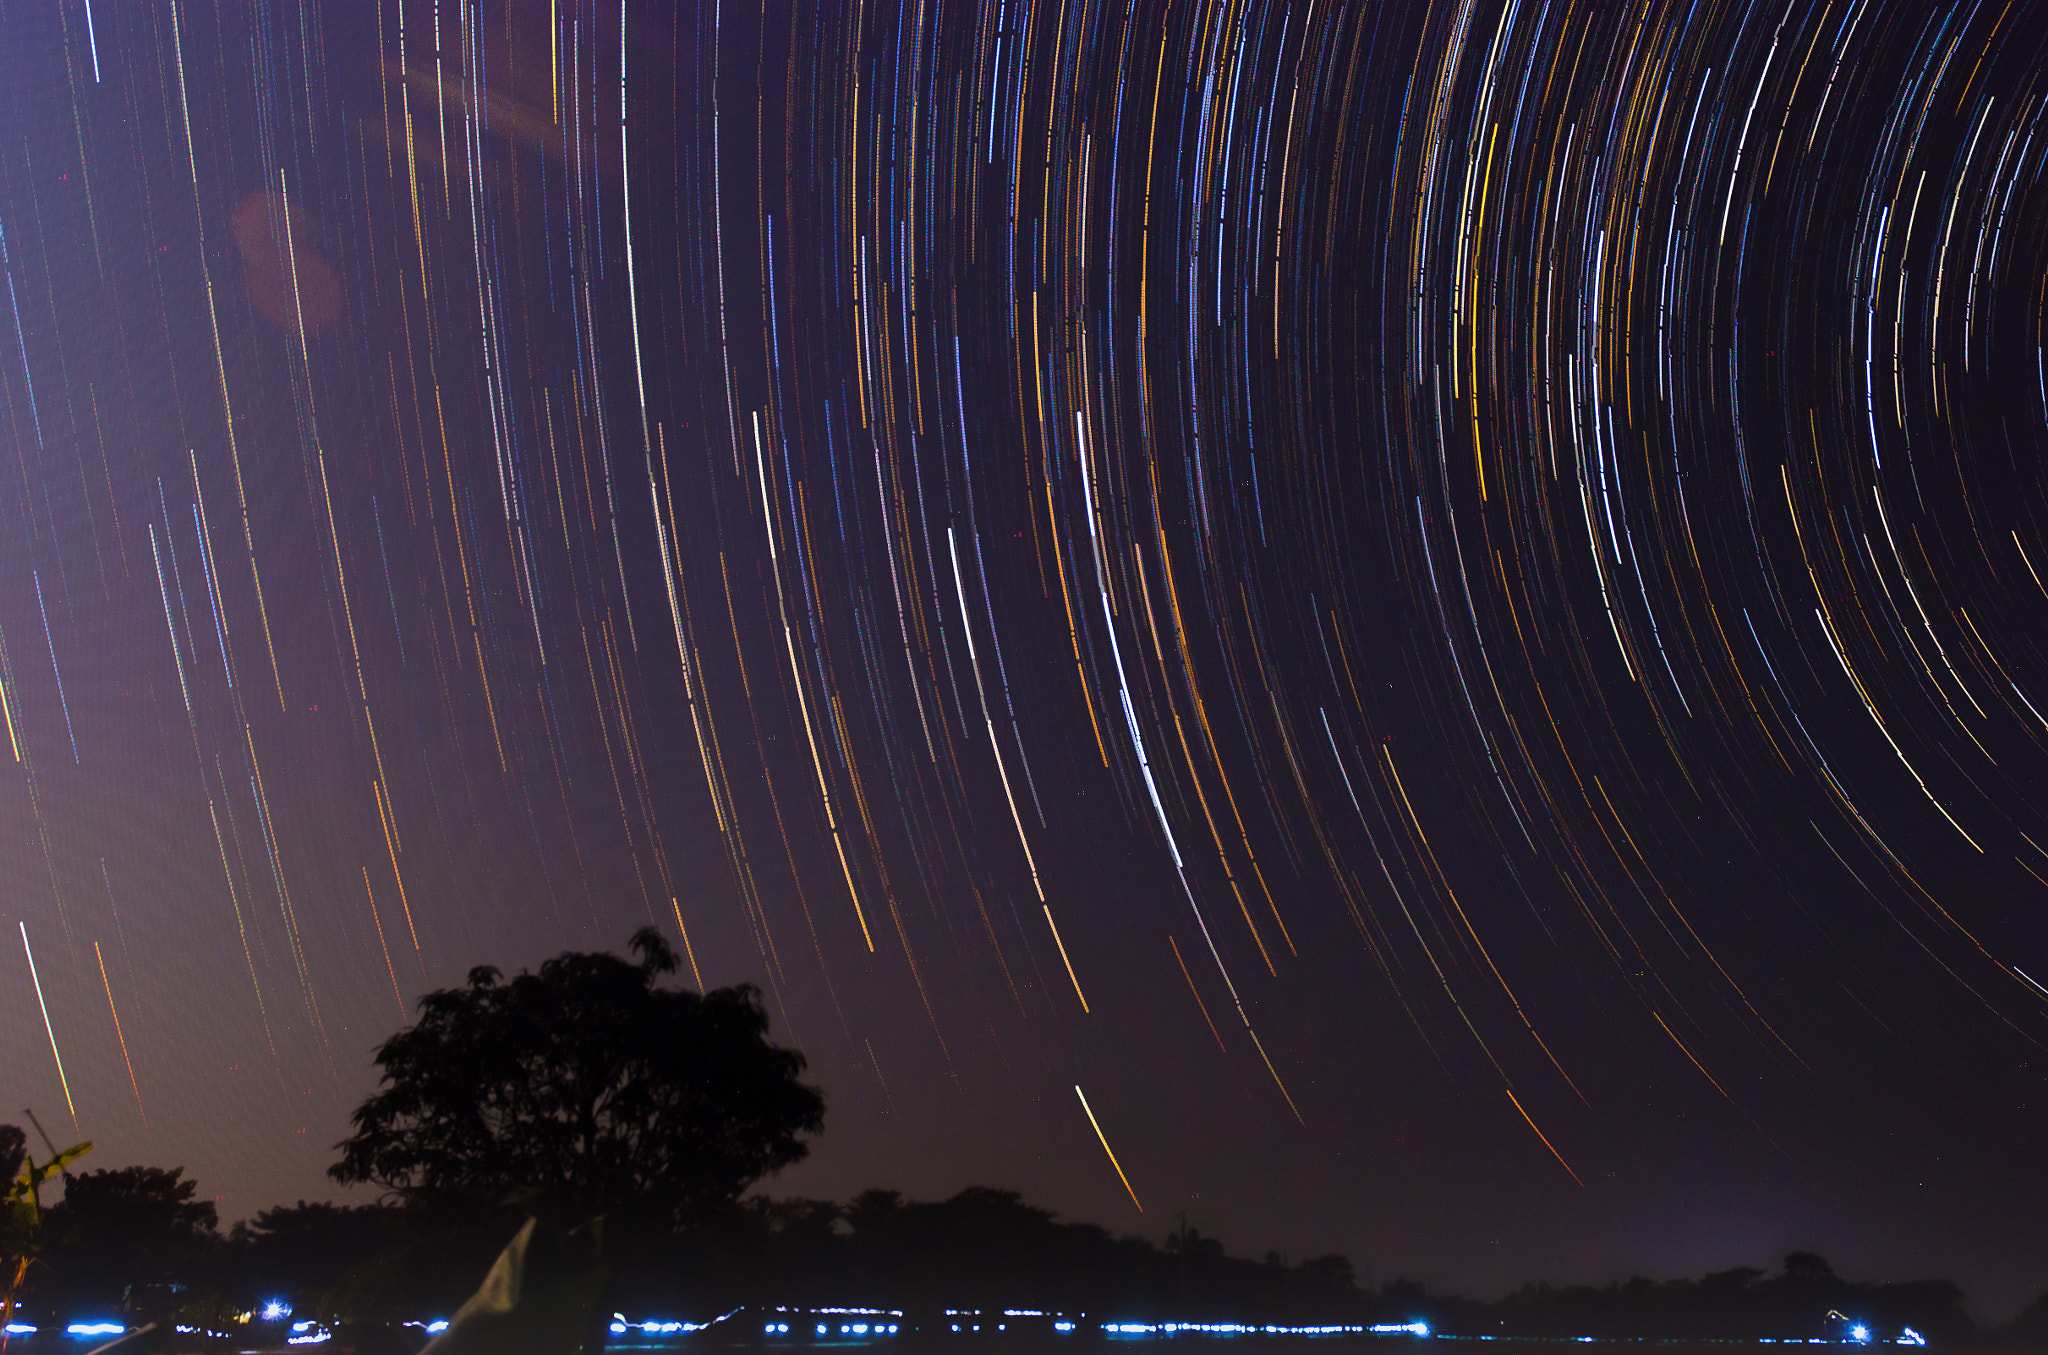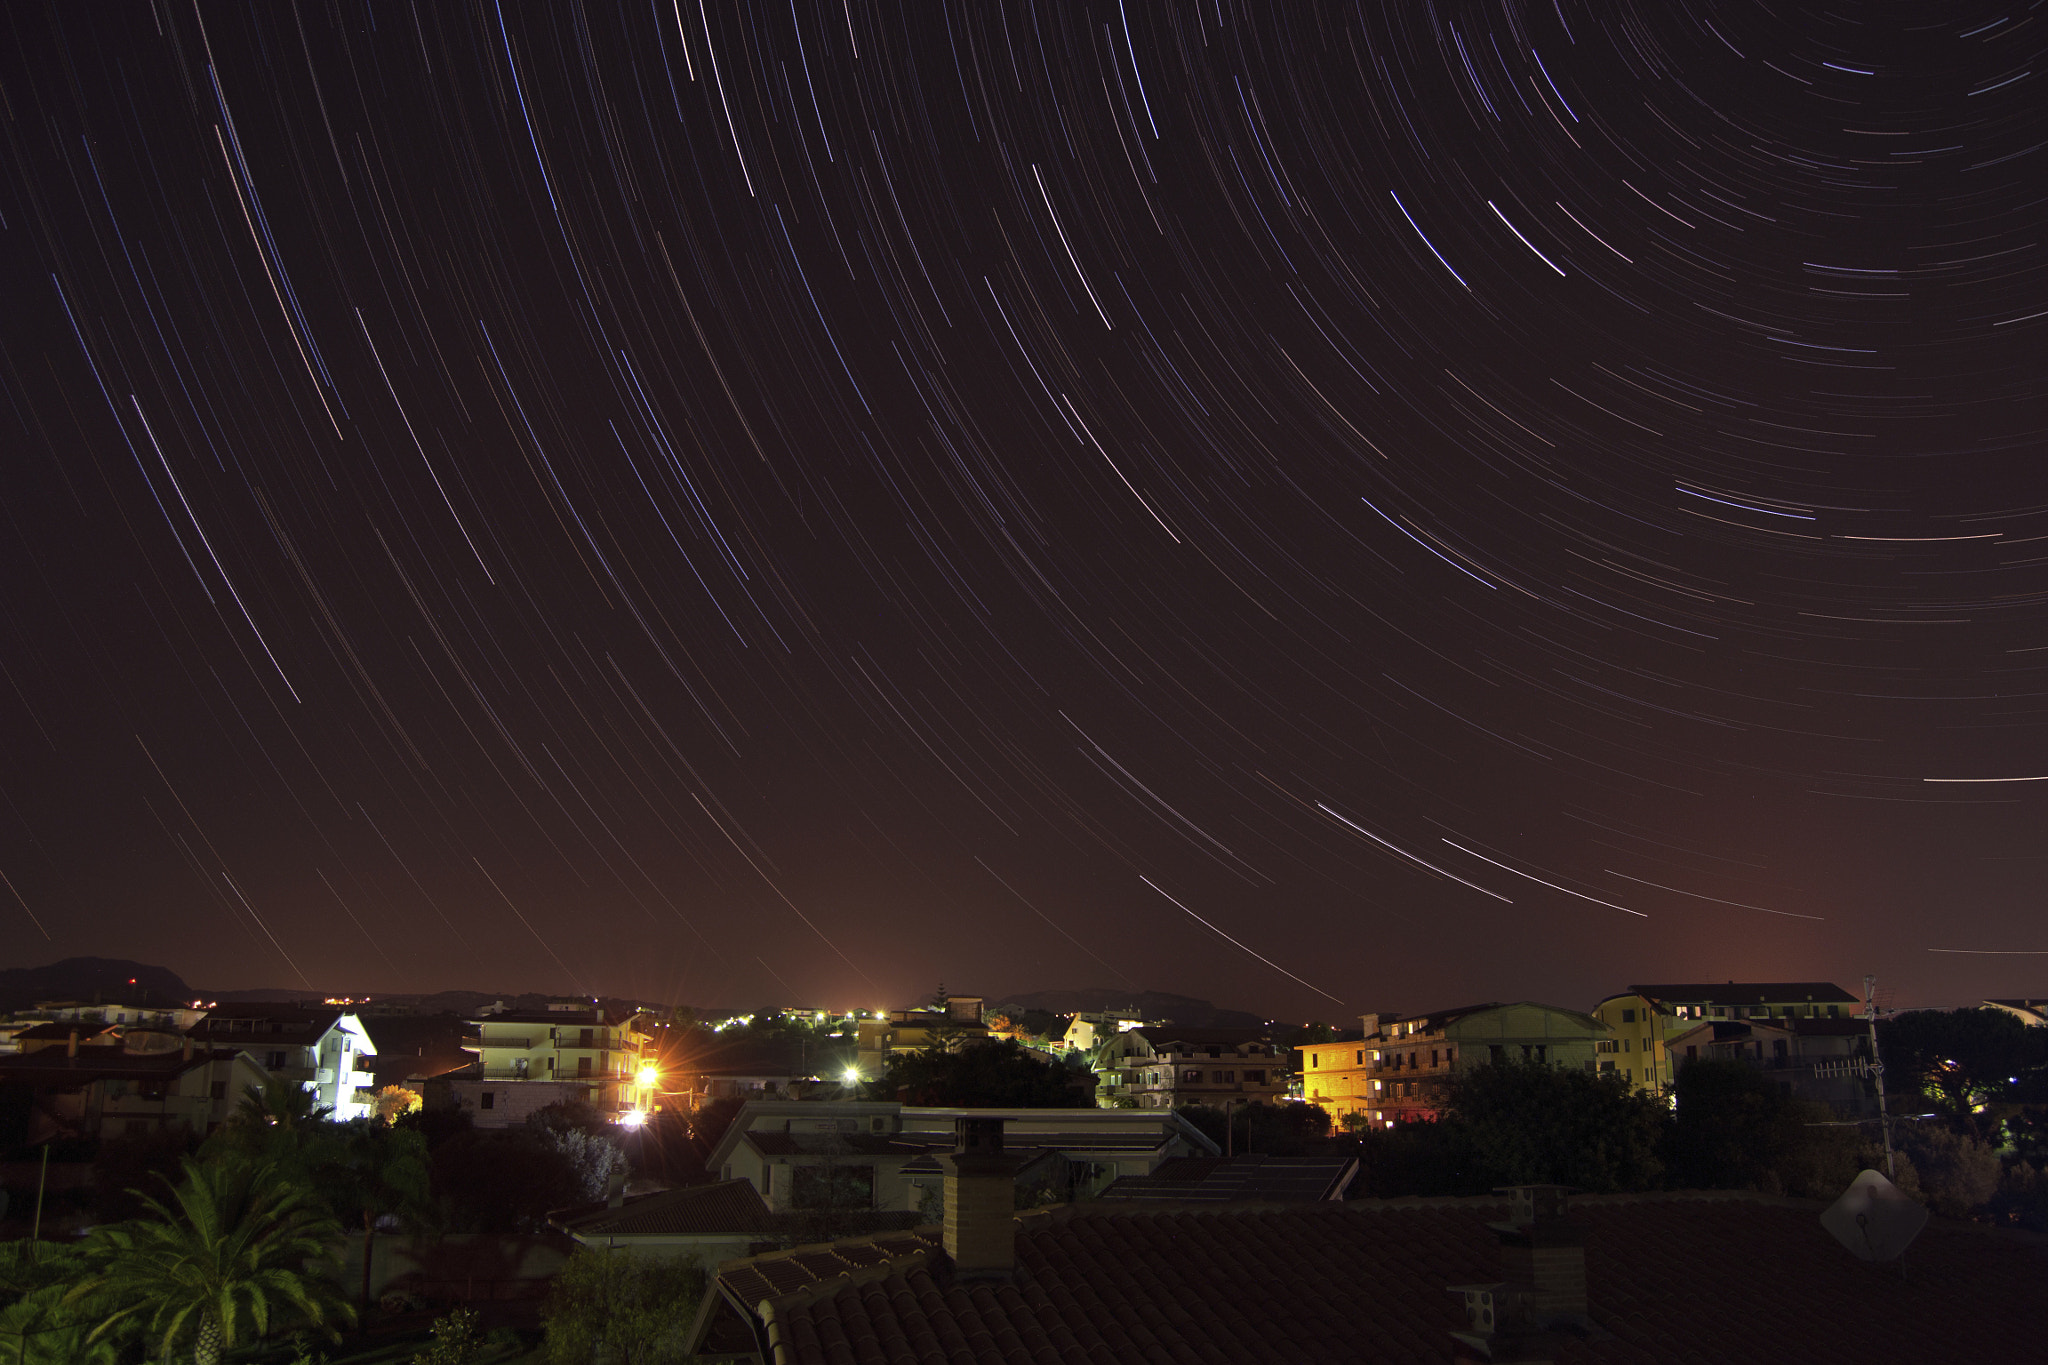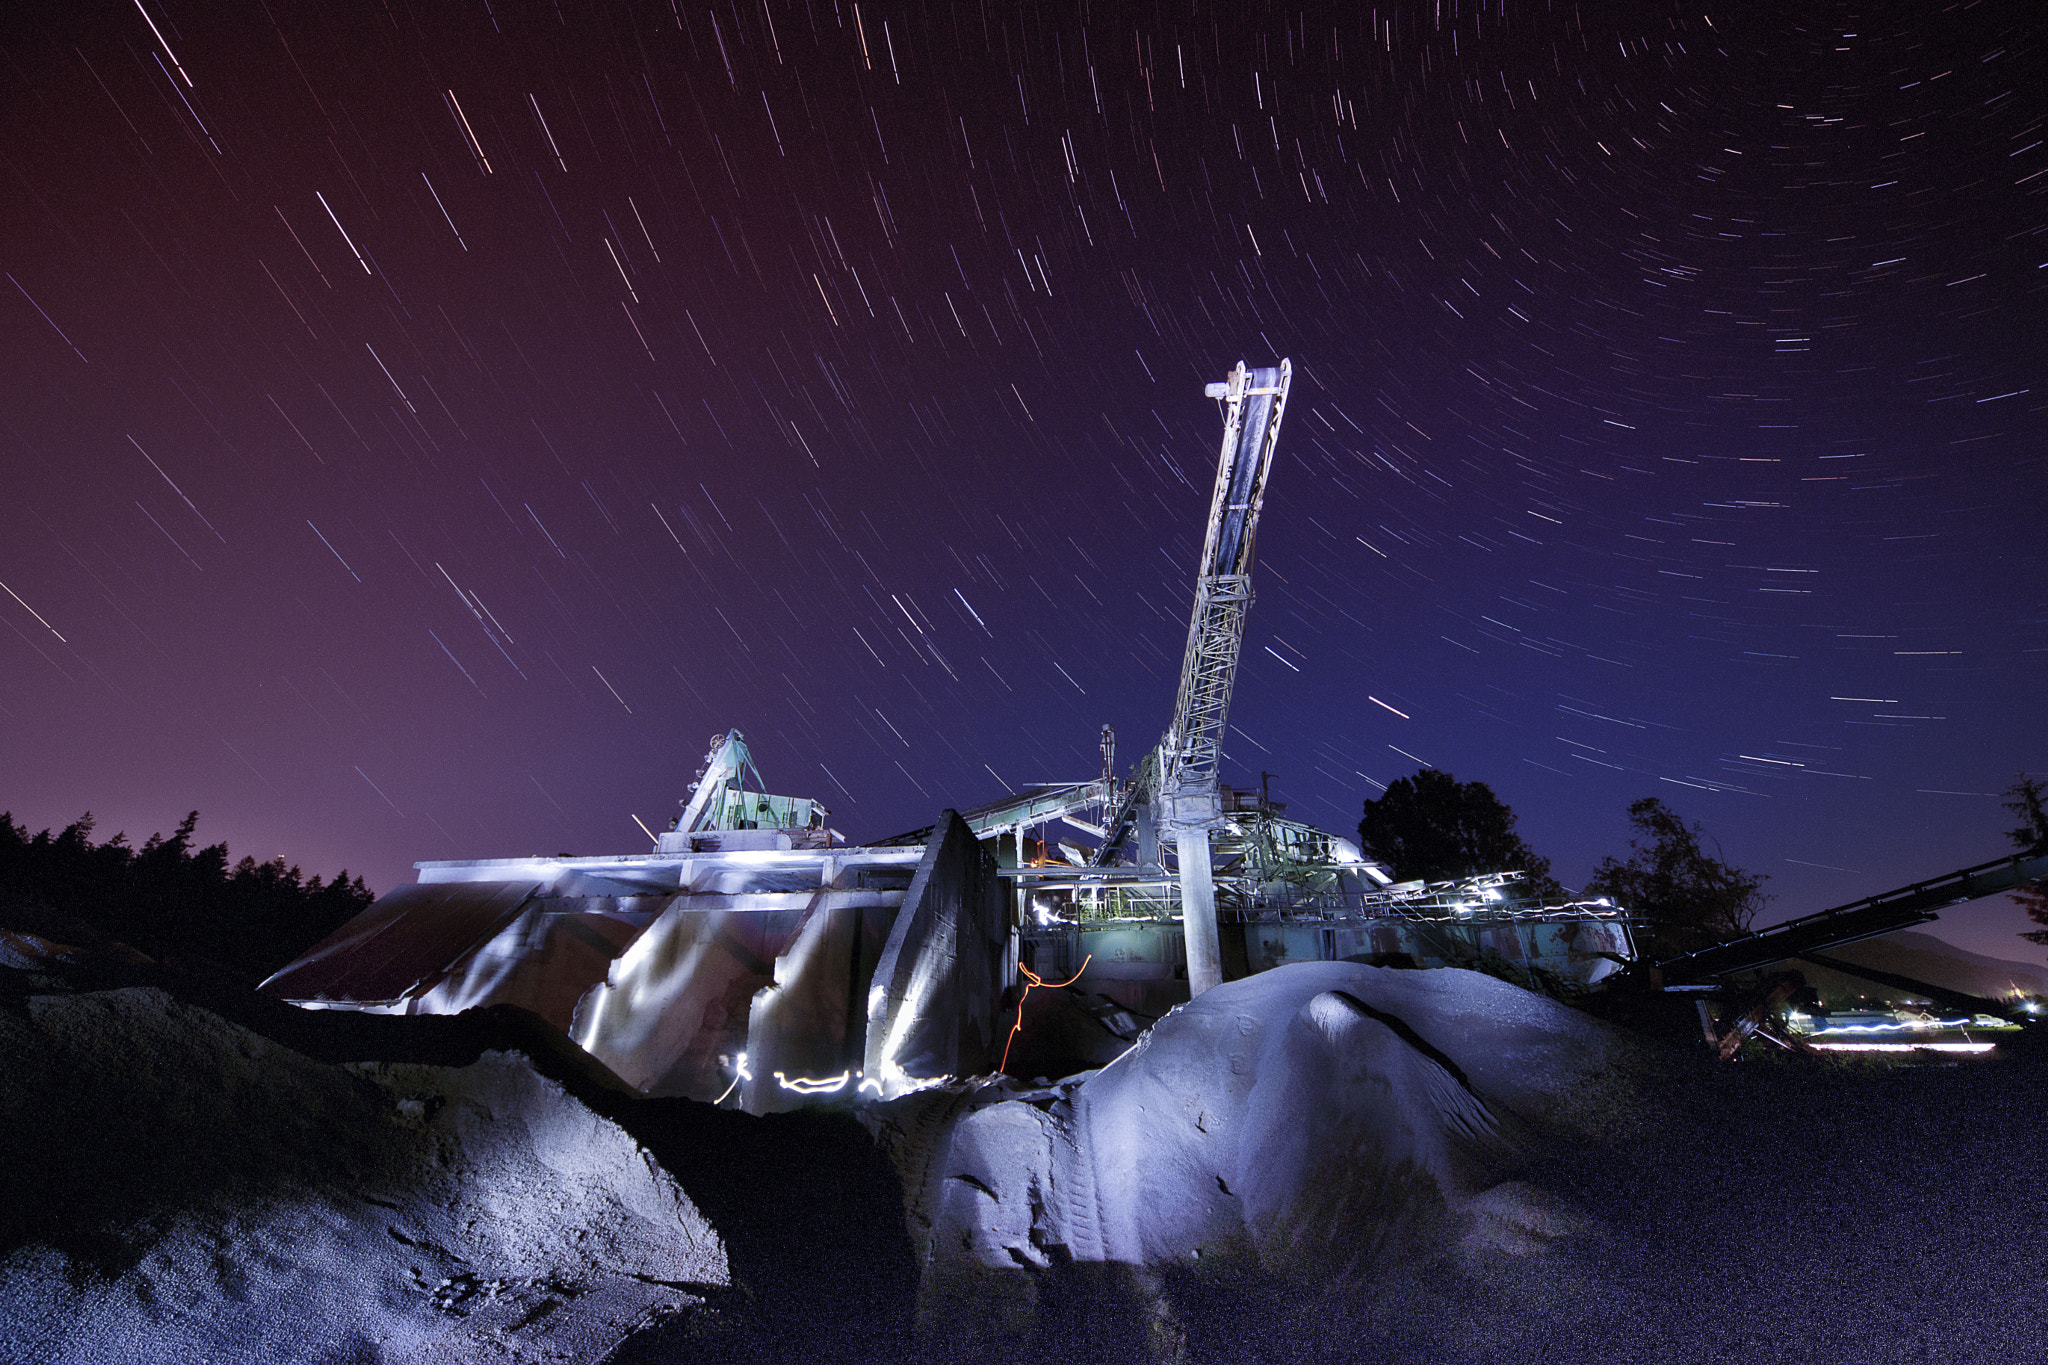
The gravel pit was lit up by me .. about 15 minutes with a Led Lenser torch! via 500px https://ift.tt/Zx2QBnA


Taking pictures at night gives an image a completely different feel because it captures different stories of daily life—sometimes more dramatic than the ones captured during the day. There is also a whole new cast of characters at night that make taking pictures on the streets after dark an even more adventurous experience in street photography.

Barcelona, Spain © Juan Jose Reyes
Just by decreasing the available light, we increase the element of mystery in the image. Don’t get me wrong, it could still be an average image. Just because it was taken at night the picture won’t magically become a great photograph, but it might become a little bit more interesting. It may make the viewer ask just a few more questions. And depending on where you are, it may even add an element of danger.
“You don’t have to go looking for pictures. The material is generous. You go out and the pictures are staring at you.” –Lee Friedlander

South Beach, Miami Beach, FL © Juan Jose Reyes
I think this is key for several reasons. First, the ugly artificial light that results from the flash is just too harsh and unnatural. It also calls way too much attention to the photographer, and the idea in street photography is to blend in, not stand out like a lighthouse. Also, people expect the flash to go off after you take a picture at night; when they don’t see the bright light coming from the camera that was pointed at them, they think that you didn’t take a photo and they probably won’t question you. I never use flash when I shoot at night (or day or ever, for that matter). It might take some practice but in a short time you won’t miss it.

Barcelona, Spain © Juan Jose Reyes
More than a suggestion, this is a necessity. Unless you increase the ISO, the shutter speed might become too slow and the whole picture will be way too blurry to even see what’s going on. As I wrote before, a little bit of motion blur is fantastic and makes for great street photography shots. But if the photo’s too blurry it loses the effect and is just confusing.
High ISO will also give the image some “noise” and it will look grainy, which is a great look for street photography. Make grain and blur your friends, not your enemies.
“New images surround us everywhere. They are invisible only because of sterile routine convention and fear.” –Lisette Model
Find a bright corner or a storefront window and position yourself in a way that it will light your subject’s face. Or maybe you want the light to their backs to make them silhouettes. Either way is fine, the choice is yours. It’s all a matter of moving around the light. Find what works and wait for an interesting subject to walk by. Try pointing the camera into the inside of storefronts or brightly lit buses; the light may be just enough to capture great scenes of people unaware that you are capturing the scene.

Barcelona, Spain © Juan Jose Reyes
4. Use fast lenses
Fast lenses, with maximum apertures such as f/2.8 or f/1.4 are great for low light situations. The same thing applies to full frame cameras. Any lens or camera is fine but full frame cameras or fast lenses make things easier because they have a better sensitivity to light. Use what you have and practice and look at the results before you invest your paycheck in a more expensive camera or lens.
“Anything that excites me for any reason, I will photograph; not searching for unusual subject matter, but making the commonplace unusual” –Edward Weston
It’s not necessary to go to a dangerous area to get interesting pictures. Any crowded area will do, especially if you are just starting.

Miami Beach, FL © Juan Jose Reyes
Taking pictures on the streets at night is not the usual thing to do, but if you want to give your street photography a little extra excitement consider going out for a walk after the sunlight has been replaced by street lamps.
About the Author:
Juan Jose Reyes is a street photographer based in Miami, Florida.
Capturing the raw power and beauty of a lightning strike is a dream for many photographers. However, the unpredictability and speed of lightning make it a challenging subject. Enter lightning triggers: devices designed to help photographers capture these fleeting moments. In this blog post, we’ll delve deep into how lightning triggers work and provide tips for using them effectively.
Relevant note: for a lightning photography cheat sheet and more difficult rare weather situations, you may want to check out this summer sale wrapping up soon on the popular Photography Adventure Cheat Sheets at 80% Off
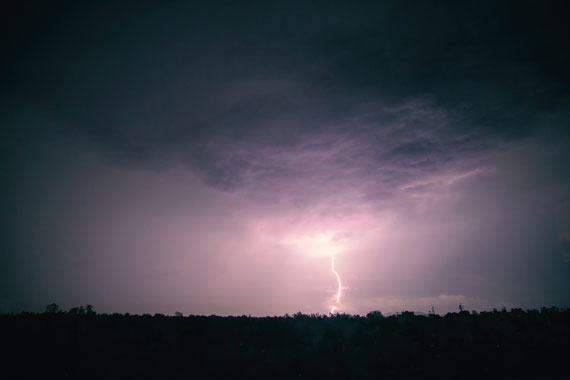
Photo captured by Dan Aragón
A lightning trigger is a device that detects a lightning strike’s initial flash and instantly triggers a camera’s shutter. This allows photographers to capture lightning with precision, without relying on luck or continuous shooting.
a. Detection Mechanism:
Most lightning triggers use an infrared (IR) or visible light sensor. When a sudden increase in light intensity is detected (indicative of a lightning strike), the device sends a signal to the camera to take a picture.
b. Response Time:
The key to a good lightning trigger is its response time. Lightning strikes are over in a matter of milliseconds, so the trigger needs to be fast. High-quality triggers can respond in less than a millisecond.
c. Sensitivity Adjustment:
Some triggers allow users to adjust sensitivity. This is useful in varying lighting conditions. For instance, during the day, a trigger might need to be more sensitive than at night.
a. Mount on a Tripod:
Given the long exposure times often required for lightning photography, it’s essential to have a stable setup. A tripod ensures that your camera remains steady, preventing blurry images.
b. Manual Focus:
Autofocus can struggle in low light conditions or with distant subjects like lightning. Set your lens to manual focus and focus on a distant object to ensure clarity.
c. Camera Settings:
d. Positioning:
Safety first! Stay inside a vehicle or a safe structure. Position your camera to have a wide view of the sky, anticipating where lightning might strike.
e. Test the Trigger:
Before the storm arrives, test your trigger to ensure it’s working and that your camera settings are correct.
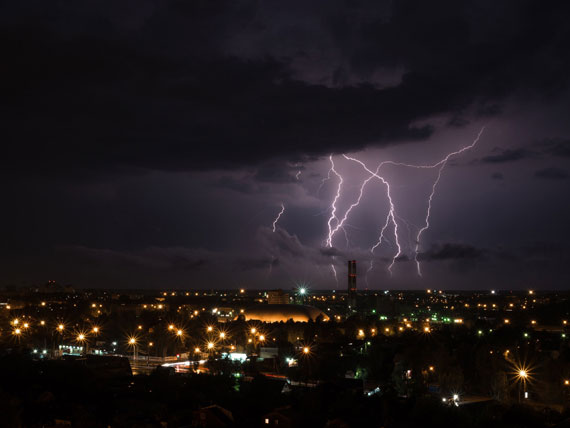
Photo captured by Natalya Letunova
a. Day vs. Night:
Lightning triggers can be more effective at night when a lightning strike provides a significant contrast against the dark sky. During the day, the sensitivity might need adjustment.
b. False Triggers:
Sudden changes in light, like car headlights or other flashes, can cause the trigger to activate. It’s essential to be aware of your surroundings.
c. Battery Life:
Using a lightning trigger can drain both the trigger’s and the camera’s batteries faster. Always have spare batteries on hand.
Lightning triggers are invaluable tools for photographers looking to capture the majesty of a storm. While they can significantly increase the chances of getting that perfect shot, it’s essential to understand their workings and limitations. With the right equipment, settings, and safety precautions, you’ll be well on your way to capturing nature’s spectacular light show.
For help remembering the camera settings for difficult situations like this, a set of Photography Adventure Cheat Sheets are designed to help. They are currently 80% off for a Summer Sale which ends soon if you want to check them out.
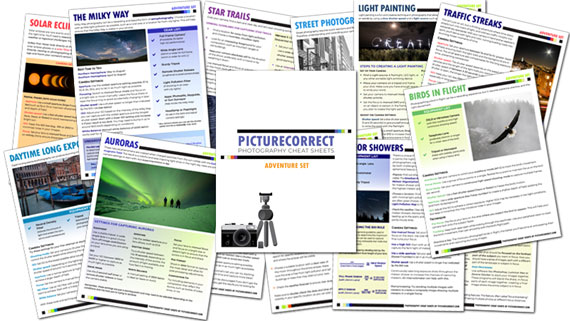
New! Cheat Sheets for Your Photography Adventures (see how they work)
The perfect companion for any photographer. Print one out whenever you need it. Whether you’re going on vacation or seeking out a specific photography adventure, these cheat sheets can provide you with the knowledge and inspiration you need to create your best work yet.
Offer ending soon: The Photography Adventure Cheat Sheets Summer Sale