


Shooting macro photography outdoors is a fantastic way to explore nature. However, lighting conditions can be very unpredictable here. Using an off-camera flash can help boost the quality of your macro images by better illuminating your subject. Particularly those that thrive in dense, dark forest undergrowth, like the fungi and flora Andrew Lanxon spent a day photographing. In this video, he travels to Queen Elizabeth Forest Park in the Scottish Highlands, sharing his top off-camera flash macro photography tips.
Andrew’s Gear & Camera Settings
Andrew brings his Canon EOS R5, RF 100mm f/2.8L Macro IS USM lens, and off-camera flash for this shoot. Plus, a mini tripod for both his camera and lens, which help keep them dry and stabilize shots. Though, he encourages holding the off-camera flash with your hands or even anchoring it between your knees, if necessary.
His ISO, aperture, and shutter speed settings vary drastically depending on his subject throughout the shoot. But he makes sure to stack focus so he can combine these images later on to create sharper ones. He also packs something extra; a little spray bottle with water inside.
.. it’s not raining right now, and I’d love to try to capture something that brings that suggestion of weather back in… I’ve done some of these shots before, where you spray the mist, and then, if you use your off-camera flash, that light captures all of those droplets, and it looks absolutely beautiful…
Step 1: Bring A Change of Clothes
When you’re out hunting macro photography subjects, like low-lying fungi, flora, and fauna, you’ll need to get down on the ground. As such, it’s a good idea to bring a change of clothing, especially when venturing into damp places like forests.
You’ll likely get wet, dirty, dusty, sweaty, and generally disheveled. So a few cleaning essentials or toiletries may help, as well. Some wet wipes, a hand towel, travel towel, kitchen roll, or wet bag, for example. Packing lightweight, water-resistant or waterproof clothing and camera bags is also ideal, as these will dry off quicker.
Step 2: Find Your Subject
Macro photography focuses on the world less easily apparent to the human eye. Therefore, taking a breathtaking macro shot involves finding that perfect (almost microscopic) subject first. Searching your terrain, be it woodland, coastal, or desert, with a keen eye is part of the process. Look for macro subjects that stand out from moss or undergrowth, be it by being a different color, texture, or shape.
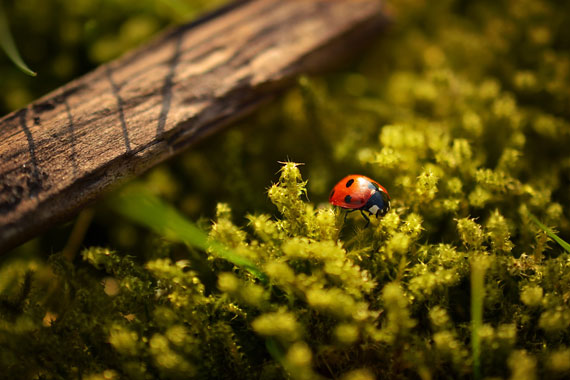
Photo captured by Jill Heyer
Andrew also prefers to shoot growth that is clean and new, not old or “raggedy-looking.” You may need to think of where your ideal subject is most likely to grow or accumulate. Then walk there, and get down on the floor to search these areas more closely. Any subject featuring water droplets can really benefit from the use of an off-camera flash, which lights up the particles.
Step 3: Combine Flash & Natural Light
One of the main reasons photographers use any type of flash is because they’re shooting in low-light conditions. Perhaps in a studio with minimal natural light. Or, in the case of this video, in the undergrowth of a forest, which typically gets little natural sunlight. When shooting outdoors, the lighting conditions can vary more than indoors.
Therefore, it’s a good idea to play around with your flash settings while still accommodating any natural light. For sunny areas, you can take your flash settings right down, and vice versa for darker areas. Off-camera flash devices are great because they are often more adjustable compared to on-camera flash.
Step 4: Play With Flash Angle & Stacking
The angle at which you place your off-camera flash will have a major effect on the resulting image. Andrew suggests trying out different flash angles for the same subject and composition to see what works best. The perfect angle can make a mundane or “flat” subject like a leaf pop. He also likes to stack multiple images featuring different lit-up angles.
He has his own process for taking the various images included. First, he sets his ISO low to ensure he’s catching minimal ambient light. When a test photo is taken without any flash, you want the image to be black. Then, he goes about taking multiple images with the off-camera flash illuminating different angles — from above, behind, the side, below, etc.
Conclusion
Macro photography is all about capturing the small subjects around us that usually fly under the radar. For this shoot, Andrew utilized his off-camera flash to illuminate even more of their fascinating details. He shared his tips and also encouraged photographers to visualize what their images could become with off-camera flash illumination.
- - - - - - - - - - - - - - - - - - - - - - - - - - - - - - - - - - - - - - - - - - - - - - - - - - - - - - - - - - - - - - - - - - - - - - - - - -
Did you appreciate this newsletter? Please help us keep it going by Joining Our Patreon Supporters
What are your thoughts on this article? Join the discussion on our Facebook Page
PictureCorrect subscribers can also learn more today with our #1 bestseller: The Photography Tutorial eBook
- - - - - - - - - - - - - - - - - - - - - - - - - - - - - - - - - - - - - - - - - - - - - - - - - - - - - - - - - - - - - - - - - - - - - - - - - -
The post How to Use Off-Camera Flash with Macro Nature Photos appeared first in the Photography Tips category on PictureCorrect.
from PictureCorrect https://ift.tt/znfO2Um
via IFTTT


0 kommenttia:
Lähetä kommentti