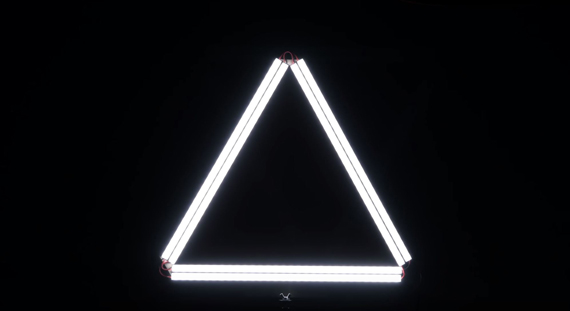
Ring lights are used for even lighting on the subject’s face and solid eye lighting. Caleb from DSLR Video Shooter created this video demonstrating how he saved money and created a unique look by constructing a homemade triangle “ring” light with LEDs:
All in all, he spent under $100 on the materials, so this could be a relatively inexpensive, fun project for you!
How to Make a Triangle Light
- Start by building the frame with six aluminum U-channels.
- Line the edges with super glue to pair up three sets.
- Place a strip of electrical tape on each end so that the wiring won’t solder the LED strips to the U-channel.
- After that, apply the LED strips. Caleb suggests choosing between two options: 90 CRI LED or 80 CRI LED strips. The higher CRI has less light and costs a bit more than the 80 CRI LEDs but causes less strain on your eyes and creates a daylight temperature. If you want the brighter option, choose the 80 CRI!
- You can use small blocks of wood as shown in the video and super glue to attach the U-channels in a triangle shape. For one of the corners, Caleb used an aluminum diecast box to contain the wiring, dimmer unit, and the power input.

- When you are wiring everything together, be sure that the negatives are attached to the negatives and the positives are attached to the positives on each strip.
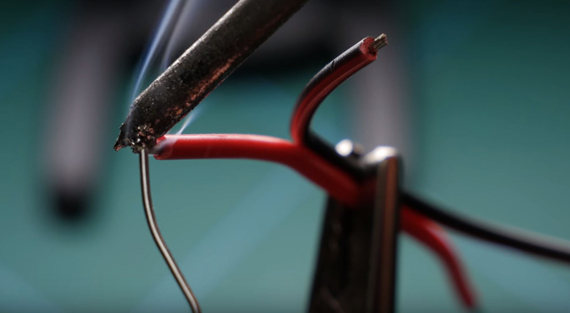
- Solder the wires to your LED strips.
- Wire up the light dimmer using the positive/negative DC inputs and the positive/negative motor input.
- Drill three holes in the aluminum wiring box: DC (power in), LED wires, dimmer knob.
- Attach the lid of the wiring box and finish up with the mounting point for your triangle ring light. Caleb used a scrap piece of wood, ball head, and wing nut to attach the light to an L-bracket. The power is controlled with a power cable and 12V battery.

This may sound like a lot of instructions and prep work, but once you have the supplies it will be easy to set up! Does a triangle LED ring light interest you?
- - - - - - - - - - - - - - - - - - - - - - - - - - - - - - - - - - - - - - - - - - - - - - - - - - - - - - - - - - - - - - - - - - - - - - - - - -
Did you appreciate this newsletter? Please help us keep it going by Joining Our Patreon Supporters
What are your thoughts on this article? Join the discussion on our Facebook Page
PictureCorrect subscribers can also learn more today with our #1 bestseller: The Photography Tutorial eBook
- - - - - - - - - - - - - - - - - - - - - - - - - - - - - - - - - - - - - - - - - - - - - - - - - - - - - - - - - - - - - - - - - - - - - - - - - -
The post How to Construct Your Own Custom LED Triangle “Ring” Light appeared first in the Photography Tips category on PictureCorrect.
from PictureCorrect https://ift.tt/LZIxpwh
via IFTTT


0 kommenttia:
Lähetä kommentti