


You can nail the focus, use a great lens, edit the RAW file beautifully—and still end up with a photo that looks strangely soft after export.
The culprit may be hiding in your export window:
Image resizing.
Related note: offer ending soon for the new Tack Sharp Photography Guide at 70% Off
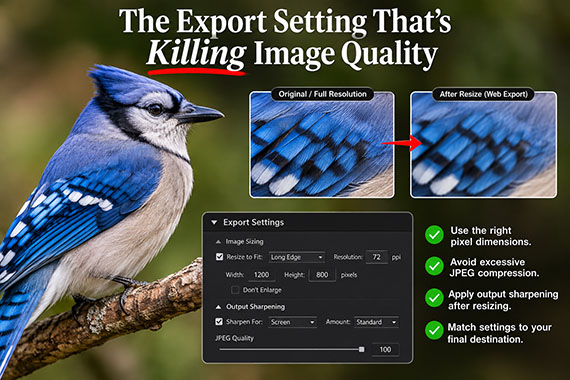
Your Photo Can Be Sharp Until You Export It
Imagine your camera produces a beautifully detailed:
6000 × 4000 pixel image
But during export, you resize it to:
1200 × 800 pixels.
That’s not necessarily wrong. Smaller images are often ideal for websites, email, and social media.
But resizing means your software must combine millions of pixels into a much smaller image. Fine details like hair, feathers, foliage, eyelashes, and distant textures can lose definition.
That’s why a photograph can look tack-sharp while editing but noticeably softer after export.
Don’t Confuse JPEG Quality With Image Size
Here’s an easy mistake to make:
You select JPEG Quality: 100 and assume you’re getting maximum image quality.
But if you’ve also resized a 45-megapixel image down to 1,000 pixels wide, you’ve still discarded most of the original image information.
Before worrying about JPEG quality, check settings such as:
Resize to Fit • Long Edge • Dimensions • Width/Height
Make sure you’re not shrinking the image more than necessary.
And Don’t Fall for the 300 PPI Myth
Changing an online image from 72 PPI to 300 PPI doesn’t magically make it sharper if its pixel dimensions remain the same.
For screen viewing, it’s primarily the actual pixel dimensions that matter.
PPI becomes much more relevant when determining physical print size.
The Step Many Photographers Forget
Resizing can soften an image slightly, which is why your workflow should ideally look like this:
Edit → Resize → Output Sharpen → Export
Programs such as Lightroom include Output Sharpening specifically for this reason.
You don’t need to go overboard. A small amount of sharpening after resizing can restore some of the crispness lost during downsampling.
Before You Click Export…
- Dimensions: Am I shrinking the image more than necessary?
- JPEG Quality: Am I using excessive compression?
- Output Sharpening: Am I sharpening for the final size?
- Destination: Is this for web, social media, email, or print?
There isn’t one perfect export setting for every photograph.
The important thing is remembering that your viewer never sees your RAW file—they see your exported file.
So if your finished photographs don’t look quite as sharp as they did while editing, don’t immediately blame your camera or lens.
Check your export settings first.
Want Consistently Tack-Sharp Photos?
Getting perfectly sharp images involves much more than simply using a tripod. Focus technique, shutter speed, aperture, camera stability, lens performance, and post-processing all play important roles.
Our new Tack Sharp Photography Guide walks you through a complete system for capturing consistently crisp, professional-looking photos in virtually any situation (currently 70% off today for a  Summer Sale).
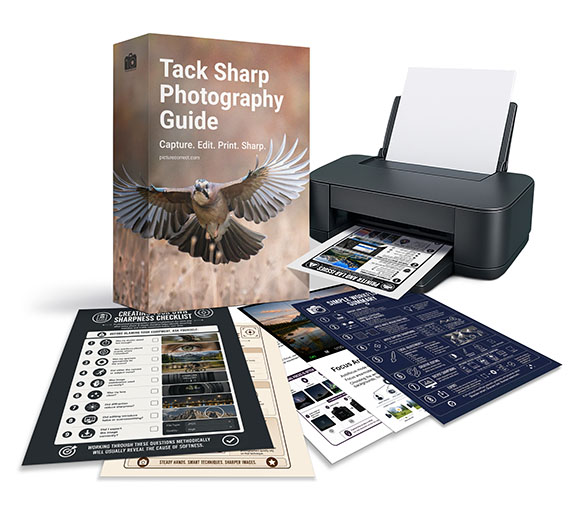
Inside, you’ll learn how to choose the right camera settings, master autofocus, eliminate camera shake, maximize lens sharpness, develop an efficient editing workflow, and prepare your photos for stunning prints. Whether you shoot landscapes, wildlife, travel, portraits, macro, or sports, the techniques apply to virtually every style of photography.
Deal ending soon: The Tack Sharp Photography Guide at 70% Off
from PictureCorrect https://ift.tt/e6FshTQ
via IFTTT


0 kommenttia:
Lähetä kommentti