


As of today the new Luminar AI photo editor is now available for download. In this article, we’ll walk through how to add atmospheric effects such as haze and fog to your photos.
AtmosphereAI uses content-aware and depth masking to place fog, mist or haze in the background and/or foreground of an image. This smart tool prevents the subject of your photograph (such as a person or tree) from being covered by the atmospheric effect and positions the effect in a way that maintains a realistic look.
The Mode drop-down lets you choose between four types of atmospheric effects: Fog, Layered Fog, Mist and Haze. Fog and Mist can fill the majority of the frame (depending on the Depth slider), whereas Layered Fog and Haze are applied largely in the lower third of the frame.
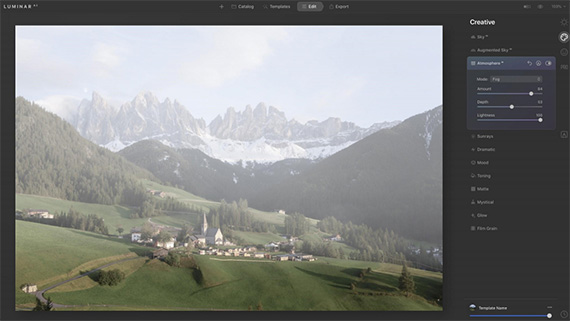
Example of the Fog effect
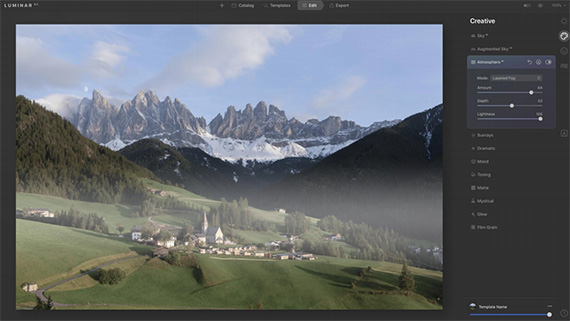
Example of the Layered Fog effect
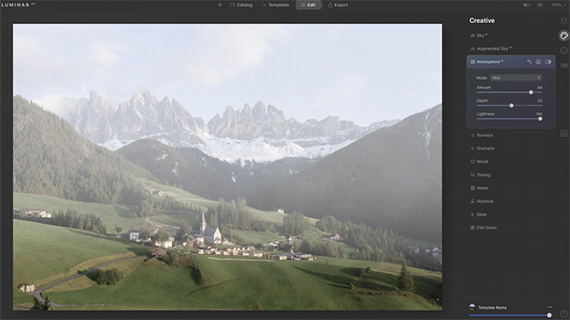
Example of the Mist effect
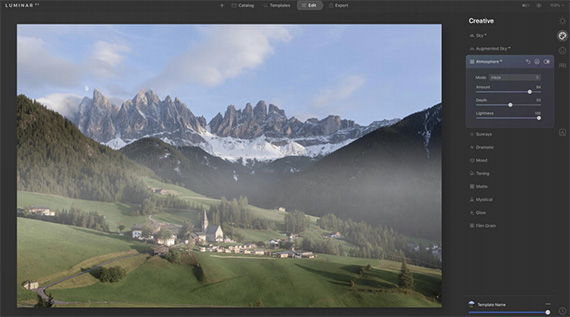
Example of the Haze effect
The Amount slider sets the intensity of the atmospheric effect. Increase the slider to apply AtmosphereAI adjustments to your image.
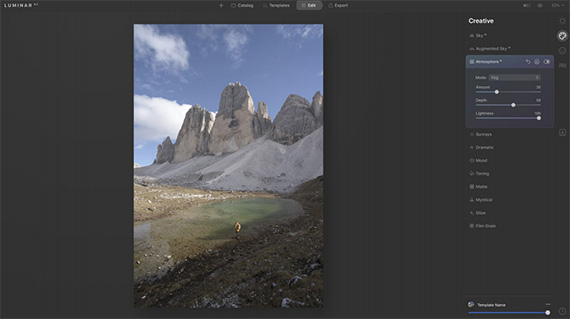
A small amount of fog
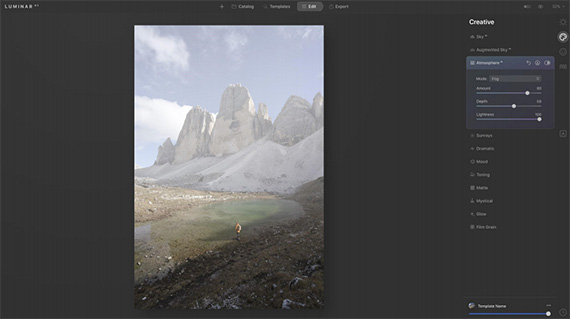
A greater amount of fog
The Depth slider adjusts the depth of the atmospheric effect. Increasing the Depth value brings the effect closer to the front of the frame.
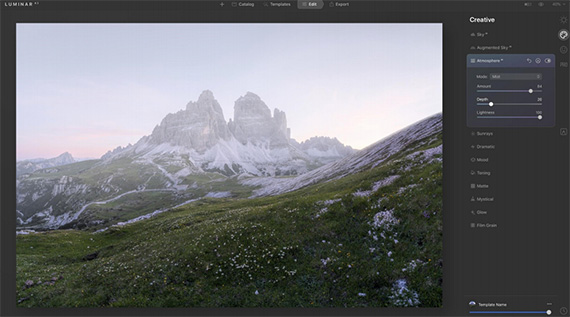
Low depth keeps the effect in the background
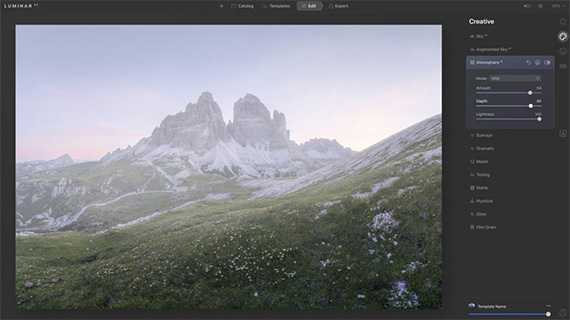
High depth brings the effect to the foreground
The Lightness slider is set to the maximum value of 100 by default. To make your atmospheric effect darker or more subdued, decrease the value of this slider.

The Lightness slider at 20%
Getting Started with Luminar:
The Luminar AI photo editor has been one of the most anticipated new products of this year for photographers. The first image editor fully powered by artificial intelligence. AI takes care of the dull and routine work. But you can edit and fine-tune every step of the way.
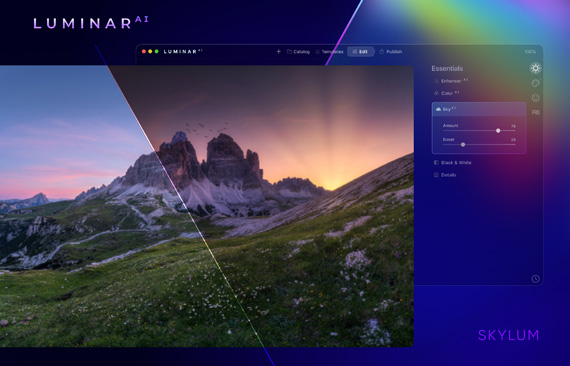
Luminar AI Landscape Edit
Luminar AI is designed for visual communicators, everyday people and professional photographers alike.
Found here: Luminar AI Photo Editor
Go to full article: How to Use the Atmosphere Tools in Luminar AI
What are your thoughts on this article? Join the discussion on Facebook
PictureCorrect subscribers can also learn more today with our #1 bestseller: The Photography Tutorial eBook
The post How to Use the Atmosphere Tools in Luminar AI appeared first on PictureCorrect.


from PictureCorrect https://ift.tt/2WmhcDn
via IFTTT


0 kommenttia:
Lähetä kommentti