lauantai 28. maaliskuuta 2020

PictureCorrect.com: One Photo, Multiple Edits

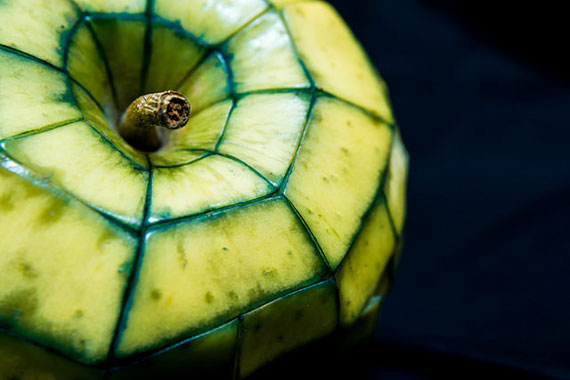
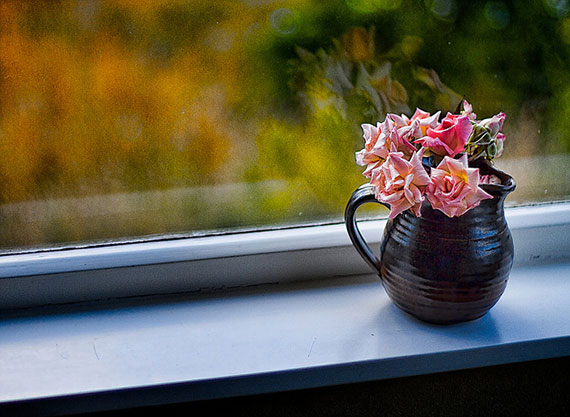
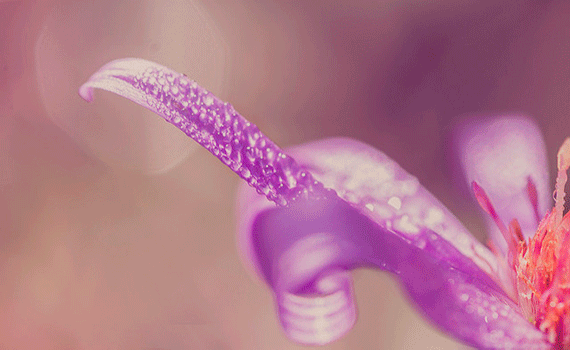
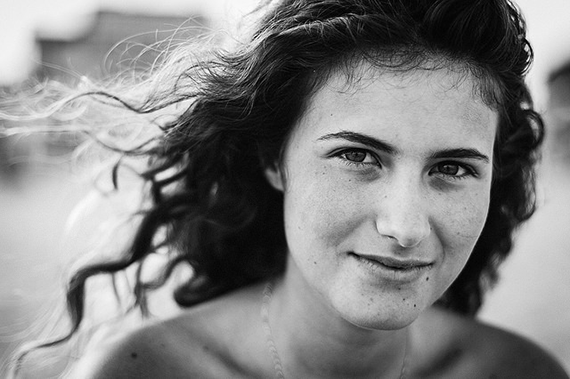
Editing is an art in itself. And like any other artform, it’s quite subjective. Every person has their own way of editing a particular photo. And what may look like a great result to you, may not necessarily be appealing to others. Photographer Jessica Kobeissi decided to test this theory out in an interesting way. She ran a competition where she circulated one of her photos among her subscribers asking them to edit it. Later she picked the best from the bunch and awarded them. When you look at the results, it’s quite interesting:

Even with the handful of selections that Kobeissi had narrowed down to, you could see the variations in the levels of editing done to the image. A few of the artists stuck with simple edits like exposure correction, skin retouching, and brightening the eyes. And the results were pretty good nevertheless. On the other hand, quite a good number of artists opted to go that extra mile. They went on to do some complex edits like adding textures, lens flares, applying filters, color grading, and even background replacement.

As we said earlier, all the artists have a vision and a taste of their own. So, there was nothing too surprising with the pool of submissions. However, what’s surprising is how Kobeissi chose two edits which had the least amount of edits to be the winners. If you pay attention to both the winning entries, both feature some simple and soft edits. There are no extra elements added to the photograph, and the simplicity is what makes them stand out from the rest. Maybe that’s why she thought they were deserving.

What do you think of the winning entries? Are you a fan of the basic edits or do you prefer going that extra mile? We’d love to know.


Go to full article: One Photo, Multiple Edits

What are your thoughts on this article? Join the discussion on Facebook

PictureCorrect subscribers can also learn more today with our #1 bestseller: The Photography Tutorial eBook

The post One Photo, Multiple Edits appeared first on PictureCorrect.


from PictureCorrect https://ift.tt/33R2Hue
via IFTTT


PictureCorrect.com: Illusion Photography Using Smartphones

Creating illusions is a great way to have fun in photography. It also allows you to explore newer creative ideas. And the good thing is that you don’t necessarily need to be a Photoshop guru to achieve some cool photography effects. If you’re creative enough, you can get some great results just using your smartphone. Quantastic has put together this fun-filled video to help you with some creative ideas for exciting photography effects:

There are so many things around us that we can use to create fun looking images. All you need to have is an open mind and the will to execute the photo. Thinking creatively and putting in the right effort is what that matters.

What do you think of the amazing effects shared in the video? If you like any of them, feel free to give it a try. And if you have some other different ideas, do share them with us too.

For further training: The iPhone Photography Academy at 90% Off


Go to full article: Illusion Photography Using Smartphones

What are your thoughts on this article? Join the discussion on Facebook

PictureCorrect subscribers can also learn more today with our #1 bestseller: The Photography Tutorial eBook

The post Illusion Photography Using Smartphones appeared first on PictureCorrect.


from PictureCorrect https://ift.tt/3arTMlA
via IFTTT

perjantai 27. maaliskuuta 2020

PictureCorrect.com: Tips for Taking Better Still Life Photos

Still life photographs don’t require photographers to travel to exotic places — not even to venture outside the comfort of their homes. In fact, not even a studio is required. This is one branch of photography in which anybody can participate.

still life photo tips

Photo by Stephanie Klasen; ISO 800, f/4.0, 1/60-second exposure.

No special equipment is needed. Attention to detail and preparation are, however, a must.

Below are some essential tips to make your still life photography a success:

1. Unlike traditional film, we can take as many shots as we want, as it doesn’t cost us any money. So it’s best to take a lot of shots to find the best white balance and exposure settings.

2. Close cropping is beautiful and effective. Get close and fill the frame. There will be less to crop later and your shots retain maximum resolution and quality. Getting your framing right will save you time later.

tips for still life photography

Photo by Takuma Nakagawa; ISO 100, f/11.0, 1.6-second exposure.

3. Your source of lighting should preferably be to one side. If light comes from the front, your images will look flat.

4. Keep your eyes open for an interesting subject. Try the garage, the garden, the kitchen, and even the bathroom. When you’re by the seaside or strolling through the countryside, you may come across potential subjects. Be always on the look out.

still life photography for beginners

Photo by gerlos; ISO 100, f/8.0, 1/60-second exposure.

5. In order to avoid shadows falling on the background, make sure that the subject is not too close to the backdrop. Sometimes if the backdrop is lit separately, you’ll get a better effect.

6. Buy some colored gels. The effect on your images is stunning.

7. There is one piece of equipment that is a must for still life photography — a tripod. This obviously costs money, but it’s the only way you can get razor-sharp results. You can also leave the camera unattended on the tripod while you arrange the subject being photographed, and if you’re taking photos with available light, the tripod helps in steadying the camera.

8. Research and plan ahead, especially if you intend to transform your images later in Photoshop, as this will affect framing and exposure.

still life techniques in photography

Photo by Stewart Baird; ISO 100, f/1.8, 1/400-second exposure.

9. Anyone can make a simple lightbox inexpensively. Find a cardboard box, cut windows out of the sides, and cover them with tissue paper or thin white fabric to diffuse the light. Put your subject inside the lightbox for soft, diffused light that reduces shadows.

Keep it in mind that it doesn’t take much to transform an ordinary photo into a great image. Keep on taking photos. Experiment and tweak to your heart’s delight, and you will soon have a stunning still life on your hands.

About the Author:
Mario Schembri is a freelance author for Ilking Org.


Go to full article: Tips for Taking Better Still Life Photos

What are your thoughts on this article? Join the discussion on Facebook

PictureCorrect subscribers can also learn more today with our #1 bestseller: The Photography Tutorial eBook

The post Tips for Taking Better Still Life Photos appeared first on PictureCorrect.


from PictureCorrect https://ift.tt/2xyWkvr
via IFTTT

PictureCorrect.com: Flash Duration Tutorial

If you’re under the impression that flash is a tool that’s only used to add more light, then oh boy, you’re sadly mistaken! Besides being used as a tool to craft the shape of the subject with light and shadows, a flash can also be used to freeze motion. When executed correctly, a studio strobe can do a better job at freezing motion than a fast shutter speed. But in reality, not all flash are built equal. A proper understanding of the the concept of flash duration is thus essential to determine what power settings work best for you to freeze your subjects in a crisp manner. Photographer Mark Wallace from Adorama dives into the details of flash duration in this video:

“A flash duration really impacts how motion is frozen in a studio environment.”

Unlike how we see it, a flash does not simply fire at its full power and die off instantaneously. What happens in reality is that the flash goes from zero to its full power rapidly, and then it gradually decreases to zero again. However, we don’t notice this because it all happens so quickly. Considering the gradual nature of a flash firing, there are two values that you should be familiar with:

  • T5 : The time that the flash is at 50% power and greater. Manufacturers refer to this value when talking about their products.
  • T1: The time that the flash is at 10% power and greater. This is a better measurement as very little of the light is left beyond T1 to affect motion.

Older flashes tend to have a longer flash duration. Modern flashes on the other hand are a lot quicker and idle for freezing motion.  Also, it’s worth noting that using the flash at a lower power setting shortens the flash duration significantly. And that’s great if you want to freeze subjects.

The key takeaway is simple. If you really want to freeze fast moving subjects, get yourself some modern flash systems with a low T1 value, and use it at a lower power setting.


Go to full article: Flash Duration Tutorial

What are your thoughts on this article? Join the discussion on Facebook

PictureCorrect subscribers can also learn more today with our #1 bestseller: The Photography Tutorial eBook

The post Flash Duration Tutorial appeared first on PictureCorrect.


from PictureCorrect https://ift.tt/2QQgo7k
via IFTTT

PictureCorrect.com: Photo Editing Seamlessly Across Lightroom and Photoshop

Adobe Lightroom and Photoshop are undoubtedly the most popular software among photographers today. While many use Lightroom to make basic adjustments and to catalog their images, Photoshop is widely used to make advanced edits. Thus, there can be circumstances when you want to take your images from Lightroom to Photoshop, and back. The good news is that Adobe has done a fantastic job in integrating these two software to make your editing workflow as seamless as possible. In this video, photographer Phil Steele demonstrates how you can do so without any fuss:

“Lightroom and Photoshop are designed to work hand in hand.”

A basic understanding you need to have is that you’ll get slightly different behavior when editing in Photoshop from Lightroom depending on whether you’re working with jpeg or raw files.

  • With  jpegs, a good idea is to “Edit a Copy with Lightroom Adjustments”. This preserves the original file while carrying over the adjustments you’ve made in Lightroom.
  • When working with raw files, all the adjustments are carried along with the file into Photoshop. That’s because Photoshop cannot directly edit a raw file.

Once you are done in Photoshop, simply save the file (not ‘Save as’) to carry over the changes you’ve made in Photoshop into Lightroom. This saves the file in tif format and Lightroom automatically imports it  into the catalog you’re working in.

In case you need to make multiple round trips between Lightroom and Photoshop, or with a third program in the mix, you really need to be careful. Otherwise you can get caught in a weird situation as Steel demonstrates in the video. So, be sure to follow Steel carefully.

If you find yourself switching between Lightroom and Photoshop on a continuous basis, be sure to go through these steps carefully. This will definitely save you loads of time and make your editing workflow more efficient.

For further training, Phil Steele has in-depth courses on Photoshop Basics for Photographers and another on Lightroom Made Easy.


Go to full article: Photo Editing Seamlessly Across Lightroom and Photoshop

What are your thoughts on this article? Join the discussion on Facebook

PictureCorrect subscribers can also learn more today with our #1 bestseller: The Photography Tutorial eBook

The post Photo Editing Seamlessly Across Lightroom and Photoshop appeared first on PictureCorrect.


from PictureCorrect https://ift.tt/2xyJ8L2
via IFTTT

Startrails 2 by extremalen (500px.com/extremalen)


Startrails above abandoned mine. Different edit without the star spikes plug-in. via 500px https://ift.tt/2UGkP5X

torstai 26. maaliskuuta 2020

PictureCorrect.com: How to Choose the Right Focus Mode

With any DSLR, it takes time to get to grips with everything your camera can do. Often, the manual gets looked at initially, then only referred to when you get stuck. At times, whole features of your camera can get overlooked, and you might resign yourself to taking images that don’t look like you wanted them to. Needle sharp focusing, for example, is at the heart of excellent photos. If you know the difference between the focus modes on your camera, you can use them to help you get brilliantly sharp photos every time.

choosing the right focus mode for your photo

Photo by Vida Dimovska; ISO 100, f/5.6, 1/100-second exposure.

Basically, your camera contains two or three focus modes. In each case, these instruct the camera how it should focus, depending on the type of photo you want to take. With Canon and Nikon being the most popular brands, we will concentrate on these, but the information is pertinent to most camera makes.

One Shot or AF-Single Mode

The first mode is called One Shot (Canon) or AF-single (Nikon). In this Mode, as you begin to hold the shutter down, the camera will focus on your subject, light up in the viewer, and lock. That is to say the focus is now set. You can either take the photo as is (by completely depressing the shutter), or move your camera first to recompose. This mode is really for stationary subjects, so it works well in portraits, landscapes, and macro (on a still day).

different camera focus modes and how to use them

Photo by Roland Pernter; ISO 100, f/1.8, 1/800-second exposure.

AI Servo or AF-Continuous Mode

The second mode is known as AI Servo (Canon) or AF-continuous (Nikon). In this mode, the camera constantly refocuses (with the shutter partially depressed) depending on where your subject is. So, if you have someone moving toward you, and you want to ensure they are in focus when you take the picture, use this mode. Not surprisingly, this mode works well in sports photography.

photography focus mode tips

Photo by Kanaka Rastamon; ISO 200, f/5.6, 1/1600-second exposure.

AI Focus or AF-Auto Mode

For taking shots where you are quickly changing between moving targets and still subjects, a third option is often available. This is AI Focus (Canon) or AF-auto (Nikon). In effect, the camera moves between One Shot and AI Servo Modes depending on your shot. If you have a still subject, the camera will focus on it, but will start to adjust if the subject moves. So, at a soccer match, for example, you may focus on an idle goalkeeper (camera will focus on him), and if the action comes toward him and he’s on the move, the camera will track and keep him in focus.

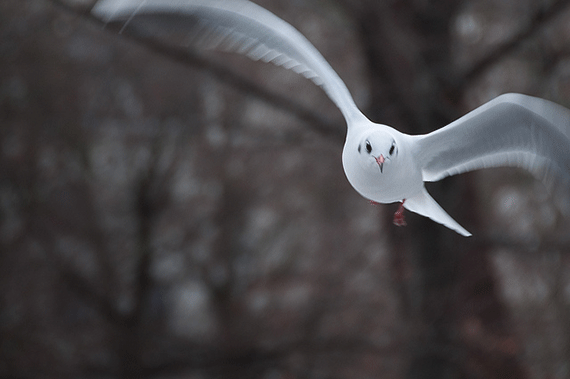
Hopefully you can see that knowing that your camera has focus modes other than One Shot is really important. No longer will you need to attempt the almost impossible task of keeping a bird in flight in focus, while using the incorrect focus mode. Just set the camera to AI Servo or AI Focus mode and you are good to go.

how to use different focus modes for beginner photographers

Photo by Alan Bloom; ISO 200, f/5.6, 1/100-second exposure.

I hope this beginner’s photography article will help you to improve your future shots.

About the Author:
Article written by Paul Summers is from PhotographyCourseOnline.


Go to full article: How to Choose the Right Focus Mode

What are your thoughts on this article? Join the discussion on Facebook

PictureCorrect subscribers can also learn more today with our #1 bestseller: The Photography Tutorial eBook

The post How to Choose the Right Focus Mode appeared first on PictureCorrect.


from PictureCorrect https://ift.tt/2xmIm0R
via IFTTT