


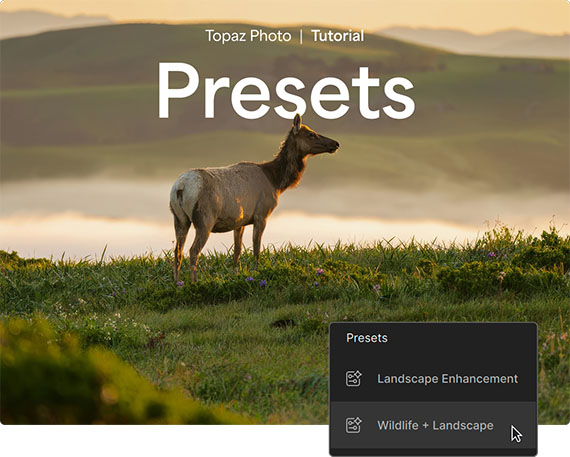
Presets are one of the easiest ways to speed up your photo editing workflow in the Topaz Photo Image Quality Editor.
Instead of rebuilding the same editing stack every time you open a new image, presets let you save your favorite enhancement combinations and reuse them later. This is especially useful when you are editing groups of similar photos, such as high ISO wildlife images, low-light travel shots, fast action photos, or older low-resolution files that need extra help.
With presets, Topaz Photo can save your selected enhancement, model, strength sliders, and selection settings. The best part is that everything remains fully adjustable after the preset is applied, so you are never locked into the original settings.
Why Presets Are Useful
Many photographers find themselves making similar adjustments over and over again.
For example, you may have a favorite sharpening setup for action shots, a noise reduction combination for high ISO images, or an upscaling workflow for older photos. Instead of recreating those settings manually each time, you can save them as a custom preset.
This can help you:
- Edit faster
- Keep a more consistent look across similar images
- Avoid forgetting useful settings
- Build custom workflows for different types of photos
- Save time when working through large batches of images
How to Save Your Own Preset in Topaz Photo
Here is how to create a custom preset in Topaz Photo.
Step 1: Launch Topaz Photo
Open Topaz Photo on your computer and get ready to begin your edit.
Step 2: Import a Challenging Image
Choose a photo that actually needs improvement.
This could be a fast action photo, a high ISO image, a low-resolution file, or a shot that needs sharpening, denoising, or upscaling.
Step 3: Add Your Enhancements
Apply the enhancements that improve your image.
You can stack multiple enhancements together and adjust the sliders until the image looks right. For example, you might combine sharpening, noise reduction, and upscaling depending on the file.
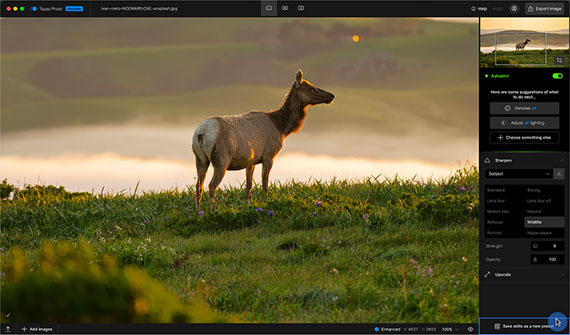
Take your time here because these settings will become the starting point for your preset.
Step 4: Save Your Edits as a New Preset
Once you are happy with the edit, scroll to the bottom of the sidebar and click Save edits as a new preset.
Give your preset a clear name so you can recognize it later.
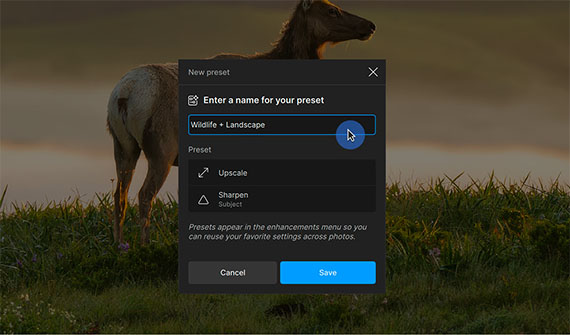
Your preset will include the selected enhancement, model, strength sliders, and selection settings.
Step 5: Find Your Preset in the Filter Menu
After saving, your new custom preset will appear at the bottom of the Select a filter menu list.
From there, you can apply it to other images whenever you want to reuse those settings.

A Faster Way to Edit Similar Photos
Once your preset is saved, you can quickly apply your favorite settings to other images.
This is especially helpful when working with a series of photos shot in similar conditions. For example, if you photograph a sports event, wildlife scene, concert, or low-light travel location, you may have several images that need the same type of correction.
Instead of starting from scratch each time, apply your preset, review the result, and fine-tune as needed.
Try it on Your Photos:
Presets in Topaz Photo are a simple but powerful way to make your editing workflow faster and more consistent.
They let you save your favorite combinations of enhancements and settings, while still giving you the freedom to adjust everything after applying them. Once you build a few presets for your most common editing situations, you can save a lot of time and get to your finished images faster.
Found here: Topaz Photo Editor with Presets
from PictureCorrect https://ift.tt/WSVkPm6
via IFTTT


0 kommenttia:
Lähetä kommentti