Having a DSLR camera to use is the ultimate thrill for a budding photographer. Taking great sunset shots should be easy with such a great tool, right? You would think so, yet I know people who have invested in decent cameras but still could not create stunning sunset shots that even their previous compact camera could take. This article suggests steps you can take to optimize your DSLR for sunset photographs.

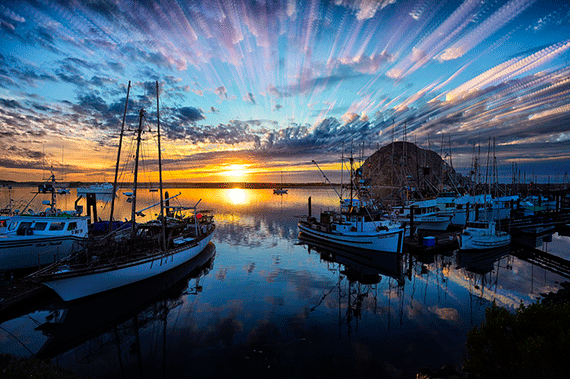
Photo by Howard Ignatius; ISO 400, f/11.0, 1/25-second exposure.
1. Shooting Mode
Many compact cameras have a setting for sunsets, yet DSLRs don’t, so you have to take control of the situation. Turn off your fully auto, or basic shooting modes, and use your creative zone modes of P (program mode), Tv (shutter priority), Av (aperture priority) or M (manual) so that you have full control over the camera’s parameters.
2. White Balance
Auto White Balance can neutralize a sunset’s glow, so switch to manual White Balance and choose a setting of Cloudy or Shade.
3. Picture Styles
Most DSLRs give you a number of user-defined picture styles if you’re shooting JPEGs, so set one of these up for taking sunsets. Leave sharpness as standard and add a little saturation.
You need to reduce the contrast to avoid your final image appearing over silhouetted. Adjust the Contrast slider in your user defined Picture Style one or two notches to the left. A reddish color cast can also be achieved by doing the same with your Color Tone settings.

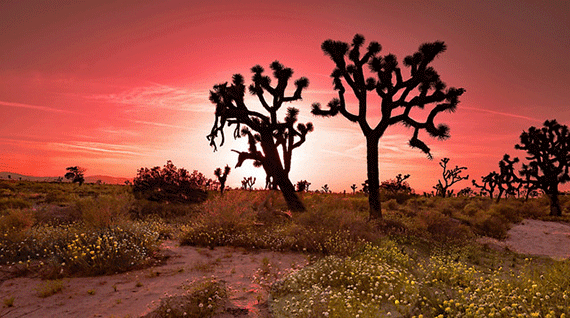
Photo by Rennett Stowe; ISO 100, f/13.0, 1/160-second exposure.
4. ISO
Set your ISO at the lowest setting of ISO 100. There’s usually plenty of brightness in the sky, so this is fine. Sunsets can suffer from grainy images with higher ISO settings.
5. Metering Mode
Exposure is important in any sunset shot. It’s best to switch to partial metering mode and take a manual meter reading. This can be a difficult aspect of digital photography for beginners, so I’ll explain how to do this.
Once in partial metering mode, point the camera at a bright area of the sky, directly above the setting sun. Press the star button on the back of the camera to take a light reading and to set the exposure. Then compose your shot and press the shutter release to drive the autofocus and capture the image.
6. Composition

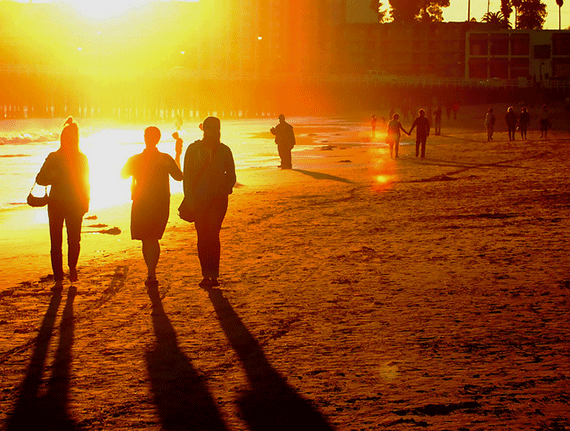
Photo by darwin Bell; ISO 200, f/9.0, 1/250-second exposure.
Consider your composition. Silhouetted objects and figures in the foreground will add interest. Reflective surfaces, such as lake water, the sea, or wet roads will bring added color to the shot.
Beware—once the sun starts to near the horizon, it sinks surprisingly quickly. This also happens to be the optimum moment when you will catch the strongest shots, yet it can come and go in an instant. Be prepared—make sure all your settings are in place well before this time.

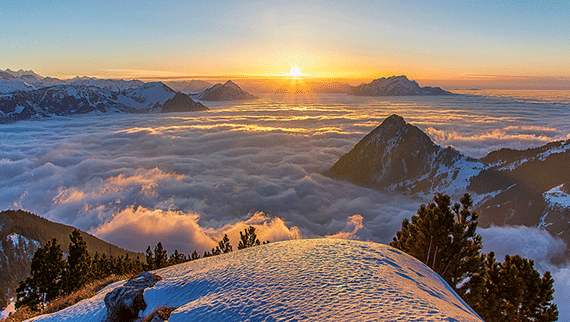
Photo by Lukas Schlagenhauf; ISO 100, f/8.0, 1/40-second exposure.
When the sun has disappeared, it doesn’t mean you should. For another thirty minutes or so, there can often be some amazing color across the sky, so keep looking for more opportunities for great photos.

Photo by Vincent Hou; ISO 100, f/11.0, 15-second exposure.
I hope this step-by-step sunset guide for beginning photographers has been helpful and that you can catch some beautiful sunset photos in the future. They truly are wonderful shots to look back on.
About the Author
Paul Summers (photographycourseonline dot info) is from Photography Course Online.
Go to full article: Step-by-Step Guide to Better Sunset Photography
What are your thoughts on this article? Join the discussion on Facebook
PictureCorrect subscribers can also learn more today with our #1 bestseller: The Photography Tutorial eBook
The post Step-by-Step Guide to Better Sunset Photography appeared first on PictureCorrect.
from PictureCorrect https://ift.tt/2oWQC5S
via IFTTT


0 kommenttia:
Lähetä kommentti