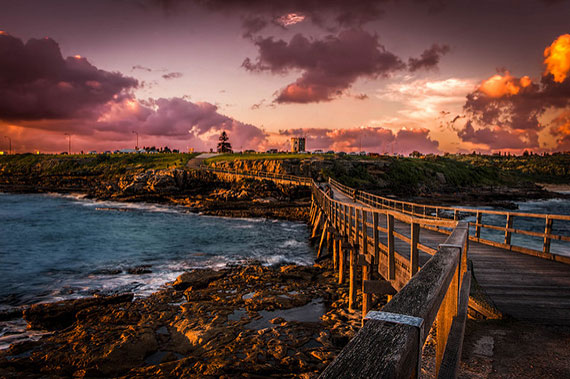
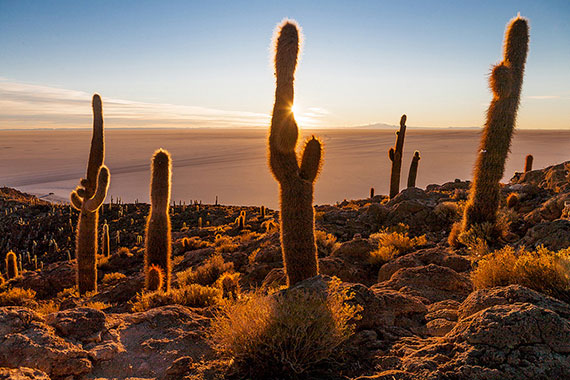
Basked in golden light as the sun shimmers over the water, the sunset can truly be a magnificent sight. When you are traveling or even exploring your local area, try to be a little more creative with your sunset photography. Too often we see the standard sunset shot with little to remind us of where it was taken.

Photo by Paul Carmona; ISO 100, f/14.0, 1.3-second exposure.
Although it can be tempting to have a clear sunset shot, you are really missing creativity and visual reminders of where the shot was taken. If you are away on holiday or somewhere new, try to capture the essence of the place you are visiting. Framing the shot with a little thought can turn a nice sunset into a spectacular, memorable photo.
Setting up for the perfect sunset shot
Sunset photography can be a little tricky, and if you let your camera think for you, i.e. leave it on automatic, then this can often provide undesirable results. Silhouettes are often the creative realm of the sunset. Of course, this is because the sun is such an overpowering light source. And this is where the problem begins if your camera is in automatic mode. Although letting the camera lower the exposure can be desirable to allow for the silhouette, you are often left with just an outline and no detail.

Photo by Neville Nel; ISO 100, f/29.0, 1/50-second exposure.
Using exposure compensation can help bring some detail back into the foreground objects or people. Nearly all cameras (even many compacts) will allow you to set a +1 EV compensation. Just be aware that if you are in shutter priority this will often change the f-stop rather than the exposure time. If you are using a DSLR camera, I highly recommend you use bracketing. We will delve into the world of bracketing at another time.
Take the sun component away
That big bright sun dominating the horizon causes all complications. You can simplify fix this by not including the sun in the image or hiding it behind an object in the frame. Not having the sun dominating the frame allows for less extreme lighting conditions, and as such, you should end up with a shot that transitions from foreground to background much more evenly.

Photo by sandeepachetan.com travel photography; ISO 100, f/7.1, 1/500-second exposure.
The right white balance
I refer now to the advantage of shooting in RAW. White balance is a key consideration when shooting the sunset. If you let your camera do the thinking for you, it will often set an incorrect white balance–normally to the cool end of the scale.
This is because the camera believes there is far too much red and yellow in the shot. But of course, this is exactly what we are looking for in the first place. A good rule of thumb is to set a daylight white balance. This will give you the warm tones you are looking for. Shooting in RAW allows for white balance changes during post-processing and will allow for finding the optimum temperature.
Bringing back the detail in people
If you are using a person in the foreground for a sunset portraiture shot, I refer back to the problem of complete silhouette and no detail. This can be a good time to break out the flash for a little fill in light.

Photo by Igor Gorshkov; ISO 100, f/2.8, 1/320-second exposure.
Another technique I have often used (although a little unusual) is a torch. Some of the new LED torches offer a great subtle light source perfect for these situations. I often find flash very harsh, and it is not very practical to take lighting stands and umbrellas to the beach. You would be amazed at how handy the humble flashlight can be for shedding a little light on the subject.
About the Author:
This articles was written by Patrick Ryall from BetterPhotoSchool. Previously a tips and tutorial site and photographers social network.
Go to full article: Better Sunset Photography
What are your thoughts on this article? Join the discussion on Facebook
PictureCorrect subscribers can also learn more today with our #1 bestseller: The Photography Tutorial eBook
The post Better Sunset Photography appeared first on PictureCorrect.
from PictureCorrect https://ift.tt/2moHJxS
via IFTTT


0 kommenttia:
Lähetä kommentti