via 500px https://ift.tt/BtD5w4Q


Relevant note: The Perseid meteor shower is going on now through late August 2026, with its peak occurring overnight on August 12–13. This year, viewing conditions are especially favorable because the peak coincides with a New Moon on August 12, leaving the sky exceptionally dark and allowing even fainter meteors to stand out. Under clear, dark skies away from city lights, observers may see 50–100 meteors per hour near the peak, with the best viewing generally from late evening through the hours before dawn.
Meteor showers are some of the most breathtaking events a photographer can capture. But despite the beauty, they’re also some of the trickiest subjects. Long exposures, changing conditions, and the unpredictability of meteors make it easy to walk away with disappointing shots.
If you’re preparing for the next big shower, make sure you’re not falling into these common traps.
This article is based on concepts from The Photo Adventure Cheat Sheets which are currently 80% off for a Summer Sale if you want to dig deeper.

Photo captured by Clay Banks
One of the biggest mistakes is underestimating how much city lights ruin your shots. Even faint skyglow from a distant town can wash out meteors.
Tip: Scout out a dark sky location well ahead of time. National parks, rural areas, or anywhere far from urban centers give you the best chance at a clear, star-filled background.
Meteor showers cover a wide swath of the sky, so a narrow telephoto lens won’t capture much action.
Tip: A wide-angle lens (14–24mm on full-frame) gives you the best coverage, increasing your odds of catching multiple meteors in one frame.
Too short: You’ll miss faint meteors.
Too long: Stars turn into trails, and meteors blur.
Tip: Aim for 15–25 seconds at ISO 1600–3200, depending on your lens and sky conditions. Use the “500 Rule” to avoid unwanted star trails.
Autofocus won’t work on the night sky. Many beginners end up with blurry shots because they leave it on.
Tip: Switch to manual focus, then focus on a bright star or distant light until it’s tack sharp. Tape down your focus ring to prevent slips.
Meteors are unpredictable—you can’t time them. If you’re only clicking when you “see something,” you’ll miss most of the action.
Tip: Use an intervalometer (or your camera’s built-in interval shooting) to take back-to-back exposures all night long.
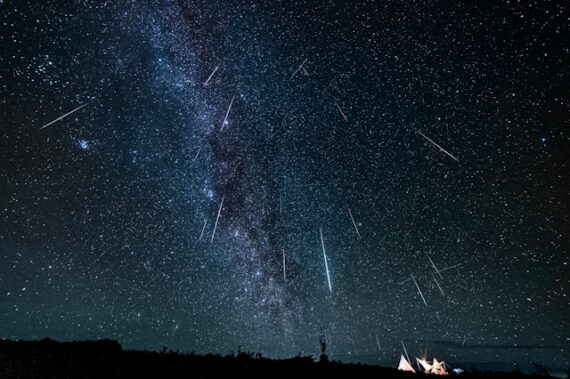
A sky full of meteors looks good, but without a foreground it can feel flat and generic.
Tip: Include mountains, trees, lakes, or even old barns to anchor your shot. A strong composition transforms a meteor photo from “snapshot” to “art.”
Meteor showers are best after midnight, when the radiant is higher in the sky. Many photographers pack it in too soon.
Tip: Bring warm clothes, a reclining chair, and patience. Some of the best meteors happen in the hours before dawn.
Meteor shower photography takes planning, persistence, and a bit of luck. By avoiding these mistakes, you’ll maximize your chances of capturing a truly stunning image.
Instead of coming home with blurry, empty frames, you’ll have photos that reflect the awe of watching the universe put on a show.
For help remembering the camera settings for difficult situations like this, a set of Photography Adventure Cheat Sheets are designed to help. They are currently 80% off for a Summer Sale which ends soon if you want to check them out.
New! Cheat Sheets for Your Photography Adventures (see how they work)
The perfect companion for any photographer. Print one out whenever you need it. Whether you’re going on vacation or seeking out a specific photography adventure, these cheat sheets can provide you with the knowledge and inspiration you need to create your best work yet.
Offer ending soon: The Photography Adventure Cheat Sheets Summer Sale
As photographers, we often find ourselves in various environments, each posing its unique set of challenges. One critical factor that can significantly impact our gear and the quality of our shots is temperature. Specifically, high temperatures can be detrimental to our digital cameras. So, how hot is too hot for digital cameras, and what can we do to protect them?
Related note: only a little while left for the Photography eBook Summer Sale
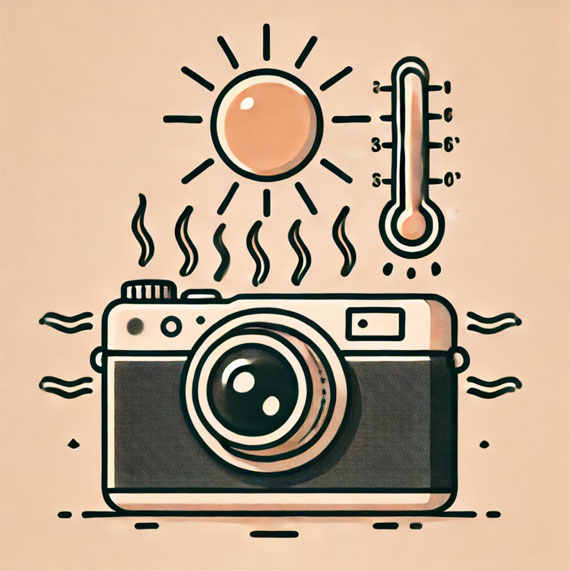
Most digital cameras, whether DSLRs, mirrorless, or compact, are designed to operate efficiently within a specific temperature range. Typically, this range falls between 32°F to 104°F (0°C to 40°C). Exceeding these limits, especially the upper end, can lead to several issues:
Recognizing the signs of overheating can help you take preventive measures before serious damage occurs. Look out for:
One specific situation that can pose a significant risk to your camera is leaving it in a hot car. Cars can reach extremely high temperatures, especially on sunny days. Interior temperatures can soar well above the operating range of most digital cameras. Here’s why it’s risky and how to mitigate the danger:
If leaving your camera in a car is unavoidable, consider these precautions to minimize risk:
If you find yourself in a situation where your camera is overheating, there are a few immediate actions you can take:
Understanding and respecting the temperature limits of your digital camera is crucial to maintaining its performance and longevity. By taking preventive measures and recognizing the signs of overheating, you can protect your gear from the detrimental effects of high temperatures. Remember, your camera is a precision instrument—treat it with care to ensure it continues to capture stunning images for years to come.
This #1 bestseller is the most in-depth eBook on how to capture amazing photography anywhere. Over 250 pages of photography tips & tricks from industry insiders. Currently 78% off which ends soon for a Summer Sale if you want to check it out.
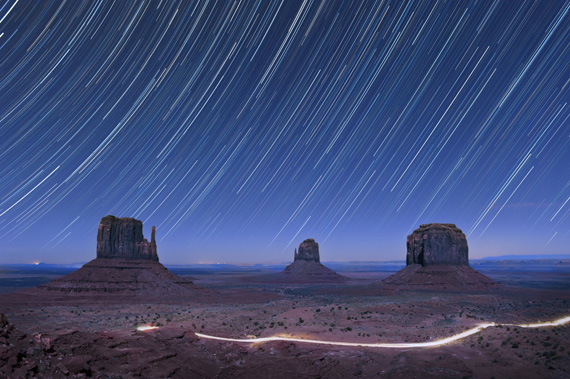
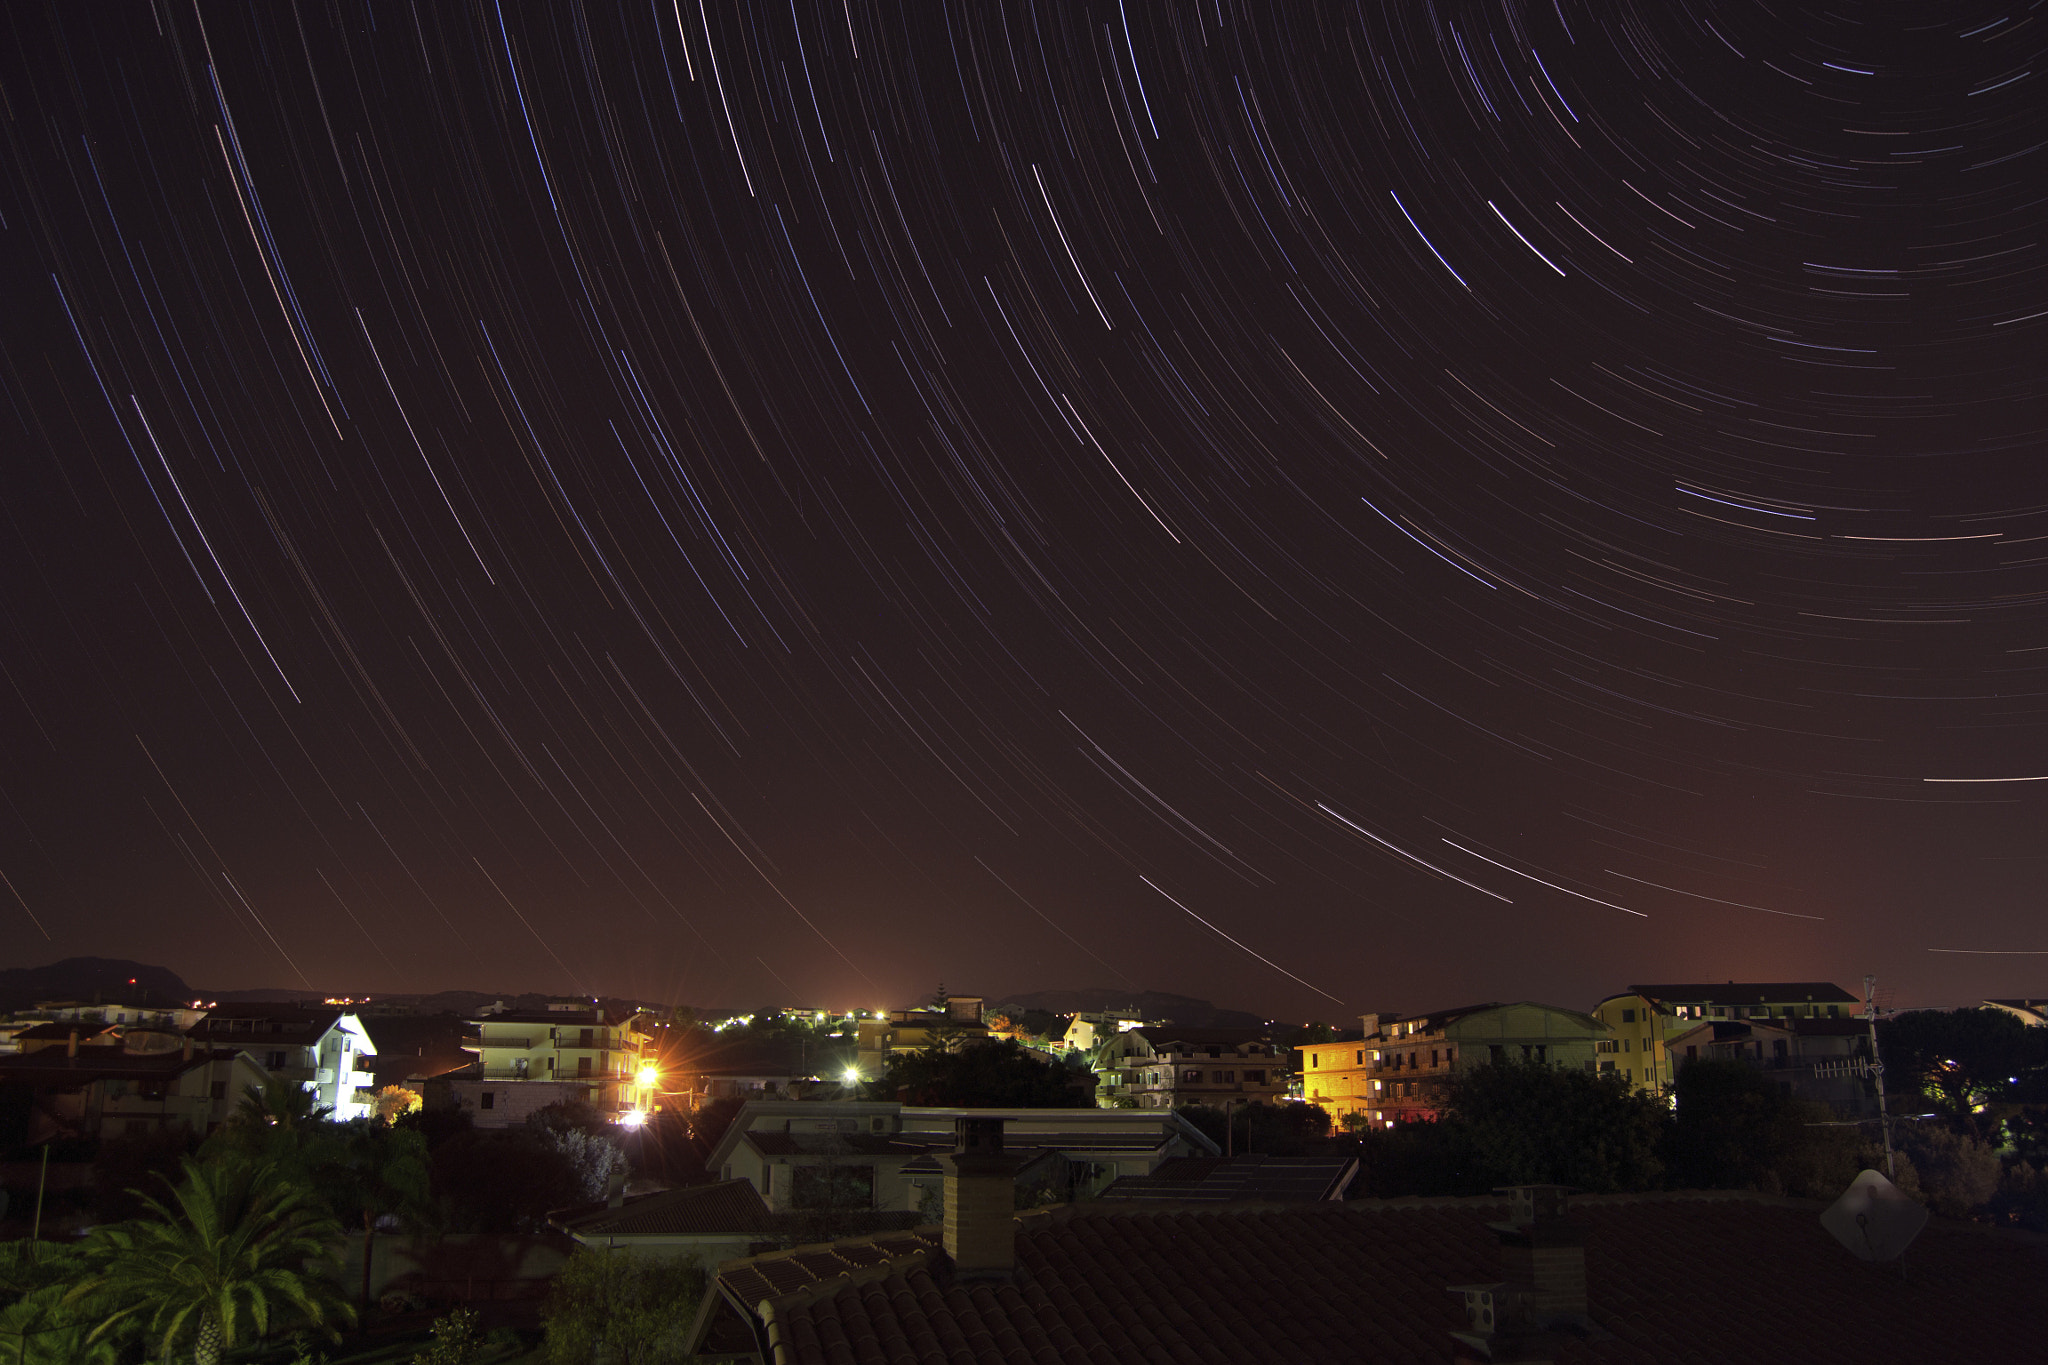
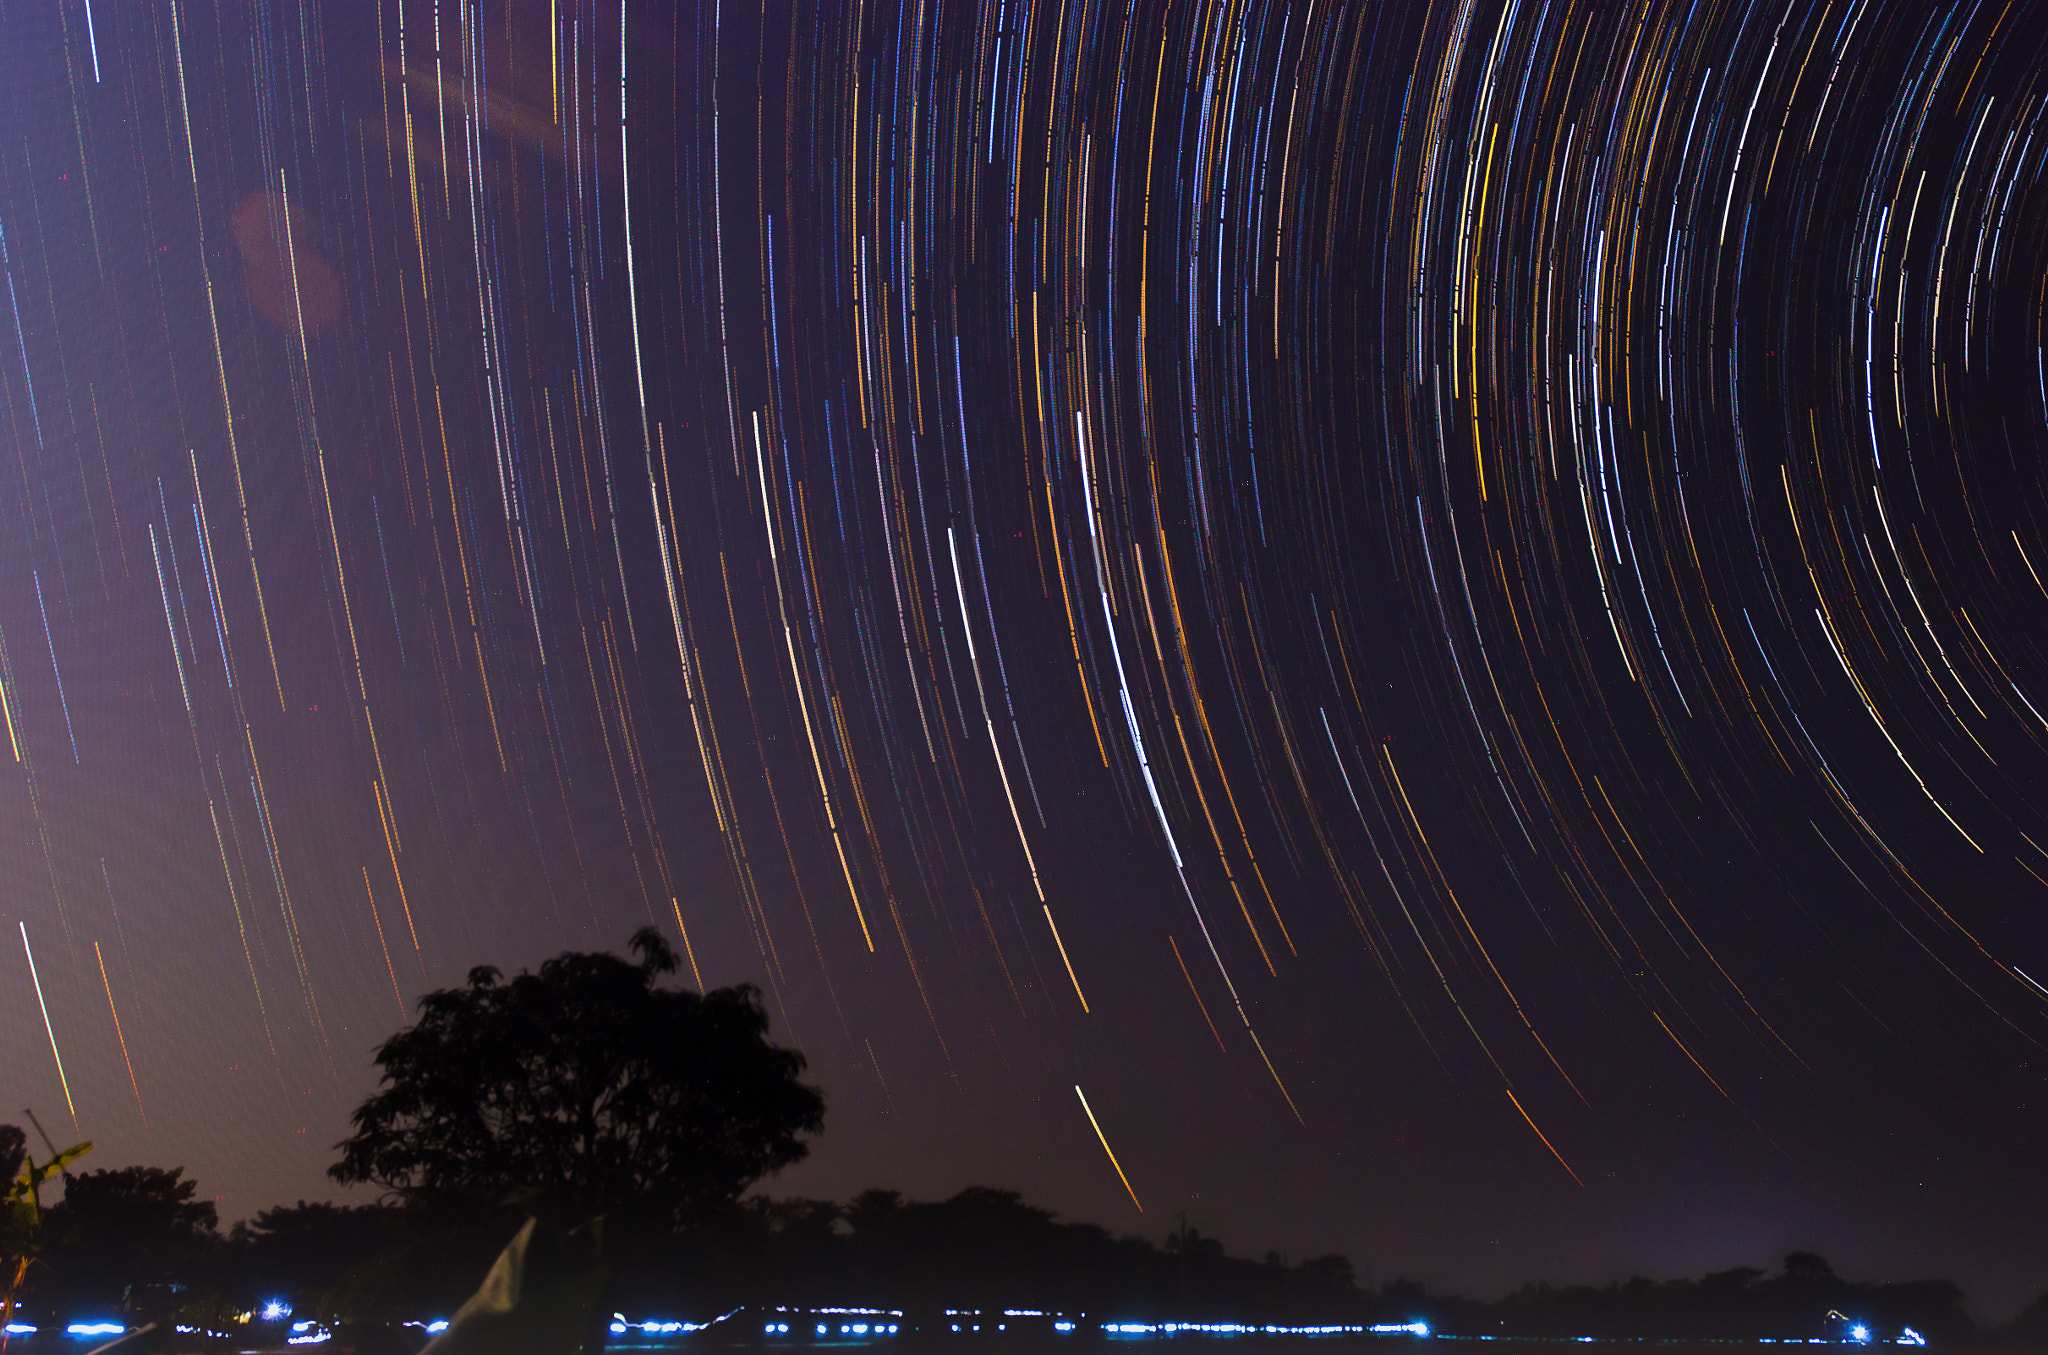
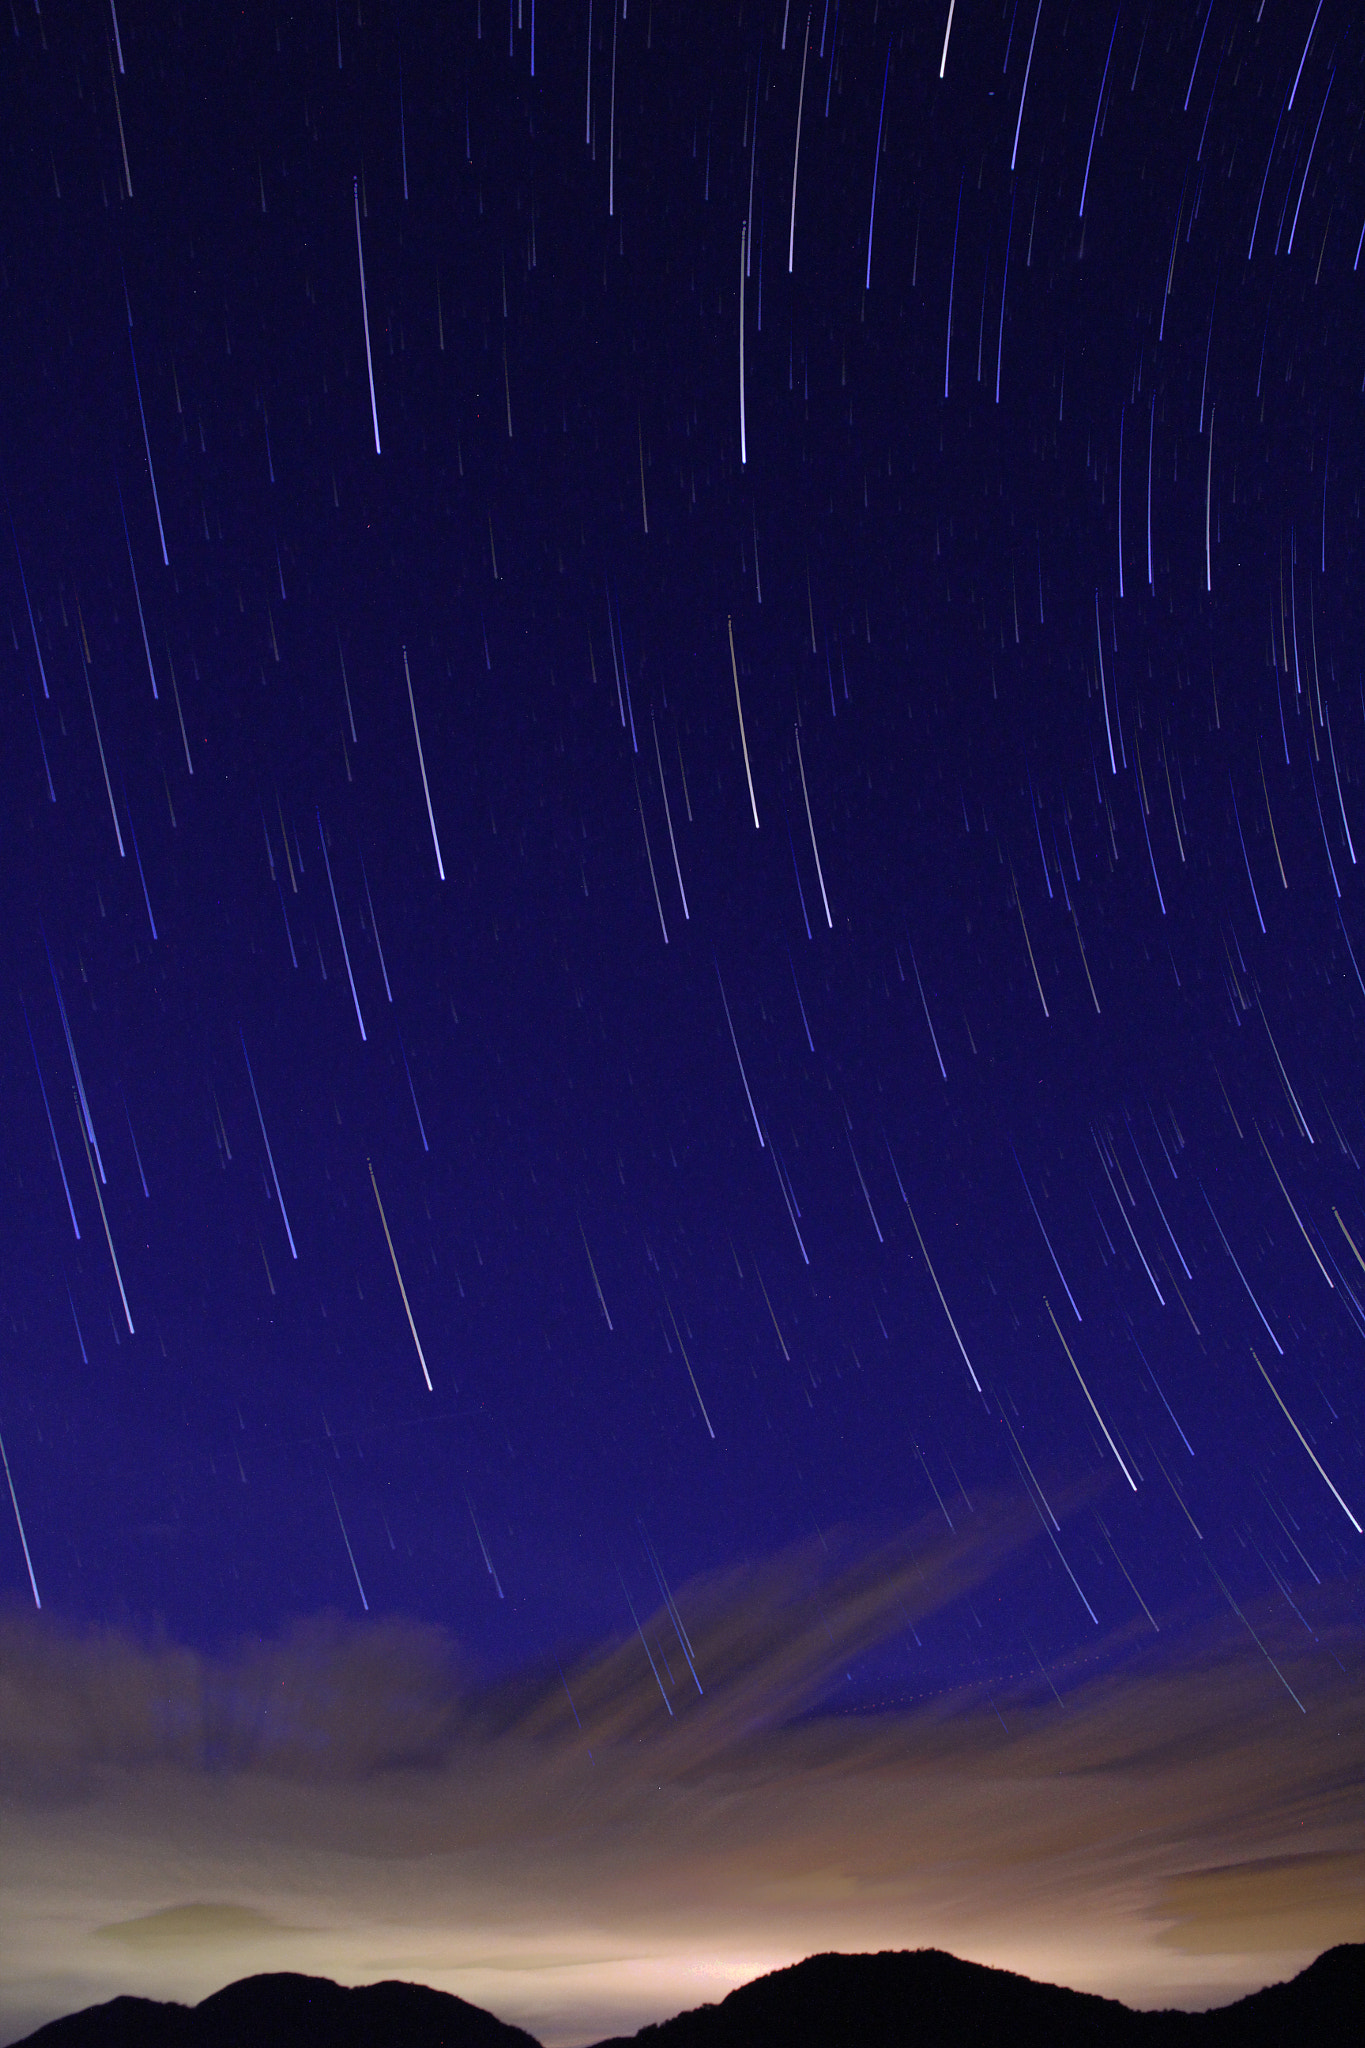
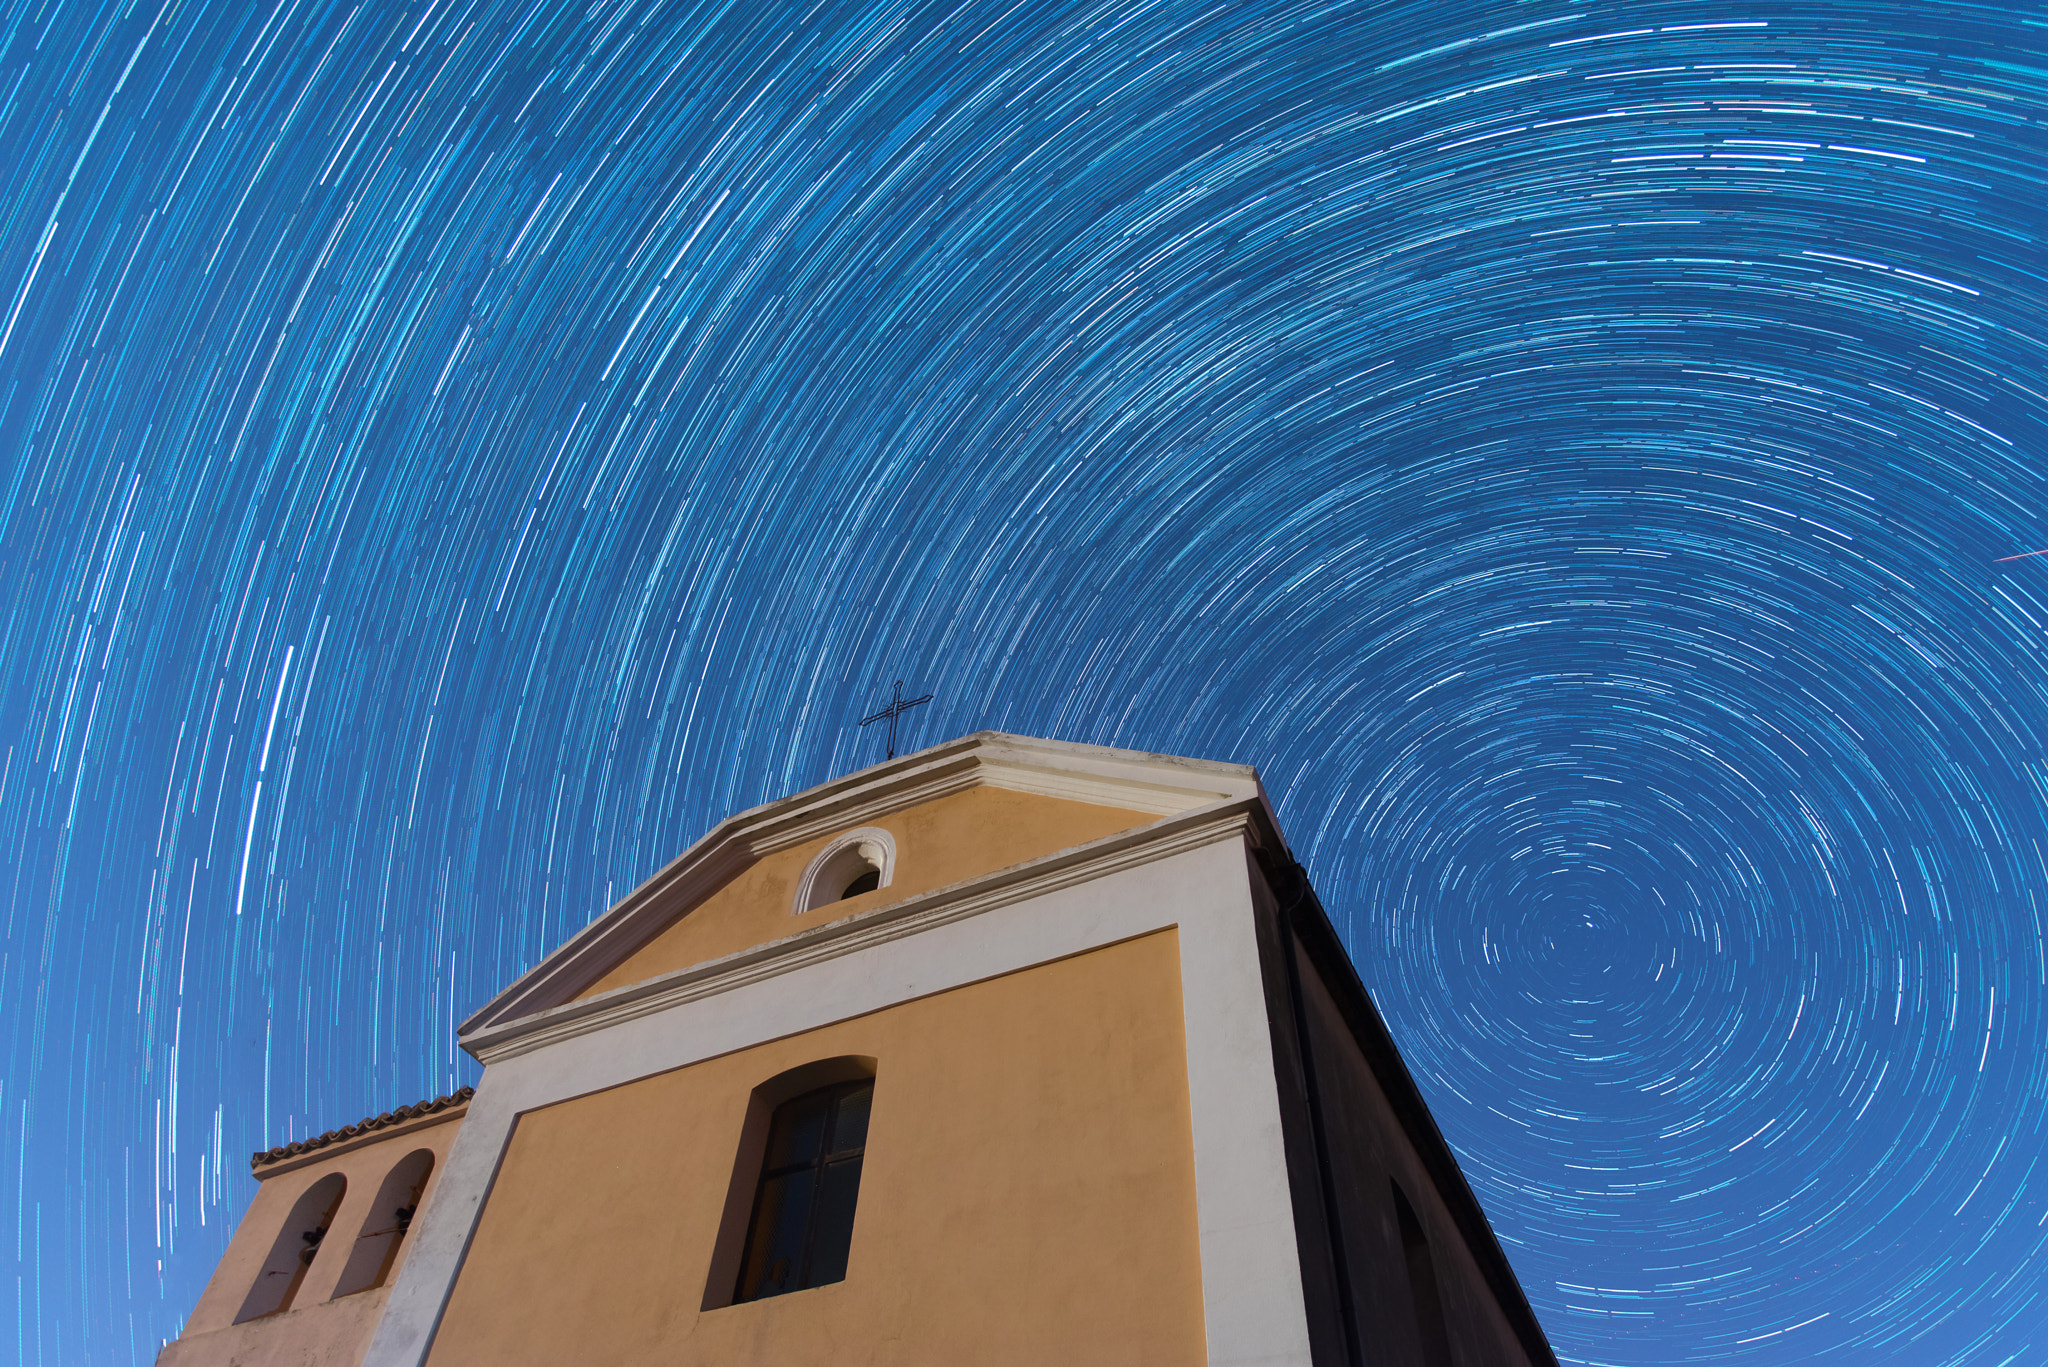
How to do Star Trail Photography
It is the product of over a DECADE of research as an insider in the photography industry, assembled to help you learn quickly and avoid the mistakes that I made along the way.
Deal ending soon: The Photography Tutorial eBook Summer Sale
You carefully compose your shot, mount your camera on a sturdy tripod, use a remote shutter release, and even wait for the wind to die down.
So why do your photos still look just a little softer than you expected?
The culprit might be a camera feature that usually helps—but in some situations can actually work against you: image stabilization.
Related reminder: only a little while left for the new Tack Sharp Photo Guide at 70% Off
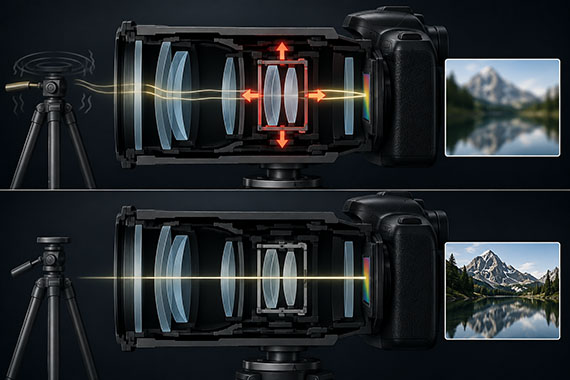
Image stabilization—often labeled IS, VR, OSS, VC, OS, or IBIS—is designed to compensate for tiny movements caused by handholding a camera.
When you’re shooting handheld, that’s exactly what you want.
But when your camera is mounted securely on a tripod, those movements no longer exist.
Some older stabilization systems may continue searching for movement anyway. As the stabilization elements shift inside the lens, they can actually introduce tiny amounts of blur rather than eliminate it.
The result? Images that aren’t quite as tack sharp as they could be.
Not always.
Many newer lenses include tripod detection, allowing the stabilization system to recognize when the camera is mounted on a tripod. These systems can automatically reduce or adjust stabilization to avoid introducing unnecessary movement.
However, not every lens includes this feature.
If you’re unsure whether your lens has tripod detection, check the manual or the manufacturer’s recommendations for your specific model.
As a general guideline:
There are a few situations where stabilization can still be useful—even when the camera is supported.
For example:
A camera may be mounted on a tripod without being completely motionless. Wind, unstable ground, a flexible tripod head, or vibrations from the surrounding environment can still affect sharpness.
That is why this isn’t a universal rule. The right setting depends on the lens, the tripod, and the conditions.
If your camera has in-body image stabilization, commonly called IBIS, you may need to check the camera menu as well as the switch on the lens.
Some camera and lens stabilization systems work together. Others are controlled entirely through the camera.
Turning off the switch on the lens may disable the entire system, but this varies between manufacturers and camera models.
Before an important long exposure, confirm exactly how stabilization is controlled on your equipment.
Disabling stabilization is only one part of getting the sharpest possible image.
Don’t overlook these common problems:
A tripod can eliminate camera movement, but it cannot stop leaves, water, people, wildlife, or clouds from moving during the exposure.
If you’re not sure how your stabilization system behaves on a tripod, run a quick comparison.
This simple test can reveal whether stabilization is helping, hurting, or making no visible difference with your particular equipment.
Image stabilization is one of the most useful features for handheld photography—but it isn’t automatically beneficial once your camera is firmly mounted on a tripod.
If you’re using an older stabilized lens, turning stabilization off could be the difference between a good image and one that’s truly razor sharp.
If you’re using newer equipment with tripod detection, stabilization may automatically adjust itself. Even so, it is worth understanding exactly how your camera and lens behave.
The next time you’re setting up for a landscape, long exposure, or night scene, take a moment to check your stabilization setting.
It only takes a second—and it might be the reason your next image is noticeably sharper.
Getting perfectly sharp images involves much more than simply using a tripod. Focus technique, shutter speed, aperture, camera stability, lens performance, and post-processing all play important roles.
Our new Tack Sharp Photography Guide walks you through a complete system for capturing consistently crisp, professional-looking photos in virtually any situation (currently 70% off today for a  Summer Sale).
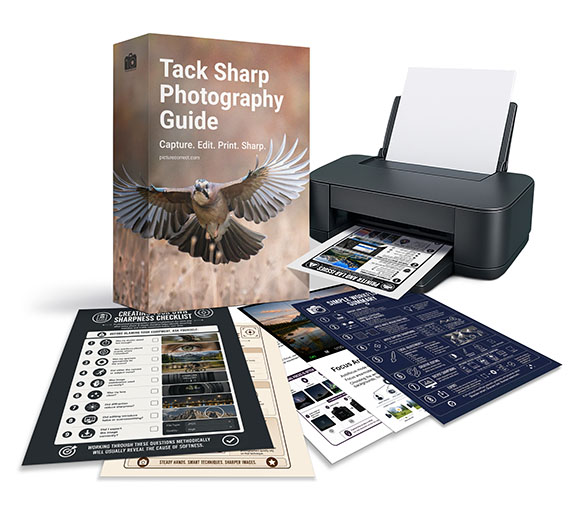
Inside, you’ll learn how to choose the right camera settings, master autofocus, eliminate camera shake, maximize lens sharpness, develop an efficient editing workflow, and prepare your photos for stunning prints. Whether you shoot landscapes, wildlife, travel, portraits, macro, or sports, the techniques apply to virtually every style of photography.
Deal ending soon: The Tack Sharp Photography Guide at 70% Off
It’s one of the most common photography myths: more megapixels automatically mean sharper photos.
The truth is a little more complicated.
Megapixels determine how much detail your camera can record, but they don’t guarantee that detail will actually be sharp. If your focus is slightly off, your shutter speed is too slow, or your camera moves during the exposure, adding more megapixels simply captures a higher-resolution version of the blur.
Reminder: only a little while left for the new Tack Sharp Photography Guide at 70% Off
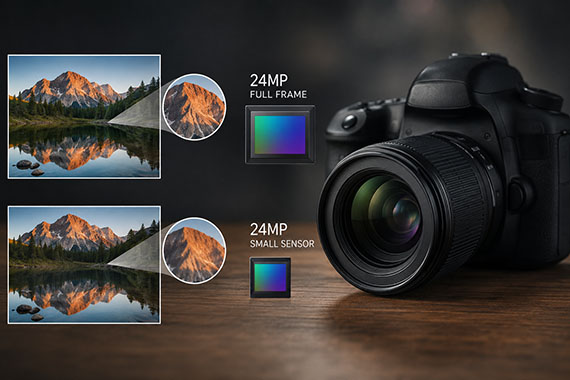
True image sharpness comes from several factors working together:
If any one of these is missing, extra megapixels won’t save the image.
Another specification that’s often overlooked is sensor size.
A larger sensor doesn’t automatically make photos sharper, but it can usually gather more light. This often results in cleaner images with less noise, better dynamic range, and more usable fine detail—especially in low-light situations.
For example, a 24-megapixel full-frame camera will often produce cleaner, more detailed images than a 24-megapixel smartphone or compact camera. Even though the megapixel count is identical, the larger sensor has much more surface area available to collect light.
The result can be smoother tones, better shadow detail, and an image that appears sharper because less noise reduction and processing are needed.
Sensor size also affects depth of field. Larger sensors can produce a shallower depth of field at equivalent framing, which can help a sharply focused subject stand out against a softer background. However, it also means that accurate focusing becomes even more important.
Higher-resolution cameras do have real advantages.
They allow you to make larger prints, crop more aggressively, and capture finer textures when everything else is done correctly. Landscape, wildlife, and commercial photographers often benefit from higher-resolution sensors for these reasons.
However, squeezing more megapixels onto the same sensor size makes each individual pixel smaller. Modern cameras handle this remarkably well, but simply increasing the megapixel count doesn’t guarantee better image quality.
The lens must be sharp enough, the focus must be accurate, and the camera must remain steady enough to take advantage of all that extra resolution.
A well-focused image from a 24-megapixel camera will almost always look sharper than a slightly blurry image from a 60-megapixel camera.
Before upgrading your camera, spend time improving your focusing technique, camera settings, and shooting stability. Those skills will usually have a much bigger impact on your image quality than adding more pixels alone.
The biggest improvements in image quality usually come from this combination:
When all of these work together, that’s when you’ll capture the truly tack-sharp images every photographer is after.
If you’re ready to stop guessing why your photos aren’t sharp, our new Tack Sharp Photography Guide (currently 70% off today for a Summer Sale) will walk you through the complete system for capturing consistently crisp images.
Inside, you’ll learn how to choose the right camera settings, master autofocus, eliminate camera shake, maximize lens sharpness, develop an efficient editing workflow, and prepare your photos for stunning prints. Whether you shoot landscapes, wildlife, travel, portraits, macro, or sports, the techniques apply to virtually every style of photography.
Deal ending soon: The Tack Sharp Photography Guide at 70% Off
You carefully compose the shot. You use a quality lens. Your camera locks focus exactly where you intended. Then you get home, open the image on your computer, zoom in… and it’s just a little soft.
Sound familiar?
Many photographers assume their camera missed focus or that they need a more expensive lens. While those things can occasionally be the problem, they’re rarely the biggest reason photos lack crisp detail.
Related note: offer ending soon for the new Tack Sharp Photography Guide at 70% Off
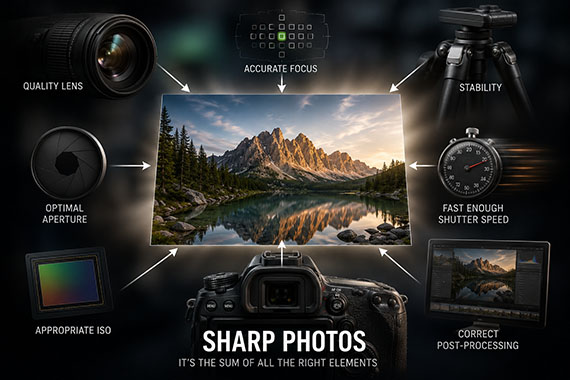
The number one reason most photos aren’t sharp is using a shutter speed that’s simply too slow.
Even if your autofocus is perfect, your image can still end up blurry if either the camera or your subject moves while the shutter is open. It doesn’t take much. A slight hand movement, someone taking a step, a bird turning its head, or leaves swaying in the breeze can all rob an otherwise great photo of its sharpness.
When photographers see a soft image, autofocus usually gets the blame.
In reality, modern cameras are remarkably accurate. More often than not, your camera focused exactly where it was supposed to—the problem is that motion occurred after focus was acquired.
Think of it this way: autofocus determines where the image is sharp. Shutter speed determines whether it stays sharp.
The longer your focal length, the more noticeable camera movement becomes.
A tiny vibration that’s invisible with a 24mm wide-angle lens can become obvious when you’re shooting at 200mm, 400mm, or beyond. That’s why wildlife and sports photographers often use surprisingly fast shutter speeds, even in good light.
If you’re handholding your camera, a good starting point is to use a shutter speed at least as fast as the reciprocal of your focal length. For example, if you’re shooting at 200mm, try to stay at 1/200 second or faster. With today’s high-resolution cameras, many photographers choose even faster speeds for consistently sharp results.
Even if you’re using a tripod, your subject can still create blur.
These aren’t hard rules, but they illustrate an important point: every subject requires an appropriate shutter speed.
One of the most common mistakes photographers make is keeping the ISO too low because they’re worried about image noise.
While noise can often be reduced during editing, motion blur usually cannot.
In many situations, increasing your ISO by one or two stops to gain a faster shutter speed will produce a noticeably sharper—and ultimately better—photograph.
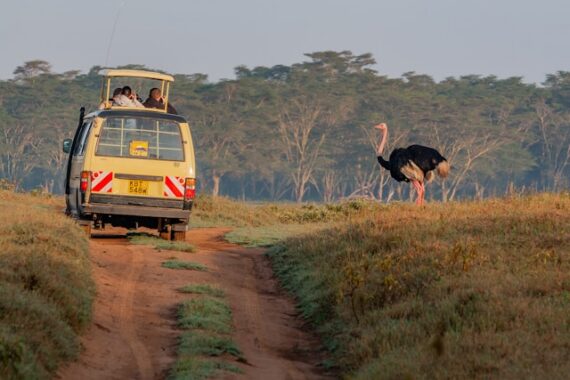
Photo captured by Florentina Tilvic
Consistently sharp images aren’t the result of a single setting.
They’re the result of several small decisions working together:
Miss just one of these steps, and image quality can suffer.
If your photos still aren’t as sharp as you’d like, resist the temptation to immediately upgrade your camera or buy a new lens.
Instead, start by watching your shutter speed. It’s one of the simplest adjustments you can make, and for many photographers, it’s the change that delivers the biggest improvement almost overnight.
Once you understand how shutter speed, focus, stability, lens performance, and editing all work together, consistently tack-sharp photos become far easier to achieve.
If you’re ready to stop guessing why your photos aren’t sharp, our new Tack Sharp Photography Guide (currently 70% off today for a Summer Sale) will walk you through the complete system for capturing consistently crisp images.
Inside, you’ll learn how to choose the right camera settings, master autofocus, eliminate camera shake, maximize lens sharpness, develop an efficient editing workflow, and prepare your photos for stunning prints. Whether you shoot landscapes, wildlife, travel, portraits, macro, or sports, the techniques apply to virtually every style of photography.
Deal ending soon: The Tack Sharp Photography Guide at 70% Off
Travel photography often looks spontaneous, but the best images rarely happen by accident. Over the years, I’ve found that consistently coming home with memorable photos has less to do with expensive gear and more to do with following a handful of simple rules every time I travel.
These are the travel photography rules I never break—and they’ve helped me return home with far more keepers from every trip.
Reminder: offer ending soon for the Travel Cheat Sheets  Summer Escape Sale
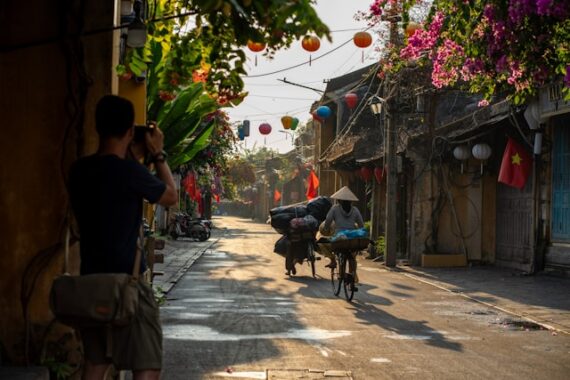
If a location is important to me, I never plan to arrive at sunrise or sunset—I plan to arrive well before it.
This gives me time to scout compositions, adjust camera settings, and simply observe how the light is changing. Rushing into a scene usually leads to average photos.
The best images often happen in the minutes leading up to or after the obvious “golden hour” moment.
It sounds obvious, but travel is full of unexpected moments.
Some of my favorite images weren’t taken at famous landmarks. They happened while walking to dinner, riding a train, or getting lost down a quiet side street.
If your camera stays in the hotel room, those opportunities disappear.
There’s nothing wrong with photographing the classic viewpoint.
After all, there’s usually a reason it’s famous.
But after taking that shot, I challenge myself to find at least three completely different compositions. I look for reflections, interesting foregrounds, tighter details, or unique angles that most visitors overlook.
Those are often the photos I end up liking the most.
I avoid constantly changing settings while walking around.
Instead, I keep my camera prepared for the most likely situation:
Being ready usually matters more than having the perfect settings.
One mistake many photographers make is spending the entire trip looking through the viewfinder.
Some experiences deserve to be enjoyed without worrying about photographs.
Ironically, taking occasional breaks often helps you notice new ideas when you pick the camera back up.
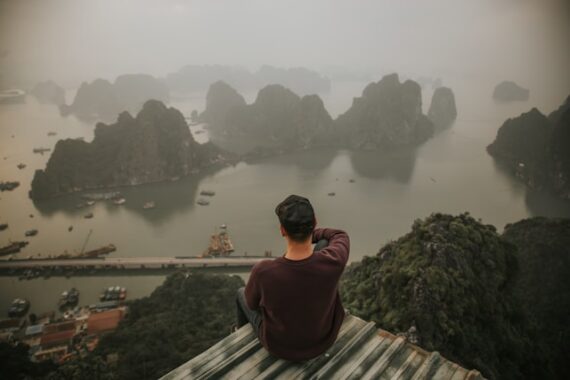
A destination is more than just its postcard landmark.
I try to capture a variety of images:
Together, these images tell a much richer story of the trip.
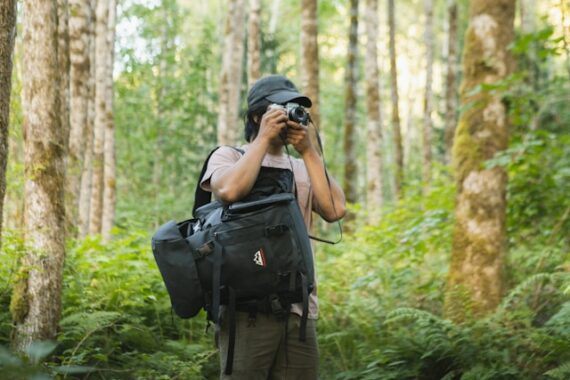
I’ve learned that carrying too much gear usually means using less of it.
A lighter camera bag lets me walk farther, stay comfortable longer, and react much faster when something interesting happens.
I’d rather carry one camera and two versatile lenses than spend the day hauling equipment I never remove from the bag.
Memory cards fail.
Bags get stolen.
Accidents happen.
Before going to bed, I always make a backup of the day’s photos whenever possible. Whether it’s a portable SSD, laptop, or cloud storage, having two copies provides enormous peace of mind.
Some of the best travel photographs come from genuine interactions.
I avoid disrupting local life simply to create a photograph. Being polite, patient, and respectful often leads to better opportunities than forcing a shot.
Great travel photography should celebrate a place—not exploit it.
Photography is part of the adventure—not the entire adventure.
If I become too focused on checking famous locations off a list, I usually miss the small moments that make travel memorable.
The goal isn’t simply to return home with more photos.
It’s to return home with photographs that remind me how it actually felt to be there.
Every photographer develops their own habits over time, but these rules have consistently helped me create stronger travel images while enjoying the journey more. You don’t need to follow every photography trend or carry a backpack full of gear. A little planning, a willingness to explore, and a few reliable habits can make a remarkable difference.
The next time you travel, try adopting just a few of these rules. You may discover that your best photographs aren’t the ones everyone else takes—they’re the ones only you noticed.
Some shots are just harder than others. Ever struggled with vacation photos, twilight exposures, or star trails and focus stacking while you’re on the move? The Travel Photography Cheat Sheets (currently 88% off today) are built exactly for moments like that:

Showing you step by step how to dial in settings, avoid common mistakes, and get the shot — even when you’re tired, rushed, or shooting in unfamiliar conditions. Travel-ready, no Wi-Fi required, and designed to be quick to reference so you can spend less time guessing and more time shooting.
Deal ending soon: Travel Cheat Sheets Summer Escape Sale
When photographers think about improving their lighting, they often focus on the obvious things: the time of day, the weather, or whether they should use a flash.
But there’s another source of beautiful light hiding in plain sight.
Reflected light.
Once you learn to recognize it, you’ll start seeing opportunities everywhere—and many of your photos will instantly look softer, brighter, and more professional without buying a single piece of gear.
Related reminder: only a little while left for the Lighting Cheat Sheets Sunlight Sale

Photo captured by Elist Nguyen
Reflected light is exactly what it sounds like: sunlight or ambient light that bounces off another surface before reaching your subject.
That surface could be:
Instead of harsh, direct sunlight, your subject is illuminated by softer, more flattering light that has already been scattered by another surface.
It’s nature’s reflector.

Direct sunlight creates strong shadows and high contrast.
Reflected light, on the other hand, spreads out before it reaches your subject. The result is:
Portrait photographers often spend money on large reflectors to achieve this effect.
Outdoors, the environment is already full of them—you just need to know where to look.
One of the easiest ways to find reflected light is to stop looking only at your subject.
Instead, look at what’s surrounding them.
A bright concrete sidewalk can bounce a surprising amount of light upward, naturally filling in shadows beneath a person’s eyes and chin.
A white patio or light-colored pavement can create the same effect.
Even a sandy beach acts like a giant reflector, which is one reason beach portraits often have such soft, glowing light.
Imagine someone standing next to a large white building on a sunny afternoon.
The side of the building facing the sun becomes an enormous reflector, bouncing soft light back onto your subject.
This works especially well in cities where light-colored walls, storefronts, and office buildings create beautiful reflected light throughout the day.
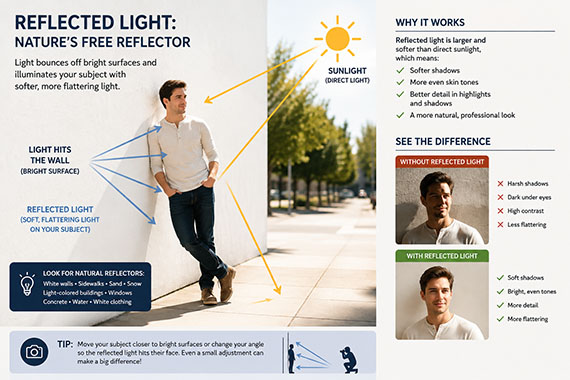
If you’ve ever wondered why one side of a street produces much nicer portraits than the other, reflected light is often the reason.
Many photographers think window light comes directly from the sun.
In reality, that’s often not the case.
Most of the time, the light entering a window is actually coming from the bright sky, clouds, nearby buildings, or the ground outside. By the time it reaches your subject, it has already been scattered and softened.
That’s why window portraits often have such pleasing, even lighting.
The next time you’re walking around with your camera, ask yourself:
These questions take only a few seconds but can dramatically improve your photographs.
Find a white wall outside on a sunny day.
Take one portrait several feet away from the wall.
Then move your subject close to the wall while keeping the same camera settings.
You’ll likely notice that the second image has softer shadows, brighter eyes, and much more flattering light—even though the sun hasn’t changed.
The wall did all the work.
Many photographers spend years chasing perfect golden-hour conditions while overlooking the incredible light that’s already surrounding them.
The next time you’re out shooting, don’t just look at the sky.
Look at the sidewalks.
Look at the walls.
Look at the sand, the snow, the windows, and the buildings around you.
Once you start noticing reflected light, you’ll discover beautiful lighting opportunities almost everywhere—and you’ll begin creating stronger photographs no matter what time of day you’re shooting.
Lighting is arguably the most important aspect of photography; but do you know how to use it? These Photography Lighting Cheat Sheets are designed to help. With critical information on ALL the types of natural light and artificial light you can use. They are currently 80% off today for a Sunlight Sale
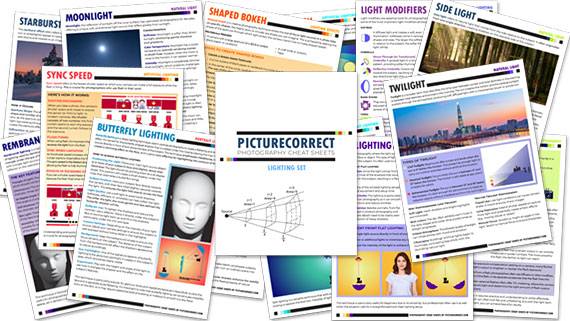
New! Cheat Sheets for Photography Lighting (see how they work)
Whether you’re a seasoned professional or just starting out, photography cheat sheets can be a valuable resource for improving your skills and taking your photography to the next level. By having all the key information you need in one place, you can focus on what’s important – capturing amazing photos.
Sunlight sale ending soon: Photo Lighting Cheat Sheets at 80% Off
One of the most rewarding parts of travel photography is connecting with people from different cultures. But what happens when you don’t speak the local language?
Fortunately, photography has a unique advantage: a camera can often communicate what words cannot. With a little preparation and respect, you can capture authentic images while creating positive interactions almost anywhere in the world.

Photo captured by Quang Nguyen Vinh
Before your trip, memorize a handful of useful expressions:
Even if your pronunciation isn’t perfect, making the effort is usually appreciated and helps build trust before you ever raise your camera.
A smile is one of the most universal forms of communication.
If you’d like to photograph someone, make eye contact first, smile, and simply point to your camera while raising your eyebrows as if asking a question. Most people will clearly indicate whether they’re comfortable being photographed.
If they decline, smile again, thank them, and move on.
One of the easiest ways to break through language barriers is to turn your camera around and show your subject the image you just captured.
People often light up when they see themselves, especially children. It creates an instant connection and can lead to even better portraits afterward.
Many travel photographers keep a few favorite photos on their phone or camera.
Showing locals examples of your photography helps explain what you’re trying to create without saying a word. It also reassures people that you’re interested in making beautiful photographs rather than invading their privacy.
Offline translation apps can be incredibly useful in remote locations.
Downloading language packs before your trip allows you to ask permission, explain your project, or simply have a friendly conversation—even without internet access.
Photography customs vary widely around the world.
Some cultures welcome cameras enthusiastically, while others may have religious, cultural, or personal reasons for avoiding photographs. Research your destination beforehand so you understand local etiquette.
Respect almost always leads to better travel experiences—and often better photographs.
If communication feels difficult, remember that travel photography isn’t only about portraits.
Markets, architecture, landscapes, food, transportation, street scenes, and small everyday details can all tell compelling stories without requiring interaction.
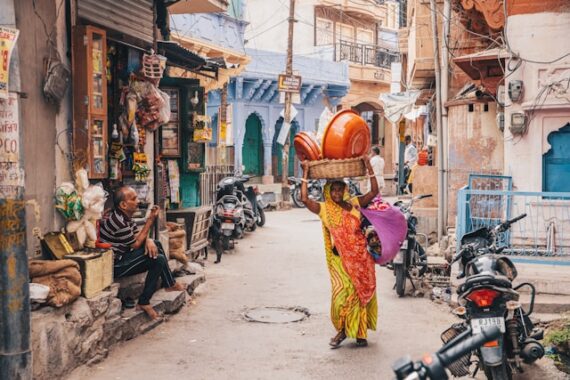
Photo captured by Jannes Jacobs
These images often become some of the strongest memories from a trip.
Sometimes the best photographs happen after spending a few minutes simply observing.
Rather than immediately pointing your camera at someone, browse a market, purchase a snack, or enjoy the surroundings. Once people become accustomed to your presence, interactions often become much more natural.
While photography can be a great way to connect with people, it’s important to stay aware of your surroundings. In busy tourist areas, some scams specifically target travelers carrying expensive cameras.
A few common situations to watch for include:
It’s also wise to trust your instincts. If a situation feels uncomfortable or someone becomes unusually persistent, politely decline, keep moving, and prioritize your safety over getting the photograph.
A memorable image is never worth putting yourself—or your equipment—at unnecessary risk.
Language barriers don’t have to limit your travel photography. Courtesy, patience, and a genuine interest in the people you meet go much further than speaking the perfect language.
In many cases, a warm smile, respectful gestures, and the willingness to connect are all you need to create meaningful photographs—and memorable travel experiences.