


All of us want to reach the point of crystal clear pin sharp photos. Yet there always seems to be something that takes away the final step to perfect clarity and sharpness. How do we eliminate the factors that reduce the sharpness in our images? By applying these simple steps you will see an immediate improvement.
1. Learn how to hold your camera
Support it with your left hand under the camera or if an SLR, under the lens. Grip the camera firmly but not too tightly with your right hand between your thumb and fingers. Leave your index free to operate the shutter release button. Close your left eye and look through your right eye with your nose flush with the back of the camera. Remember firm but not tightly grasped. Tuck your elbows into your sides so that your arms become one with your body. If necessary lean against a tree, wall or another support for extra stability.
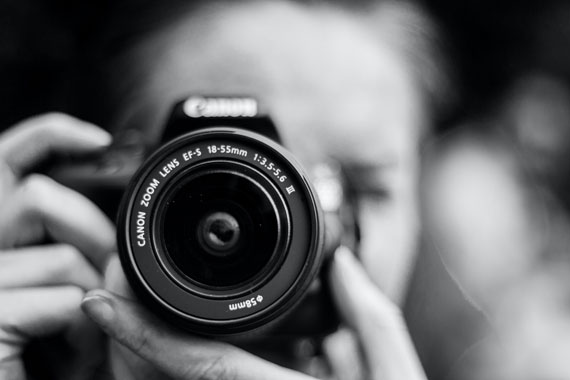
Photo captured by Ailbhe Flynn
2. Use a tripod
The ultimate form of stability is of course the humble tripod. Using a good quality tripod that is strong and stable will give you the most solid support you’ll need. If you’re using an SLR, turn on the mirror lockup. This will reduce internal vibration when the shutter is depressed.
3. Image stabilization
If you have an image stabilization facility on your lens or camera make sure it is turned on. This is also called the vibration reduction facility on some lenses and camera brands. Sometimes it may be necessary to switch this off as it does induce micro vibrations especially when the camera is mounted on a tripod and you are shooting macro.
4. Focusing properly
Don’t always rely on the camera getting the focus perfect. It may not be focusing exactly where you want it to. If possible change the focus point settings so that you can control where it focuses. As a last resort set your camera or lens to manual focus and do it yourself.
5. Depth of field
This is very important. Large apertures give a very narrow depth of field, i.e. small f-stops. (I’ll be dealing with this in a later article) Use a smaller aperture, larger f-stop, to get more of the image in focus before and beyond the subject.

Photo captured by Hector Marquez; ISO 100, f/11.0, 1/25s.
6. Shutter speed
Make sure that you are using a fast enough shutter speed to help freeze any action or subject movement. If your lens is a 100mm then the slowest shutter speed you should be using is 1/100. The larger the lens the faster the shutter speed needs to be unless you use a tripod.
7. ISO
Using as low an ISO setting as possible, 50-200, will help reduce noise and pixelation. Try not to go beyond ISO 400 unless you are using a high quality camera. Remember the lowest ISO setting will give you the sharpest images.
8. Lenses
The higher the quality of the lens build and glass, the sharper the image. That’s why they cost so much. Inside a high quality lens you’ll find more elements and more technology to help correct any imperfections.
9. Clean your lens
Make sure that your lens is clean and free from any dirt, smudges or fingerprints at both ends. Sometimes this isn’t noticeable and regular cleaning with a high quality lens cleaning kit is essential.
10. Check your eyesight
Get your eyes checked if all else fails. On many SLRs you’ll find a diopter wheel on the viewfinder which allows for adjustment in the same way an optician changes settings when testing your eyes for glasses. This will help you if your eye problems aren’t too severe.

Photo captured by Amanda Dalbjorn
11. Filters
Unless a filter is absolutely critical for creating a perfect image, don’t use it. Keep as little glass between your sensor and the subject as possible, and when you do, make sure the quality is equivalent to your lens quality. It’s pointless spending thousands on a lens and a few bucks on a cheap filter. Your image quality will be degraded.
12. Remote and timed shutter release
Use a remote shutter release if your camera has this facility. If not there is another trick. Use your timed shuttered release. This allows a delay between depressing the shutter release button and the picture being taken. It allows for any vibration caused by pressing the button to subside.
By applying these steps to your photography you will eliminate virtually all elements that cause a lack of sharpness in your images.
About the Author:
Wayne Turner has been teaching photography for 25 years and has written three books on photography. He has produced 21 Steps to Perfect Photos; a program of learner-based training using outcomes based education.
Did you appreciate this newsletter? Please help us keep it going by Joining Our Patreon Supporters
What are your thoughts on this article? Join the discussion on our Facebook Page
PictureCorrect subscribers can also learn more today with our #1 bestseller: The Photography Tutorial eBook
The post 12 Steps to Sharper Photos appeared first on PictureCorrect.
from PictureCorrect https://ift.tt/HVzkAZ7
via IFTTT


0 kommenttia:
Lähetä kommentti