One of the greatest challenges with film photography is that you can’t instantly preview your results to assess exposure. Cameras come with a built in light meter but they can be easily tricked. This is why getting an external light meter can be a great investment if you are into film photography. Photographer Kyle McDougall walks you through how you can use a spot meter to nail your exposure every time:
Learning to use a light meter is not an easy feat in itself. It does take time to understand how you can use it to get the best results. Like with learning anything, you’ll make mistakes, and you’ll just have to learn from those mistakes. Another great thing about learning to use a light meter is that, it not only gives you accurate exposure reading, but also forces you to study light. To be able to fully utilize a light meter, you need to understand light behavior and the tones in the scene.
“It takes practice. And it takes experimenting, making mistakes, and making notes, and learning from those mistakes.”
How a Spot Meter Works
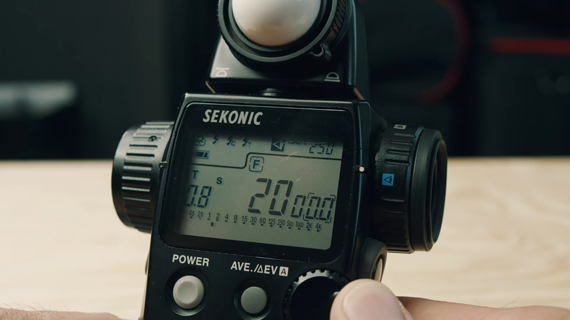
For demonstration purpose, McDougall shows us how he uses his Sekonic L-558R which can be used both as an incident and a spot meter. In this video, he covers how he uses it as a spot meter to take his images.
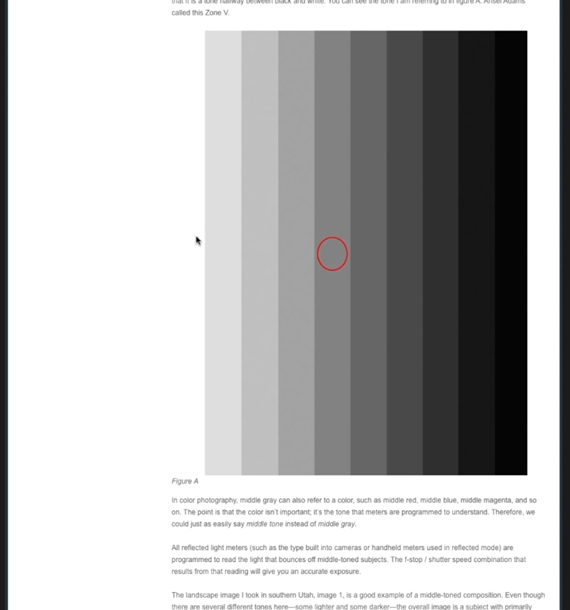
To use a spot meter, you first input the aperture and ISO. Then, while looking through its lens, point the spot in the middle of the viewfinder to whatever you want to meter. A push of a button will then give you a shutter speed. What you need to understand here is that the exposure that you get will meter the spot for middle grey which is somewhere between pure white and pure black.
What this means is that if you took the meter reading of some bright white snow, the meter reading will make it appear middle grey. In the same way, if you meter a dark street the reading will again make it appear middle grey. It is thus a good idea to take a bunch of meter readings in your scene, and work out the final exposure depending on how you want the tones in your scene to appear.
Zone System
“If you have never heard of the zone system or don’t know much about it, take the time to go and do the research and read up.”
Basically, the zone system is a series of numbers from zero to ten which progresses from zero (pure black) to ten (pure white). Right in the middle, at zone five, is where middle grey lies in the zone system.
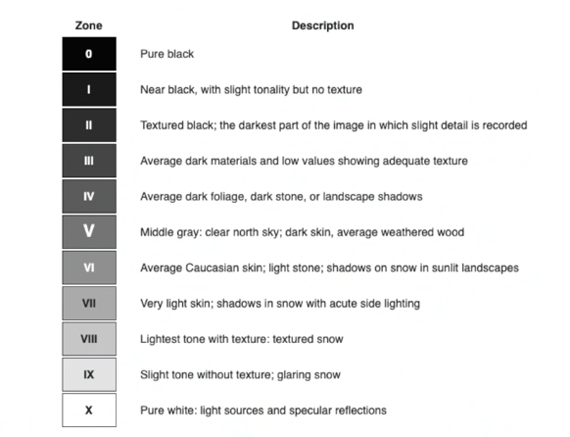
Film needs a good amount of light to record an image properly. So, referring to the chart above, you wouldn’t want the darkest part of your scene to go below zone three. Otherwise, the image will end up losing all the shadow details. However, since film is good at retaining highlight details, you don’t need to worry much about excess light.
Working With a Spot Meter
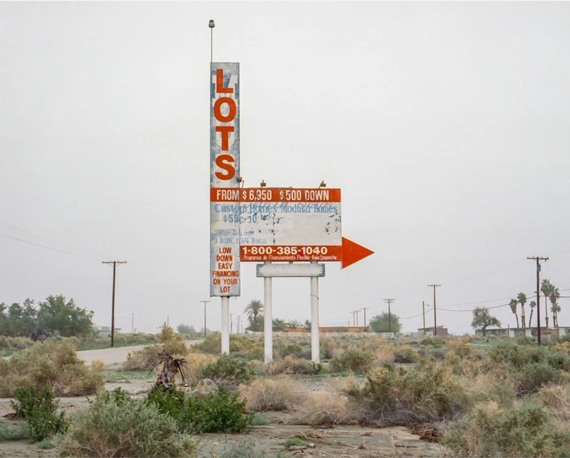
If you’re out on a low contrast overcast day with no bright highlights and deep shadows, look out for areas that are close to the middle grey. You can then get a meter reading off of it and shoot away. McDougall gave the good examples of some pavement or a wet sandy area.
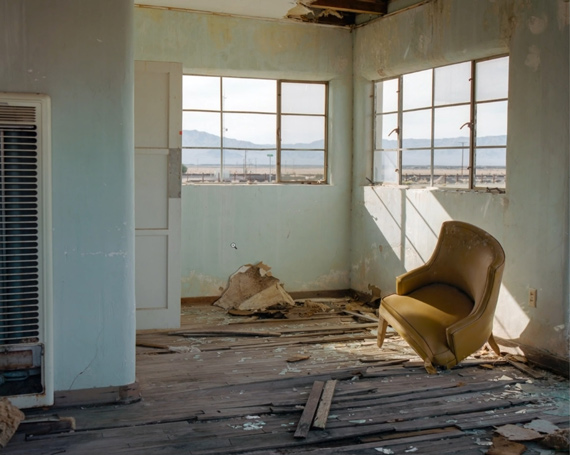
Using a spot meter is, however, different when you’re shooting a high contrast scene. For instance, if you’re shooting indoors on a bright sunny day, you may want to balance the exposure for the outside as well. You’ll be working with a wide range of tones in this kind of circumstance.
The following steps are specific to the Sekonic L-558R. You may want to refer to your light meter’s manual for similar functionality.
- Start by looking for something that’s close to middle grey and take a reading.
- Lock the number in the light meter’s memory and then push the average button.
- Look through the eye-piece to read the different tones throughout the scene. The light meter will tell you how many stops above or below the locked reading those tones are falling.
Then, for instance, if the meter tells you that the darkest scene in your image is 3-stops below the middle grey area (middle grey = zone 5) i.e. zone 3, you can be assured that the shadow details will be retained comfortably. Similarly, if the meter tells you that the brightest scene would be 3-stops over the middle grey i.e. zone 8, you can rest assured that the highlights will remain protected as well.
The key is thus to take a meter reading off the middle grey, then checking with the shadow and the highlight regions to make sure that they are not clipped. Again, with film, you’d want to pay more attention to the shadow regions since film handles highlights pretty well.
“I’m never that worried about where my highlights fall compared to middle grey. That’s because we know negative film deals well with too much light but it doesn’t deal well with not getting enough light.”
Another trick you can use to make sure that the film gets enough light is to set the ISO on the light meter at a lower value than the actual film speed. For instance, if you’re using a Portra 400, set the ISO to 250 in your light meter. The result will make sure that the film gets enough light to expose all the shadows well enough.
If you’ve been struggling with nailing exposure with film photography, get yourself a spot meter (even a used one will do) and try out these techniques. You’ll be amazed with how efficient you’ll get once you’re used to working with the spot meter.
- - - - - - - - - - - - - - - - - - - - - - - - - - - - - - - - - - - - - - - - - - - - - - - - - - - - - - - - - - - - - - - - - - - - - - - - - -
Did you appreciate this newsletter? Please help us keep it going by Joining Our Patreon Supporters
What are your thoughts on this article? Join the discussion on our Facebook Page
PictureCorrect subscribers can also learn more today with our #1 bestseller: The Photography Tutorial eBook
- - - - - - - - - - - - - - - - - - - - - - - - - - - - - - - - - - - - - - - - - - - - - - - - - - - - - - - - - - - - - - - - - - - - - - - - - -
The post Nailing Exposure in Film Photography With a Spot Meter appeared first on PictureCorrect.
from PictureCorrect https://ift.tt/BAKypxP
via IFTTT


0 kommenttia:
Lähetä kommentti