Halloween is a great time for some spooky portraits. So why not take inspiration from Halloween and do some spine-chilling photo shoot? Photographer Gavin Hoey from Adorama takes us through how to get some scary images in a small home studio:
Props for Halloween Photo Shoots
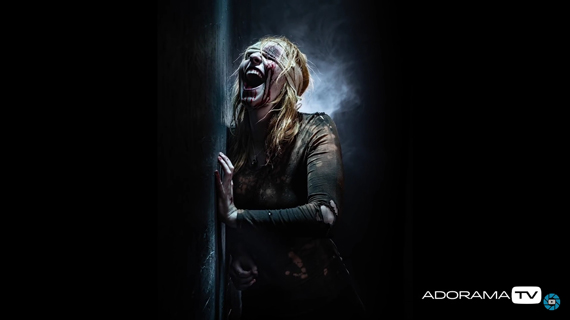
Get the look of a blood-soaked bandage by soaking a clean bandage in some coffee and then staining it with fake blood. There are many types of fake blood on the market, but be sure to test them out before applying them on the model.
Also, clean clothes don’t scream scary, do they now? Use old clothes that you don’t use anymore, get them dirty, and cut them up for a creepy look.
Lighting
Hoey uses a simple two-light setup for the shoot. He places a grid on the first light to create a shaft of light on the background.
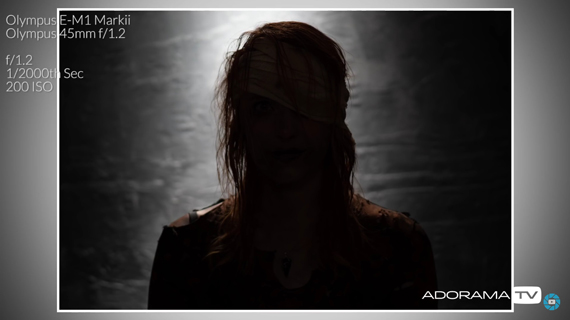
He uses a second eVOLV 200 with a grid a key light to light up the model. Be sure to place the light so that it highlights the spooky bits. In this case, to properly light the bloody eye, Hoey asked the model to turn her face toward the light.

Scary Poses
A horror photo shoot wouldn’t be complete without some scary expressions. Ask your model to ham it up and go for expressions that scream fear and horror.
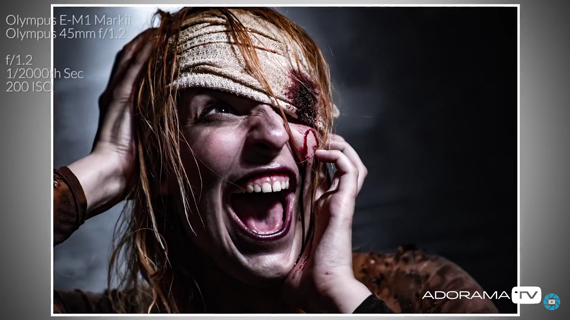
Hoey adds in a window and stains the model’s hands with fake blood to give the images that extra horror factor.
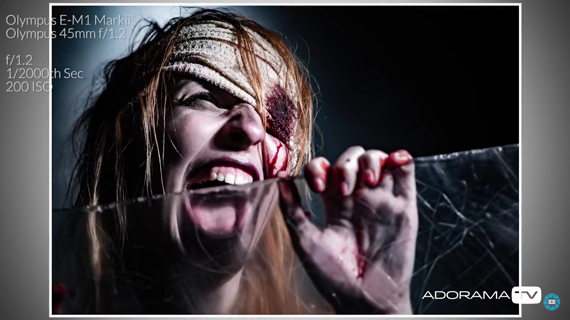
And to give a feeling that the scary model is trying to escape from the basement, Hoey makes some small adjustments to the setup. He has the model turn toward the background. He then adjusted the key light accordingly to light up her face. Finally, he adds a third light to highlight the smoke.
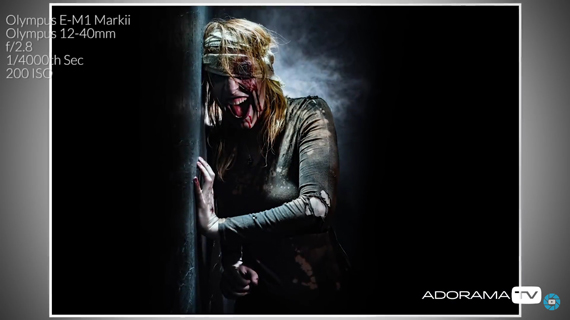
Post Processing
For a successful Halloween photo shoot, everything has to come together, including the makeup, props, outfit, lighting, and expressions. And to add a cherry on top, we can always go for some extra post-processing. Hoey uses Adobe Camera Raw to make slight adjustments to his photos. Here’s a gist of what he does:
- Take the color temperature down to give the image a cold, spooky look.
- Add some contrast by using the dehaze tool so that it cuts through the smoke.
- Enhance sharpness and texture by using the clarity adjustment.
- Check if the dehaze tool has messed up the colors. Use the saturation and vibrance sliders to counter the effect.
However, every picture will require personalized adjustments so it’s not necessary that you follow the exact adjustments.
What spooky ideas do you have for your scary Halloween photo shoot?
- - - - - - - - - - - - - - - - - - - - - - - - - - - - - - - - - - - - - - - - - - - - - - - - - - - - - - - - - - - - - - - - - - - - - - - - - -
Did you appreciate this newsletter? Please help us keep it going by Joining Our Patreon Supporters
What are your thoughts on this article? Join the discussion on our Facebook Page
PictureCorrect subscribers can also learn more today with our #1 bestseller: The Photography Tutorial eBook
- - - - - - - - - - - - - - - - - - - - - - - - - - - - - - - - - - - - - - - - - - - - - - - - - - - - - - - - - - - - - - - - - - - - - - - - - -
The post How to do a Scary Halloween Photo Shoot in a Home Studio appeared first in the Photography Tips category on PictureCorrect.
from PictureCorrect https://ift.tt/e1QSTlb
via IFTTT


0 kommenttia:
Lähetä kommentti