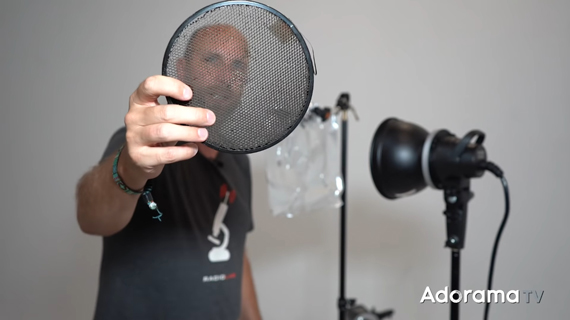
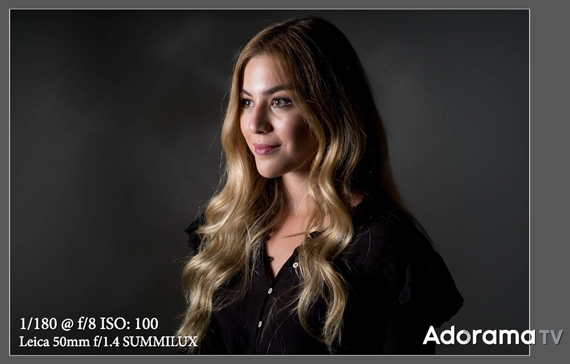
Gobo in photography is something that comes in front of a light source. It could basically be anything. The only requirement is that it needs to pass some light through it while blocking the rest. By doing so, it creates a pattern of light and shadows and that is what we seek when using a gobo. Photographer Mark Wallace from Adorama demonstrates how you can create interesting patterns on a white background using a DIY gobo for some beautiful looking portraits:
Building An Interesting Background
You can make a portrait appear more interesting by creating a unique looking background. And using a gobo is one of the ways to do so. What’s great is that you don’t require any fancy equipment do so either. Like Wallace demonstrates in the video, you can take a small sheet of Aluminum and cut some holes on it. Then, simply place it in front of a light source and point the setup towards a white background.
“The point with this is that you’re gonna have to play and experiment, because to get something that looks good using this technique can sometimes take a long time.”
One thing you need to keep in mind is that the setup won’t just work with any normal light. You’ll need to use a grid to restrict the light so that it doesn’t scatter everywhere.

Another interesting thing about using a gobo is that you can change the patterns formed on the wall by simply changing the distance between the aluminum foil and the light source. You can also do so by cutting in different patterns on the foil itself.
Adding Key Light
Normally, when taking a portrait, you would have the key light somewhere at a forty five degree angle to the camera. However, this can create a problem when working with a background that’s lit by a gobo. The light from the key light can totally overpower the patterns being formed by the gobo and result in a boring image.
A simple trick to overcome this overcome this challenge is to turn the key light away from the background. By turning the key light at a ninety degree angle to the camera, and having the model turn more towards the key light, you can see that the image comes out much better.

The image looks far more interesting. The only problem with the image is that the back of the model looks a little too dark. You can even that out by simply placing a reflector so that some light from the key light is bounced off to illuminate the dark side.
If a boring background is something that has been tiring you, how about giving this DIY trick a try. You’ll definitely love the results.
Go to full article: How to Shape Light with a Gobo for Portraits
What are your thoughts on this article? Join the discussion on Facebook
PictureCorrect subscribers can also learn more today with our #1 bestseller: The Photography Tutorial eBook
The post How to Shape Light with a Gobo for Portraits appeared first on PictureCorrect.
from PictureCorrect https://ift.tt/30gCxiY
via IFTTT


0 kommenttia:
Lähetä kommentti