You can really do wonders with a simple product like a bottle of deodorant with good photography skills and some Photoshop magic. But even with Photoshop you need to have a basic workable set of exposures to begin with. This tutorial by Dustin Dolby of workphlo is a straightforward guide on the concepts of product photography and retouching:
Shooting the basic exposures entails using different lighting angles, and of course lights, to expose for each section of the product. This is to ensure that at least one decent exposure for each section is available. The exposures can then be blended together to create the final image.
The product in question is glossy, and that means there’s a bit of reflection going on. This needed to be dealt with in post-processing.
Here are the exposures that Dolby made:
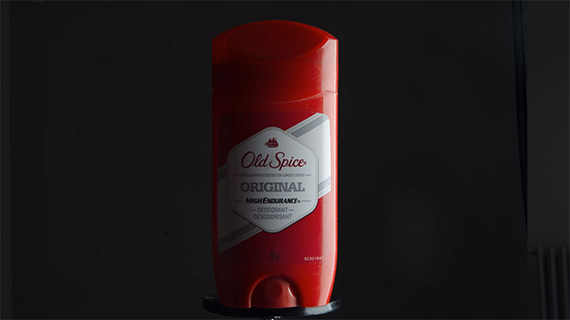
In the shot below, he used a fill card to fill in the shadows on the right side of the bottle.
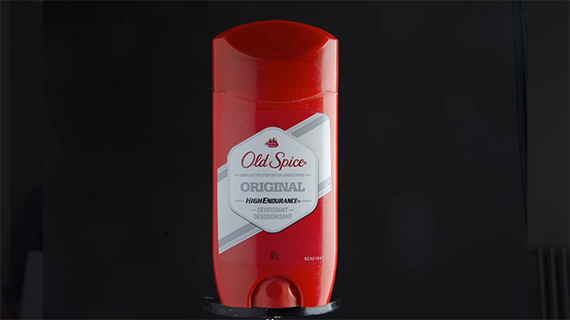
For the next shot, he used a diffusion panel to create a highlight at the top of the bottle.
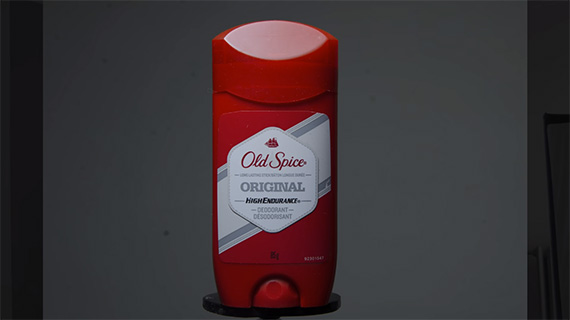
And finally, this shot was a silhouette to be used for the final post-processing steps.
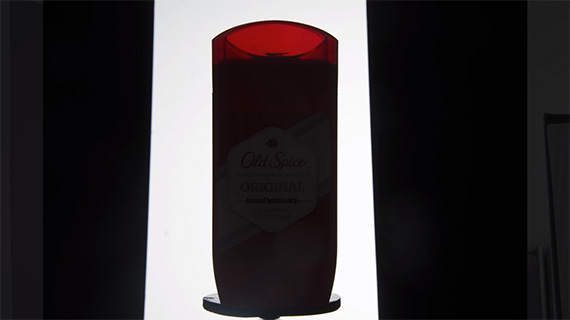
The post-processing techniques are really simple. Dolby brought the frames into Photoshop, combined them together, adjusted the exposures, removed the spectral reflection of the background tones, and did a bit of noise reduction. Overall, the process needed a lot of eyeballing.
Here’s the final image:
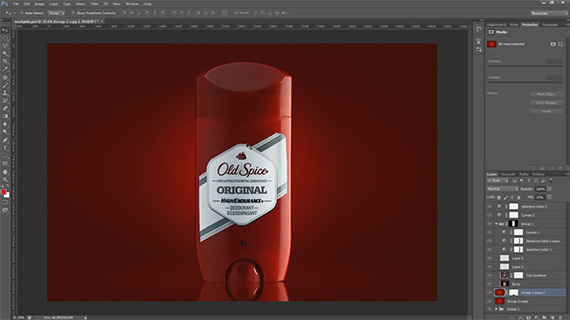
Next time you shoot a product, consider this multiple frame technique to get your lighting just right.
Go to full article: Effective Lighting Tips for Simple Item Product Photography
What are your thoughts on this article? Join the discussion on Facebook
PictureCorrect subscribers can also learn more today with our #1 bestseller: The Photography Tutorial eBook
The post Effective Lighting Tips for Simple Item Product Photography appeared first on PictureCorrect.
from PictureCorrect https://ift.tt/2uj3ViO
via IFTTT


0 kommenttia:
Lähetä kommentti