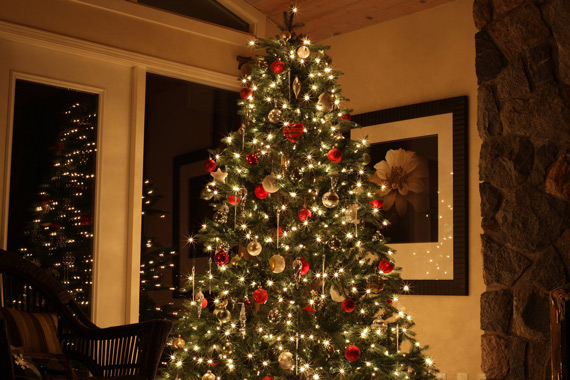
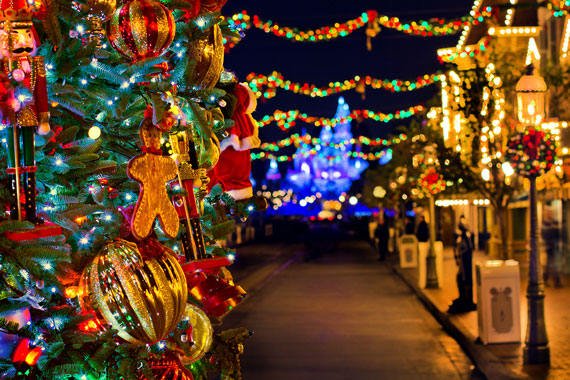
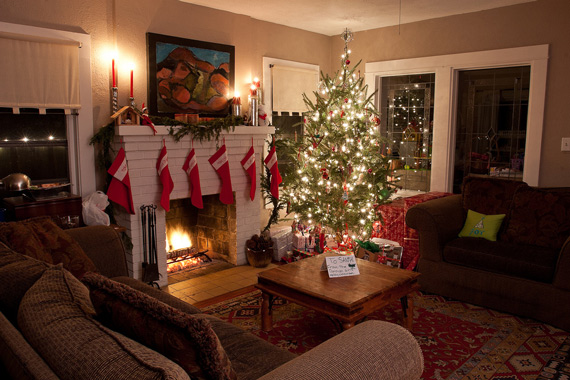
Here is an article describing how you can get better photos of Christmas lights. I’ve focused on the tree, but these concepts will work for most any lighting display.
This time of year, everywhere you turn there are pretty lighting displays — ones worth capturing with our cameras.
But how?
While pretty, most of the Christmas lights we see are not very bright and come with a lot of photo problems if we hope to capture them accurately.
Christmas lights can be fairly tricky to capture since they are so dim. If we use a flash (on camera or off), we get a nice image of the base subject — the tree, decorations, presents, et cetera. But the flash will totally overwhelm the Christmas lights, and we either can’t see them at all, or they are nothing but a dim glow that adds nothing to the photo.
If we don’t use a flash and opt for a long shutter speed (to capture the tree’s lights), we get a nice festive image of the lights, but the tree and other decorations aren’t properly exposed and don’t look as good as they should.
A middle-of-the-road approach will give you results that are unsatisfactory at both extremes.
Here are three options you can try:
1. If you have a camera that is capable of doing a double exposure, you have it made. Do one exposure with the flash turned on, then another with the necessary settings to maximize the lights.
2. If you don’t have a camera capable of double exposures, you can still take the two images described above and combine them in Photoshop or some other editing program that allows you to do such a thing.
But there’s a third way to get better photos of Christmas lights…
3. The third method requires a little bit of camera mastery, and I highly recommend that you take advantage of the season to learn how to do this.
You will have to take the camera off automatic and actually employ a few advanced techniques.
Keep in mind that every setting you use in every photo has both advantages and drawbacks. It is the various choices you make that will define your creativity and photographic style.
Here we go…
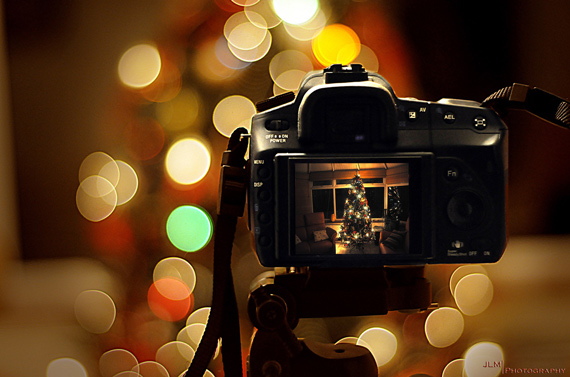
To begin with, you must have a tripod. Don’t even try to shoot Christmas lights without one.
Turn off all the other lights in the room so that the tree’s lights are all that are lit. We don’t want extraneous lights throwing off our exposure settings.
Next, you need to determine the settings necessary to best record the lights. Our exposure will be concerned with three settings: ISO, aperture, and shutter speed.
ISO
Start with your ISO setting. I recommend 100 or so. The lower the ISO setting, the less “noise” will be introduced into the photo. Every individual pine needle will be sharp.
Aperture
Next, the aperture. Here is where we start making the creative (as well as the technical) decisions.
If you have a high-quality lens, you can open up your aperture to the maximum size. (This will be the smallest F-stop number, i.e., f/2.8, not f/16.) On the positive side, this will allow in the most light. On the negative side, a wide-open aperture will give you a very shallow depth of field, and some lower quality lenses tend to have aberrations at the extremes.
To avoid the aberrations and/or if you want more depth of field, most lenses have a sweet spot in the middle range — around f/8. Begin there, and adjust later if necessary.
Shutter Speed
Once you’ve decided on the aperture you want, the last way we can control the amount of light getting to our film or digital sensor is with the shutter. If we have used a low ISO and a middle-of-the-road aperture, our shutter will have to be open for a very long time.
Generally, when we consider shutter speed, it is in relation to some sort of motion or movement in our photos. In this case, there is no movement, and it is strictly a mechanical decision. (It has to be open long enough to get enough light into the camera.)

“Merry Christmas and Happy Holidays to you and yours!” long exposure (30 sec.) captured by Scott Schiller
This will be a very long shutter speed. That’s why you must have a tripod to get better photos of Christmas lights.
If your camera isn’t able to give you a long enough shutter speed, if you MUST, you can make adjustments to the ISO and the aperture.
Going from 100 ISO to 200 ISO will cut the needed shutter speed in half. Going from 200 to 400 will cut it in half again, and so on. Opening up the aperture one or two F-stops does the same. Try one of each until you get the right exposure.
Be careful. Underexposure will eliminate the beauty of the lights, and you won’t be able to see background objects. Overexposure will blow them out.
Flash
Once you have decided on the combination of ISO, aperture, and shutter speed, you need to capture the lights, then we need to turn our attention to the tree and other items in the photo.
While we now have a proper setting to record the lights, due to their strength and placement, they are not going to be bright enough to show the tree, pine needles, presents, and so on.
Like any other low-light situation, we need to add a flash. Here is where it really gets fun!
Our shutter speed may be a long time, but our flash isn’t! That is OK. Our flash will give us the burst of light that will properly expose the tree, while the shutter remains open long enough to capture the lights!
Ta-da! It’s almost like a double exposure!
When shooting with a long shutter speed, most of your better quality flashes will allow you to set them so that they will fire either at the beginning of the exposure or at the end of the exposure. In this case, since there is no motion, it doesn’t matter which one you choose.
If you aren’t aware of these settings or don’t know how they work, it’s time to pull out your flash’s manual and read it. It’s worth the effort. You’ll learn a pretty cool option that can give you some interesting and creative photos all year long, not just get better photos of Christmas lights.
Then you’re all set!
Decide what area you want a photo of, set up your tripod, and fire away! The flash will fire and show you the tree, then the long exposure will allow the beauty of the lights to show.
White Balance
By the way, be sure your white balance is set to record the white lights as white and not the orange/yellow produced by low-temperature lights. Unless that is what you want.
I hope this article helps. These settings really aren’t as difficult to do as they may sound, and to get better photos of Christmas lights and decorations, they are essential. Plus, the techniques you learn will translate to other types of photos, too.
About the Author:
Dan Eitreim writes for ontargetphototraining.com. He has been a professional photographer in Southern California for over 20 years. His philosophy is that learning photography is easy if you know a few tried and true strategies.
Go to full article: How to Take Better Photos of Christmas Lights
What are your thoughts on this article? Join the discussion on Facebook
PictureCorrect subscribers can also learn more today with our #1 bestseller: The Photography Tutorial eBook
The post How to Take Better Photos of Christmas Lights appeared first on PictureCorrect.
from PictureCorrect https://ift.tt/2kO1Vbv
via IFTTT


0 kommenttia:
Lähetä kommentti