


Photographing a Christmas tree seems simple—until you actually try it. Bright lights, deep shadows, and reflective ornaments can confuse your camera and produce washed-out highlights or muddy detail. With just a few small adjustments in technique and setup, you can capture warm, glowing images that look exactly like the cozy holiday scene in front of you.
Below are some practical tips to help you create beautiful Christmas tree photos, whether you’re using a DSLR, mirrorless camera, or even a smartphone.
Related: only a little while left for the Lighting Cheat Sheets  Cyber Week Sale
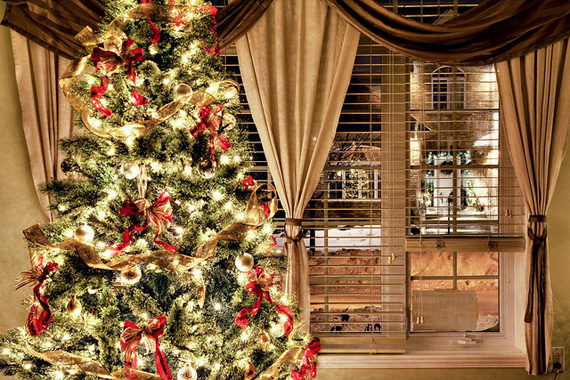
Photo by Artur Staszewski.
Set the Scene Before You Start Shooting
Before touching your camera, take a minute to shape the scene. Fluff the branches, space out ornaments, hide visible wires, and turn off any harsh room lighting. Ambient light from lamps can contaminate colors or create unwanted reflections. The soft glow of the tree lights alone often produces the most pleasing atmosphere.
If you want a touch of extra illumination, use dim nearby lights—or bounce light off the ceiling using a flash set to a very low power. The key is to maintain the warm holiday mood without introducing harsh light.
Choose the Best Time of Day
Your tree will look most magical when photographed in low light. Early morning, dusk, and evening are ideal. Daylight from windows can overpower your tree lights, so aim for times when the room is darker and the bulbs shine brightest.
Use a Tripod for Sharper Results
Tree photos often require slower shutter speeds, which can introduce blur if you’re shooting handheld. A tripod—or even resting your camera on a table—keeps everything steady. If you’re using a phone, prop it against something sturdy or use a small phone tripod.
Turn on your camera’s self-timer or use a remote release to avoid shaking the camera when you press the shutter.
Dial in the Right Exposure Settings
Lower ISO for Cleaner, Better Color
Start with ISO 100–400. You’ll get richer lights and cleaner shadows. Higher ISO values add noise and can dull the glow.
Use a Slow Shutter Speed
Christmas tree lights look best when you let them “burn in” a little. Try 1–2 seconds if the room is dark. This long exposure captures the warmth and softness of each bulb.
If you want individual bulbs to appear bright and crisp rather than glowing, use a faster shutter speed—something closer to 1/60s—but you may need more ambient light.
Choose a Moderate Aperture
Aperture between f/4 and f/8 usually works well.
- Wide apertures (f/1.8–f/2.8) give you dreamy background blur but may make ornaments too soft.
- Narrow apertures (f/11–f/16) help you capture more detail in the branches and can create small starburst effects on tree lights.
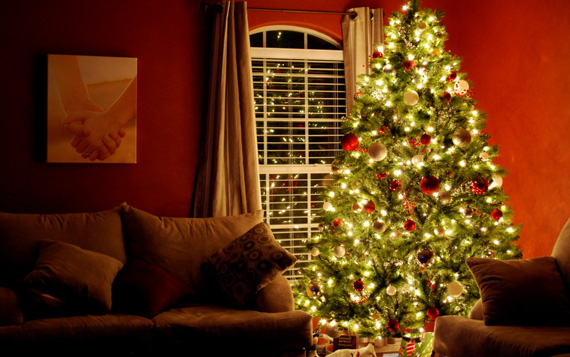
Photo by Donnie Ray Jones; ISO 800, f/5.3, 0.8-second exposure.
Create Beautiful Light Bokeh
If you want those gorgeous blurry light circles, stand farther back and zoom in with a long focal length. Use the widest aperture your lens allows and focus on a foreground ornament. The tree lights in the background will naturally turn into creamy bokeh.
This is an easy way to create artistic holiday photos with a single dazzling subject.
Photograph the Entire Scene
Don’t forget to include the environment around the tree:
- Presents
- Fireplace or stockings
- Window light
- Pets or kids interacting with the tree
A wider shot that includes the room adds storytelling context and creates a more meaningful holiday image.
Experiment With Angles and Perspectives
A few creative ideas:
- Shoot from low angles to make the tree look grand and towering.
- Capture close-ups of ornaments to highlight personal details.
- Photograph the tree through a doorway for a warm, candid mood.
- Try reflections in windows or shiny ornaments.
These small variations lead to a more complete set of tree photos.
Try a Starburst Effect
If your tree lights are small and bright, stop your aperture down to f/16 or f/22. This creates a natural starburst effect on each bulb—an especially festive look.
You’ll need a tripod, as the image will get darker and require a longer shutter speed.
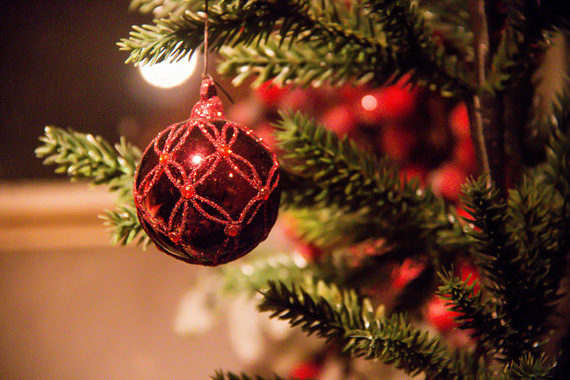
Photo by Susanne Nilsson; ISO 6400, f/5.6, 1/125-second exposure.
Smartphone Tips
If you’re shooting with a phone:
- Tap to set focus on an ornament
- Drag the exposure slider down slightly to keep highlights from blowing out
- Use “Night mode” for long exposures (or try a manual camera app)
- Clean the lens—phone lenses pick up smudges easily, which dull the lights
Modern phones can produce stunning holiday images with just a few tweaks.
Final Thoughts
Photographing your Christmas tree is all about balancing the glow of the lights with the details of the scene. Take your time, experiment with different exposures, and try both wide and close-up shots. With a steady setup and thoughtful lighting, you’ll end up with photos that capture the warmth, color, and magic of the season.
For Further Training:
Lighting is arguably the most important aspect of photography; but do you know how to use it? These new Photography Lighting Cheat Sheets are designed to help. With critical information on ALL the types of natural light and artificial light you can use. They are currently 80% off today for a Cyber Week Sale
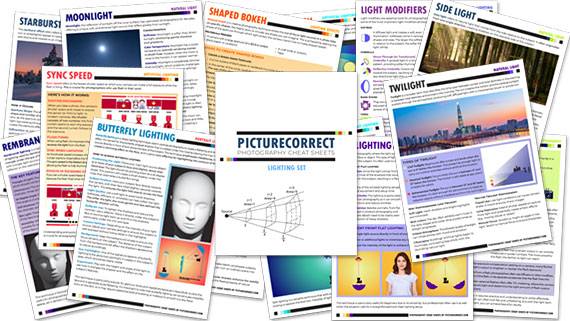
New! Cheat Sheets for Photography Lighting (see how they work)
Whether you’re a seasoned professional or just starting out, photography cheat sheets can be a valuable resource for improving your skills and taking your photography to the next level. By having all the key information you need in one place, you can focus on what’s important – capturing amazing photos.
Cyber Week sale ending soon: Photo Lighting Cheat Sheets at 80% Off
The post How to Photograph Your Christmas Tree first appeared on PictureCorrect.
from PictureCorrect https://ift.tt/tOlNdDB
via IFTTT


Loved these tips for photographing a Christmas tree—super helpful! If anyone needs professional photo or video editing to make their holiday shots shine, feel free to check out BeatColor https://beatcolor.com/
VastaaPoista