Photography, like any art or skill, thrives on consistency. The journey to becoming an adept photographer is paved with continual learning, experimentation, and regular practice. Understanding why consistent practice is pivotal can be the difference between stagnation and growth in your photographic journey.
Related: Want photography to finally become a routine? PictureCorrect Premium gives you weekly practice — and until Black Friday, the first 3 months are just $1.

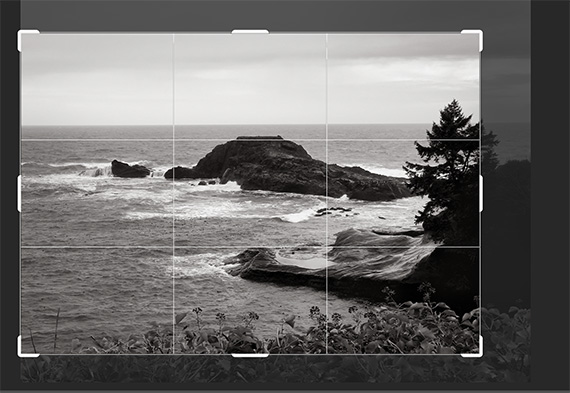
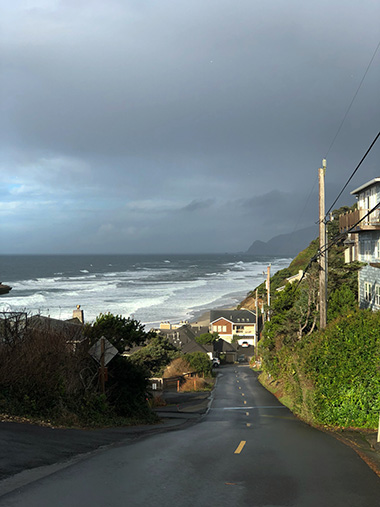
Photo captured by Aziz Acharki
Consistent practice in photography helps develop muscle memory and intuitive responses. Over time, adjusting your camera settings or framing a shot becomes second nature. This muscle memory allows you to focus more on creativity and less on the technicalities, enabling you to capture moments more fluidly and expressively.
Understanding Your Equipment
Frequent use of your camera and accessories familiarizes you with their quirks and features. The more you use your equipment, the better you understand its limitations and strengths, which can significantly influence your photographic outcome. This deep understanding can be the key to exploiting your gear to its fullest potential.
Cultivating a Unique Style
Regular practice provides you with the canvas to experiment and find your unique voice in photography. As you explore different styles, subjects, and techniques, you start to discern what resonates with you. This journey of discovery is essential in developing a distinctive style that sets your work apart.
Learning from Failure
Not every photo you take will be a masterpiece, and that’s part of the learning curve. Regular practice involves making mistakes, analyzing them, and learning from them. This process is invaluable in improving your skills and avoiding similar errors in the future.
Adapting to Different Situations
Photography is often about adapting to changing conditions—lighting, weather, subjects, and environments. Consistent practice equips you with the experience to swiftly adjust to these variables, enhancing your ability to capture compelling images regardless of circumstances.

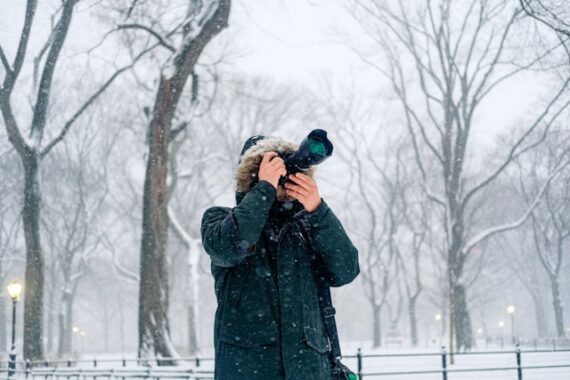
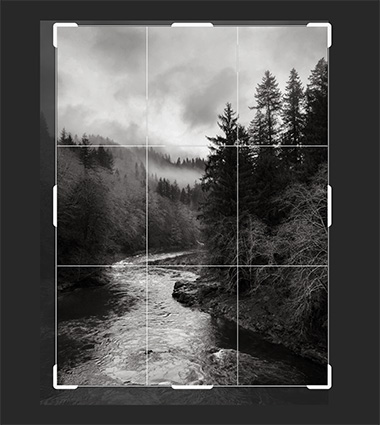
Photo captured by Kipras Streimikis
Keeping Up with Technological Advances
The field of photography is ever-evolving, with new techniques, software, and equipment continually emerging. By practicing consistently, you stay engaged with these advancements and learn how to integrate new tools and methods into your workflow.
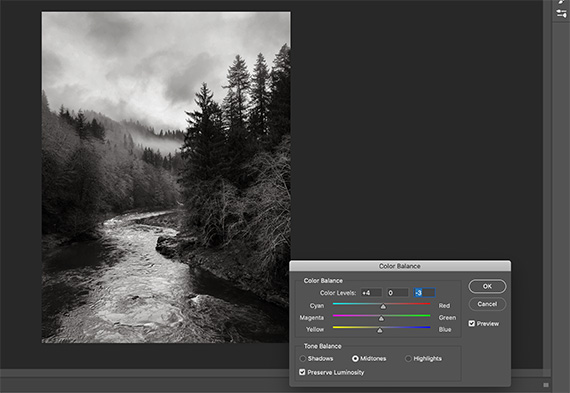
The Role of Practice in Photo Editing
Consistent practice is crucial not only for capturing images but also in photo editing and post-processing. Regular engagement with editing tools enhances your ability to fine-tune images, helping you to express your artistic vision with greater precision. Through continuous practice, you gain a nuanced understanding of how to balance colors, adjust contrasts, and apply effects, thereby elevating your photographs from good to great.
“It takes ten thousand hours to truly master anything. Time spent leads to experience; experience leads to proficiency; and the more proficient you are the more valuable you’ll be.” – Malcolm Gladwell
Maintaining Passion and Inspiration
Lastly, consistent practice keeps your passion for photography alive and kicking. It encourages you to seek new sources of inspiration, keep your creative juices flowing, and maintain a deep connection with your art.
Early Members Are Already Ahead:
Every week, more photographers are joining PictureCorrect Premium to level up their craft — and with the Black Friday offer running, it’s the perfect moment to start. Inside, you’ll find expert-led tutorials, creative challenges, and printable exercises that make each lesson stick.

Whether you’re working to improve composition, lighting, or manual control, Premium gives you the structure to make steady progress. The special $1 intro offer is ending soon, and once it’s gone, so is your chance to lock in early access.
Deal ending soon: Black Friday Discount Enrollment PictureCorrect Premium
The post The Photographer’s Journey: Enhancing Skills Through Routine Practice first appeared on PictureCorrect.
from PictureCorrect https://ift.tt/uL2OdsD
via IFTTT

 Pre-Black Friday Sale
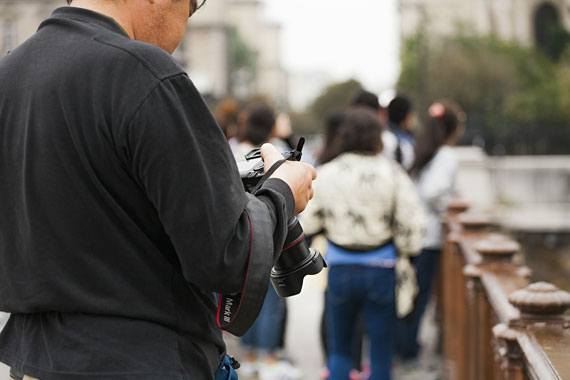


 Pre-Black Friday Sale


 Autumn Sale