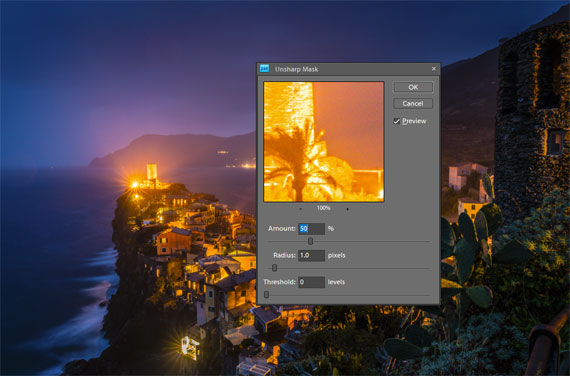
Photography, in its essence, is an art of capturing light. Once that light is captured, the journey isn’t quite over – the art of post-processing begins. Photo editing allows us to accentuate the best parts of our images, fix imperfections, and achieve a final look that’s both appealing and striking. One such technique, often left for the end, is sharpening. Let’s dive into why it’s best to apply sharpening at the end of the photo editing process.

1. Understanding Sharpening
Sharpening is a post-production technique that increases the contrast along the edges within an image. This accentuates details, making the image look clearer and more refined. However, like any tool, if used excessively or inappropriately, it can lead to undesirable artifacts like halos or increased noise.
2. Maintaining Image Quality
During the editing process, numerous adjustments – be it exposure, contrast, color correction, or retouching – are made to the image. Every adjustment, especially when done in raster format (like JPEG), can potentially degrade the image quality slightly. If you sharpen early and make subsequent edits, you risk exacerbating the unwanted artifacts introduced by sharpening. By sharpening at the end, you ensure that you’re applying this effect to the final version of the image, preserving maximum detail.
3. Tailored to Output
The required amount of sharpening can vary depending on where the image will be displayed. For instance, a photo meant for Instagram might need different sharpening than one intended for a large print. By leaving sharpening to the end, you can adjust according to the specific output in mind, ensuring optimal clarity.
4. Flexibility with Layers
For those using advanced photo editing software like Adobe Photoshop, sharpening at the end allows for the use of layers. This means you can adjust the sharpening intensity on a separate layer without affecting the underlying edits. This non-destructive approach offers great flexibility, as you can easily tweak or revert the sharpening without redoing the entire editing process.
5. Avoiding Cumulative Noise
Noise is the grainy or speckled appearance often seen in photos, especially those taken in low light. Editing can amplify noise, and sharpening can make it even more pronounced. If sharpening is applied early in the process, subsequent edits can amplify this noise even further. By sharpening at the end, you can better control and minimize the enhancement of noise.
6. Better Visual Judgment
After all the edits and enhancements, the image’s overall look and feel will be different from the starting point. What might have seemed like an appropriate amount of sharpening at the beginning could be overkill by the end. By waiting, you allow yourself to judge the appropriate sharpness based on the final product.
In Conclusion
While sharpening is undeniably a powerful tool in the photographer’s post-production arsenal, its timing in the editing process is crucial. By saving sharpening for the end, photographers can ensure they’re delivering the highest quality image, tailored to its intended output, with minimized artifacts and noise. Remember, photo editing is as much about the sequence of steps as it is about the steps themselves. Happy editing!
- - - - - - - - - - - - - - - - - - - - - - - - - - - - - - - - - - - - - - - - - - - - - - - - - - - - - - - - - - - - - - - - - - - - - - - - - -
Did you appreciate this newsletter? Please help us keep it going by Joining Our Patreon Supporters
What are your thoughts on this article? Join the discussion on our Facebook Page
PictureCorrect subscribers can also learn more today with our #1 bestseller: The Photography Tutorial eBook
- - - - - - - - - - - - - - - - - - - - - - - - - - - - - - - - - - - - - - - - - - - - - - - - - - - - - - - - - - - - - - - - - - - - - - - - - -
The post When to Apply Sharpening in the Photo Editing Process appeared first on PictureCorrect.
from PictureCorrect https://ift.tt/7k1MgV8
via IFTTT


0 kommenttia:
Lähetä kommentti