By and far the easiest way to photograph hummingbirds is to place a hummingbird feeder in our backyard and wait for the little guys to start visiting.
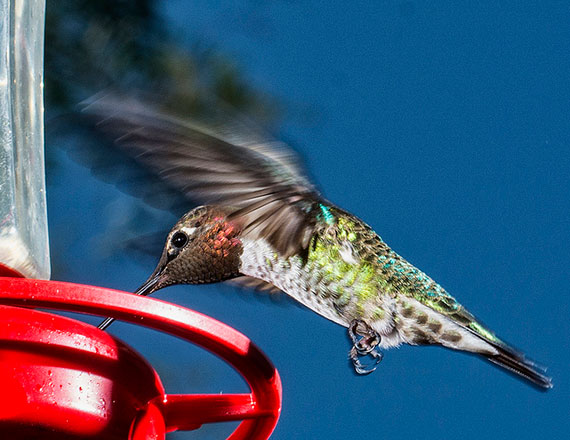
Photo by Bill Gracey; ISO 100, f/16.0, 1/200-second exposure.
We quickly realize that they have absolutely no compunction about being in close proximity to us. In fact, the hummingbirds that visit my feeder seem to have developed a morning ritual with my cat. Yes, I said cat. But let’s not get into that right now.
Regardless of how comfortable they are around us, they are incredibly difficult to photograph. And many times, when we have gotten a good tight shot of them, it doesn’t look all that appealing in the photograph. So let’s take a look at some ideas for improving our captures of these quick little creatures.
Planning
First, since we know where the hummingbirds are going to be, we can do a lot more pre-planning than you would be able to do for other wild creatures. What usually distinguishes the great shots of hummingbirds from the not-so-great ones is the background or surroundings. Another thing about the great shots is their narrow depth-of-field. You may think you are limited by your backyard, but let’s use both of the above properties to our advantage.
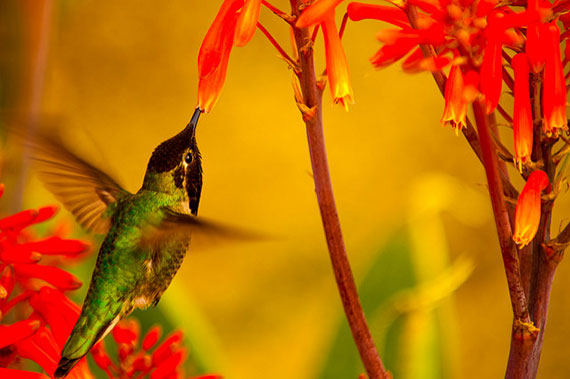
Photo by Danny Perez Photography; ISO 250, f/5.6, 1/500-second exposure.
I usually use a 70-200mm f/2.8 lens for hummingbirds set at 200mm and f/2.8. I focus at a spot next to the feeder under 6 feet away, which results in a very narrow plane of focus. And by hanging a piece of camouflage material a few feet behind the plane of focus, I get the feel of a place in the wilderness. The material is far enough out of focus that you can’t tell it’s fabric, and the camouflage pattern makes it seem like trees and leaves in the background.
Patience
Second, as with all wildlife photography, patience is not only a virtue, but a total necessity. We need to dedicate a considerable period of time in order to get even one acceptable shot. After setting up my camera and lens on a tripod and getting it pre-focused on a particular spot near the feeder, I place a chair behind the camera so I can wait in comfort for the next couple of hours. My hummingbird feeder is low enough that once my camera is set up, I can comfortably look in the viewfinder from a small camp chair.
Lighting
Third, and most important, is lighting. I have experimented extensively with different shutter speeds, trying to get different amounts of motion blur from the hummingbirds’ wings.
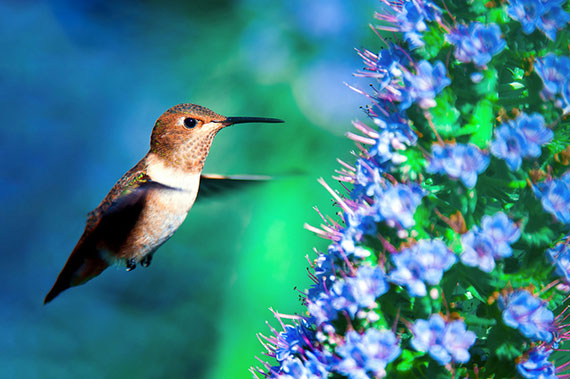
Photo by Danny Perez Photography; ISO 500, f/4.5, 1/1600-second exposure.
My conclusion thus far is you have to freeze their wings. I’m not quite done with this experiment yet, but I do spend more time trying to get that perfect “frozen wing” shot than I do trying to find the perfect shutter speed.
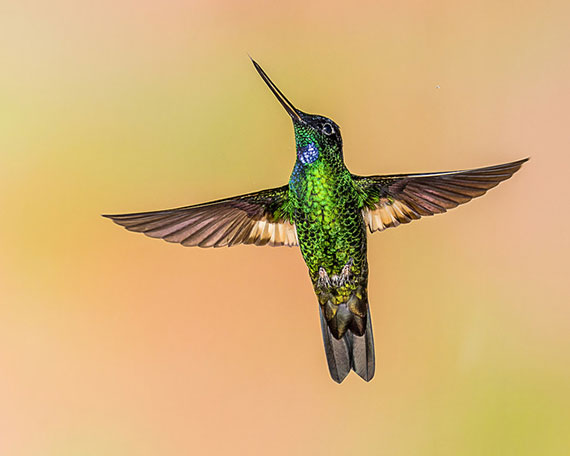
Photo by Andy Morffew; ISO 200, f/18.0, 1/250-second exposure.
To freeze their wings, you have to use a flash. I use three flashes. The first is in front of the bird and slightly below, which lights their breast nicely, freezes the wings, and gives that pleasant catch light in their eye. The second is placed behind the bird and slightly above, which brings out the colors in their back. I have never been able to capture these colors with any natural lighting; they always look drab and undesirable. But with the flash, those brilliant colors pop right out. The third flash illuminates the background and is adjusted for the balance I want on that particular day.
The two subject flashes are always set to their lowest power setting, giving me an effect exposure of about 1/10,000 of a second. While the shutter speed is set to 1/200 for proper synchronization, the flash duration is what determines the exposure and gives me that floating frozen hummingbird look.
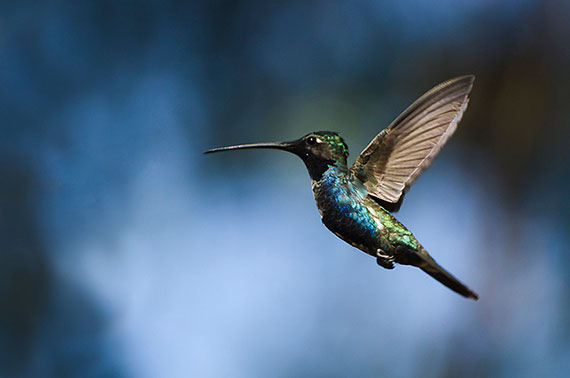
Photo by Chechi Peinado
Once I am set up, it is just a matter of sitting there waiting for them to come into my viewfinder. They usually take a while to start feeding on the petal that I have pre-set everything on, but eventually they ignore all the contraptions I have placed around their feeder and use the one that they want to. So it becomes a matter of waiting for them to use the petal I have set-up on and being ready to shoot when they’re in the frame.
My hummingbird shots have improved dramatically since I have started using this technique. I still want to tweak it in an attempt to get better, but what I am getting now is magnitudes of levels better than what I was getting before.
Give it a try, I think you’ll like it.
About the Author:
This article was written by Doug Loman (douglomanphotography.com). “I have been fascinated with Photography since my mid teens. These frozen moments in time have always given me a satisfaction that I do not get anywhere else in life. And that others enjoy these captured moments is absolutely incredible to me.”
- - - - - - - - - - - - - - - - - - - - - - - - - - - - - - - - - - - - - - - - - - - - - - - - - - - - - - - - - - - - - - - - - - - - - - - - - -
Did you appreciate this newsletter? Please help us keep it going by Joining Our Patreon Supporters
What are your thoughts on this article? Join the discussion on our Facebook Page
PictureCorrect subscribers can also learn more today with our #1 bestseller: The Photography Tutorial eBook
- - - - - - - - - - - - - - - - - - - - - - - - - - - - - - - - - - - - - - - - - - - - - - - - - - - - - - - - - - - - - - - - - - - - - - - - - -
The post Tips for Photographing Hummingbirds appeared first on PictureCorrect.
from PictureCorrect https://ift.tt/OwdnZFC
via IFTTT


0 kommenttia:
Lähetä kommentti