


Struggling to get the perfect exposure? Or not quite sure how to nail it each and every time? Consider the humble gray card. It’s not much to look at, but it can take all the guesswork out of your exposure settings. Photographer David Bergman from Adorama explains just what it is, why it works, and a couple of ways to use it:
“If you want to get your exposures right, you need to first understand how cameras look at the world.”
Play around with any camera for a while and it becomes clear that camera sensors just don’t see the world as the human eye does. While auto exposure has come a long way over the years, it still can’t help the fact that sensors have a much more limited range of tones than our eyes. So to get as close to the human experience as possible, your camera tries to see everything as 18% (or middle) gray.
Middle gray is what we perceive to be the halfway point between black and white. The key word here is perceive; our perception of color and lightness isn’t linear. To go too much deeper into the what, how, and why of 18% gray would be taking a bit of a foray into the world of mathematics and photographic history, so suffice it to say that while having your auto exposure calibrated to 18% gray works most of the time, there are situations in which it just can’t get it right. Point your camera at a white wedding dress, a field of snow, a pile of salt, or anything else mostly white. The meter in your camera will say, “Whoa, way too bright!” and will underexpose the image, all in an effort to make the image gray. It does the same for subjects that are particularly dark, only in reverse.
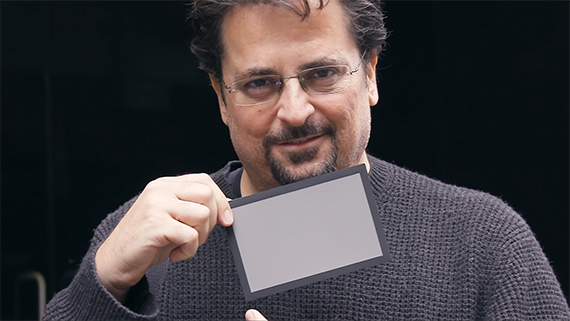
That’s where setting your exposure to the gray card comes in. Simply focus on the gray card (either by filling the camera frame or using spot-metering), activate your camera’s meter, and move the arrow in the meter to dead center (in manual).
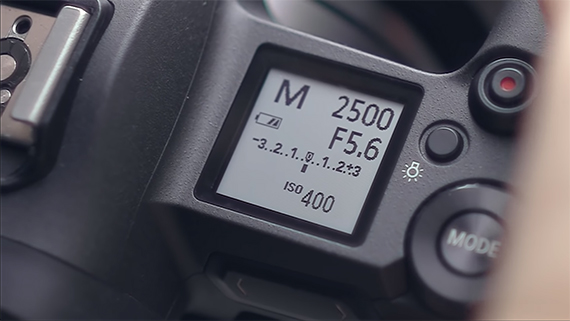
Voila! Perfect exposure for that subject.
If you like to get the best shot possible in-camera, you’ll probably want to give one of these little guys a try. They don’t cost much, nor do they take up much space. They’re also awesome for getting the perfect white balance.
Do you use a gray card? Why or why not?
- - - - - - - - - - - - - - - - - - - - - - - - - - - - - - - - - - - - - - - - - - - - - - - - - - - - - - - - - - - - - - - - - - - - - - - - - -
Did you appreciate this newsletter? Please help us keep it going by Joining Our Patreon Supporters
What are your thoughts on this article? Join the discussion on our Facebook Page
PictureCorrect subscribers can also learn more today with our #1 bestseller: The Photography Tutorial eBook
- - - - - - - - - - - - - - - - - - - - - - - - - - - - - - - - - - - - - - - - - - - - - - - - - - - - - - - - - - - - - - - - - - - - - - - - - -
The post How to Use a Gray Card for Perfect Exposure appeared first on PictureCorrect.
from PictureCorrect https://ift.tt/BjmADRL
via IFTTT


0 kommenttia:
Lähetä kommentti