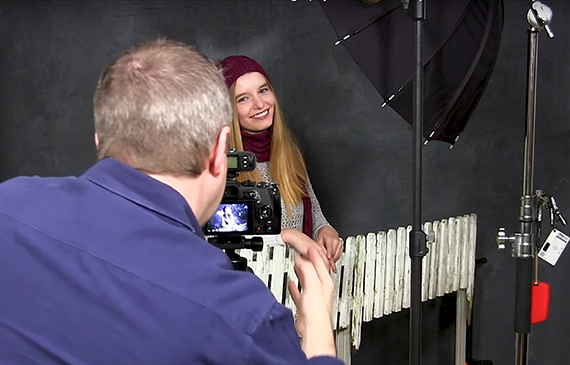
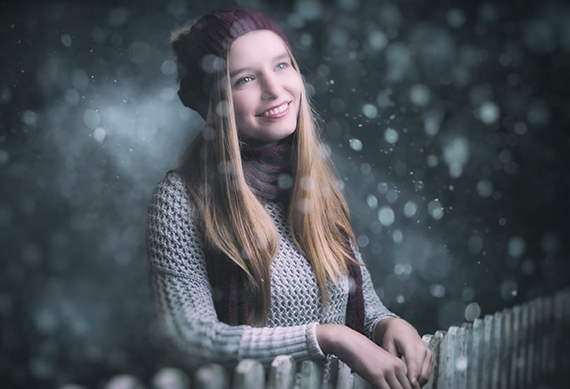
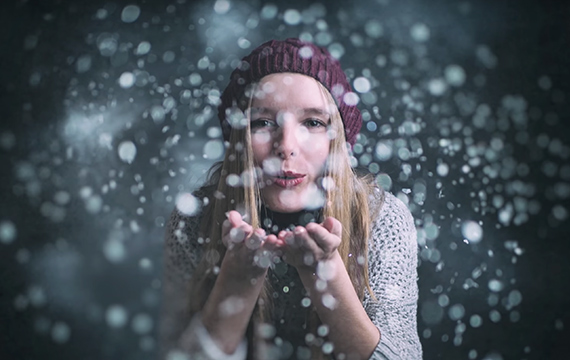
Looking for the beauty of winter without braving the blustering cold? As it turns out, you can bring the magic of the snow to any small home studio. All it takes is a little bit of ingenuity, some creative maneuvering, and a few props to bring an outdoor scene to life indoors. Gavin Hoey gives viewers the scoop on just how it’s done:
The key to creating the illusion of a winter wonderland starts with setting up the proper lighting, which in this case involves three separate lights. The separation light, in particular, effectively begins to set the scene. Fitting an LED with a cardboard box punched with holes may seem a bit unorthodox, but it does an excellent job at creating a dappled, realistic background.
Aside from the main key light used to illuminate the subject, a third supplemental light pointed toward the lens is necessary for brightening up the artificial snow as it floats through the air. Otherwise, any flakes that fall outside of the key light’s beam will produce dark, patchy areas, and those that fall in the path of the key light will cast shadows on the model’s face. So long as you can avoid lens flare, having a small speed light to really bring out the white of the snow is going to provide an ultra authentic appearance.

From there, it’s all about nailing down a few key details. Hoey chooses to shoot with a low aperture. This throws some of the snow flakes out of focus, creating beautiful bokeh. The flakes closest to the model remain in focus, and the combined effect creates an illusion of depth that belies the cramped conditions of the work area. As a final touch, a piece of fencing is brought in to drive home the illusion of the outdoors.


Keep in mind that the work doesn’t end when the camera’s put away. Post processing can be used to further accentuate a photograph. Often times, a slight change in color temperature or contrast can have a surprisingly dramatic effect on an image. In particular, Hoey emphasizes the usefulness of textures to attain more natural looking outdoor images. Just be sure to adjust the blending mode and opacity before sending your files off to the printer.
“I guess the only downside with this technique is the snow gets absolutely everywhere. But I think it’s worth it in the long run!”
- - - - - - - - - - - - - - - - - - - - - - - - - - - - - - - - - - - - - - - - - - - - - - - - - - - - - - - - - - - - - - - - - - - - - - - - - -
Did you appreciate this newsletter? Please help us keep it going by Joining Our Patreon Supporters
What are your thoughts on this article? Join the discussion on our Facebook Page
PictureCorrect subscribers can also learn more today with our #1 bestseller: The Photography Tutorial eBook
- - - - - - - - - - - - - - - - - - - - - - - - - - - - - - - - - - - - - - - - - - - - - - - - - - - - - - - - - - - - - - - - - - - - - - - - - -
The post Winter Portraits Studio Photography Tutorial appeared first in the Photography Tips category on PictureCorrect.
from PictureCorrect https://ift.tt/nwGicA1
via IFTTT


0 kommenttia:
Lähetä kommentti