Macro lenses have a pretty shallow depth of field. The greater the magnification, the shallower the depth of field. To get a decent focus on the subject, you need to step down the aperture significantly. However, photographer Micael Widell shares how to take beautiful macro photos using natural light only:
Shoot Around Noon
As macro photography requires a good amount of light, you want to avoid the hours around sunrise and sunset unless you plan to use flash. But, the challenge with shooting around noon is that you’ll end up getting harsh highlights and deep shadows. You can make the light work for you if it comes in from the sides or if it’s filtered through some leaves so that it isn’t as harsh.
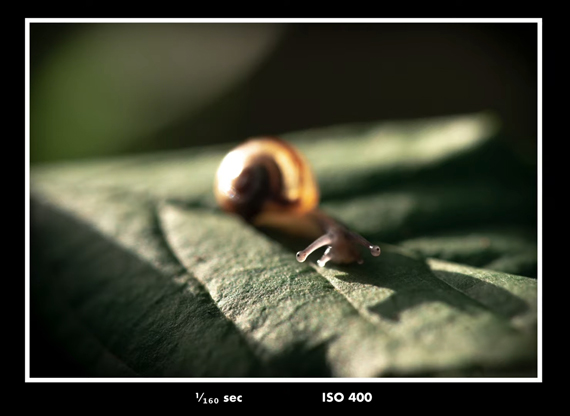
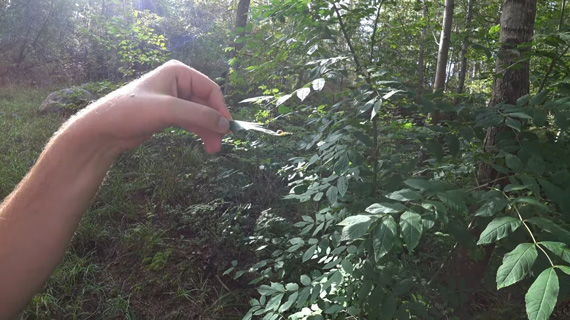
Hold the Leaf
If your subject is placed on a leaf, try holding it and moving it around gently. You can angle the leaf and the subject so that the light works for you.
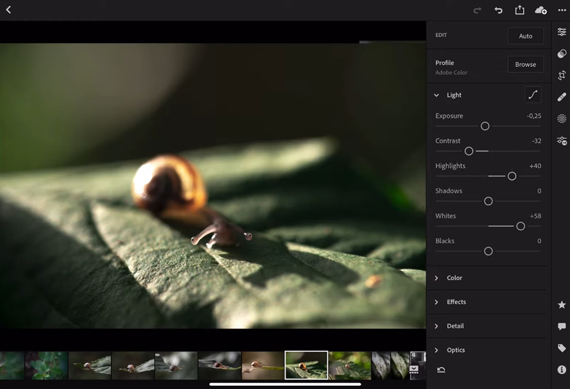
Embrace the Highlights
If you can’t get rid of the specular highlights during post-processing, don’t try to get rid of them. Instead, embrace them. Increase the highlights slider so that it becomes a part of your image.
Camera Settings
For a good macro photo, you need to pay attention to two major things: good exposure and lack of blur. Keep your ISO on the higher side so that you can use a faster shutter speed.
Your experience with your camera should tell you about the highest ISO you can use without getting much noise in your images. For instance, Widell likes to stay at around ISO 400. For the shutter speed, Widell suggests that you keep it at least around 1/200 second. If you have a quick subject like an ant, you’ll want a faster shutter speed. And for slower subjects, like snails, you can slow it down to around 1/100 second. Choose your shutter speed based on your subject.
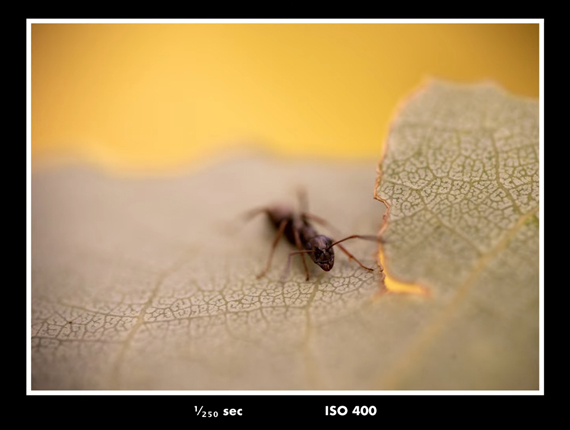
As for the aperture, try to keep it as small as possible. In difficult cases, you may even need to open it to the widest value. You’ll need to be precise with the way you focus in such cases.
Try Black and White
If you have a subject that contrasts very well with its surroundings, try black and white. This trick also works if you don’t like the colors of the surroundings.
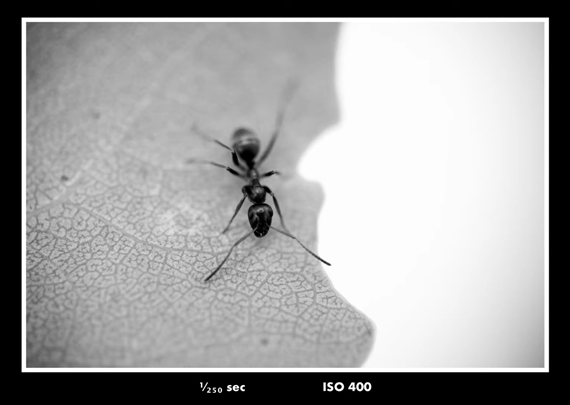
“Grainy pictures tend to look a bit better in black and white.”
Using natural light for macro photography gives you more freedom and versatility while making your setup lighter. However, it does have certain challenges. Do you shoot macro photos with natural light?
Go to full article: Macro Photography in Natural Light Tutorial
What are your thoughts on this article? Join the discussion on Facebook
PictureCorrect subscribers can also learn more today with our #1 bestseller: The Photography Tutorial eBook
The post Macro Photography in Natural Light Tutorial appeared first on PictureCorrect.
from PictureCorrect https://ift.tt/2OEMp1z
via IFTTT


0 kommenttia:
Lähetä kommentti