Hand holding a camera limits the shutter speed you can use without getting a blurred image. It depends on who’s holding it as some have steadier hands than others, but most people find the lowest shutter speed at which they can keep everything steady is by matching the shutter speed to the focal length of the lens setting.
So if you have a 100mm length lens you should use a shutter not slower than 1/100 of a second, 200mm setting, 1/200 of a second, and similar. OK, but what happens if you need a slow shutter speed?

photo by Trevor McKinnon
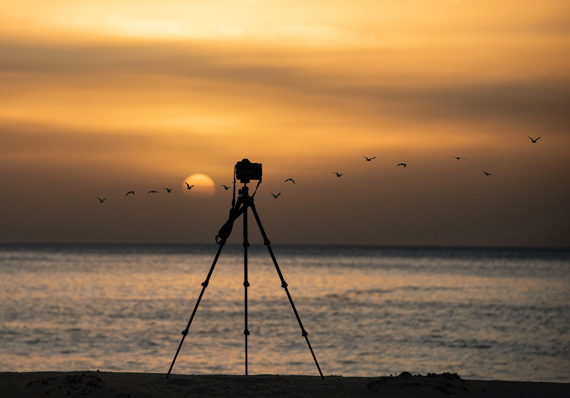
Try a tripod – one of the most important accessories
Before you go on about extra weight to carry, nuisance value, and more, consider this. A tripod is a light extender. Do you like to get beautiful sunset shots, great color, and sharp landscapes? It won’t happen effectively without a steady tripod support. Shoot at night with a long exposure? No go without a tripod.
How about shooting breaking waves over rocks on the shore, long after sunset, with a 30 second exposure creating a misty water effect You need a tripod. Any time you can use one, do it. The results give you clarity that’s missing otherwise.
Using long lenses
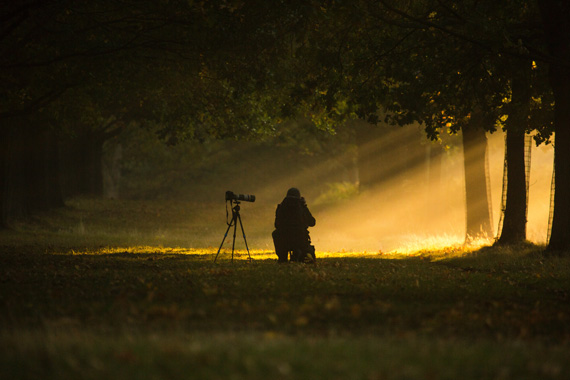
The longer the lens you use, in other words, the greater the focal length, the more likely you are to get camera shake. You might not get movement with a 50mm lens hand held, but put on 200mm, 300mm or more, and the blur is magnified.
If you use binoculars you know how hard it can be to get a steady image at big magnification. The same applies here. Good clarity always calls for a tripod. And while image stabilizers have their place in allowing you to use slower shutter speeds, they run out of effect after two or three stops down.

photo by Austin Adventures
Shooting portraits
Portraits are often shot with a lens longer than the standard 50mm, compression of distance and out of focus backgrounds being two reasons. However while it’s good to have a blurry background that doesn’t compete with the subject, the person you’re photographing needs to have a sharp appearance, especially around the eyes. Tripods, or plenty of light and a fast shutter speed, will help. Often however, the amount of light available is not enough for a fast speed, so the tripod will have to be used to get the best effect.
Shooting landscapes
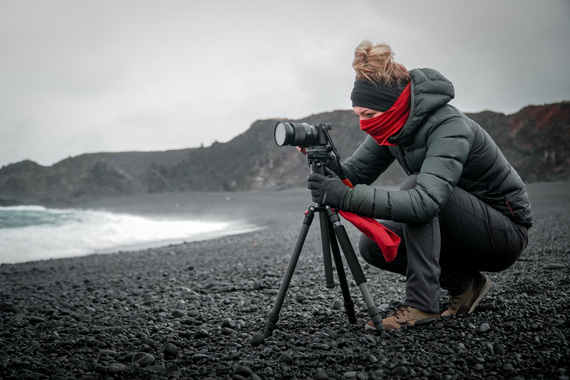
Holding a camera on uneven ground or on a windy day can be tricky. Landscapes usually call for great clarity through the whole scene, and even a slight movement can spoil the effect. Not visible in the camera preview screen perhaps, but very obvious on the computer editing screen. And if you want to try landscapes using high dynamic range techniques (using three or more shots with different exposures and exactly the same framing), a tripod is a must.

photo by Diana Parkhouse
So what makes a good tripod?
Consider these points:
- The tripod should be strong and rigid enough to take your camera and lens firmly, with a margin for heavier equipment later if required. Put your camera on one and try before you buy.
- Those long handles on pan and tilt heads dig you in the throat. Get a ball head for easy maneuverability.
- Make sure the head has a quick release for the camera, so you’re not screwing things in and out. That wastes time and adds to frustration.
- Check that the tripod is steady at full extension, and the legs are independently adjustable for setting up on uneven ground.
- If the center post is removable you can use it mounted horizontally or upside down, which is useful for closeups and avoiding the tripod legs in vertically down shots.
You get what you pay for
The more you pay, the more you get. Expect at least to fork out $200 for a good one and more for one that will last many years. Carbon fiber tripods are strong, rigid, and light, and they don’t transmit vibrations as metal ones do. But they’re relatively expensive. If you’re a landscape photographer these have ideal qualities. But don’t waste your money on a cheap, shaky one. They only make matters worse.

photo by Kameron Kincade
After a camera, a tripod should be the next consideration to improve your work’s quality. It opens up many ways of extending your vision. You also gain time to think about what you’re shooting and to check such things as framing and what is really in the viewfinder. Cut down the number and step up the quality of your images. Here’s a great way to do it. Go shoot a scene with a tripod and then without. Carefully note the differences. Happy shooting!
About the Author
John Rundle is a professional photographer and recently retired head of photography at the Australian International College of Art. He teaches workshops on photographic topics in Australia and New Zealand. He is also active as a musician and musical director.
Go to full article: Good Ways to Ruin a Fine Photo: #1 Don’t Use a Tripod
What are your thoughts on this article? Join the discussion on Facebook
PictureCorrect subscribers can also learn more today with our #1 bestseller: The Photography Tutorial eBook
The post Good Ways to Ruin a Fine Photo: #1 Don’t Use a Tripod appeared first on PictureCorrect.
from PictureCorrect https://ift.tt/3kAVM21
via IFTTT


0 kommenttia:
Lähetä kommentti