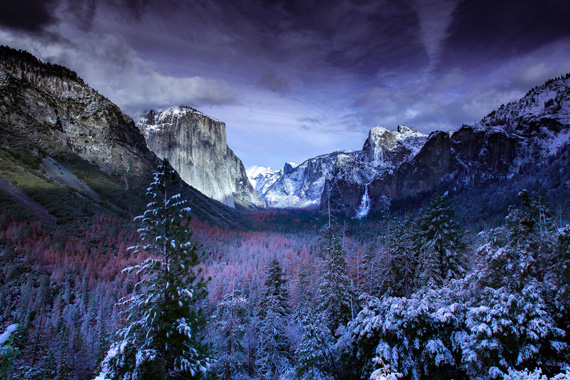
Do you love being outdoors, or watching the world turn to a white winter wonderland? Are you fascinated with the first snow fall? If any of these ring true, you should consider landscapes with a winter scene as the main focus.

photo by James Donovan
Equipment for winter landscape photography
First is what you are going to wear and what you can carry along. You need to choose your clothing for warmth; you should have a hat, gloves, scarf, a nice thick coat with quality lining, snow boots, flannel shirts and corduroy pants. This may sound like a lot but really cannot go out taking winter shots in your jeans and tennis shoes and expect to take the time needed for a good shot.
You need to carry extra supplies for your camera, as well. Put what you can inside ziplock bags; it may be time consuming but it will keep the elements from attacking your gear. You want to carry extra batteries and memory cards or film. The cold can be hard on these and not having a spare when you need it is a bad idea. Be prepared.
Getting the perfect winter scene
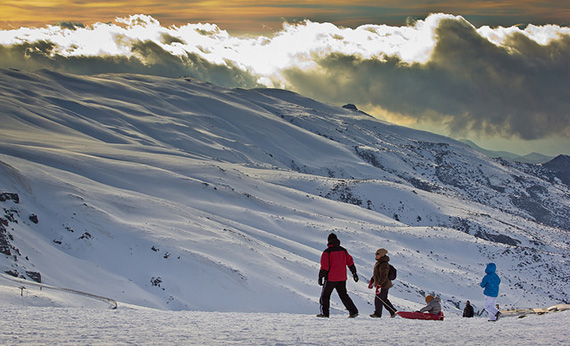
You will find that the air is crisper and cleaner than other times of the year, which will help your pictures turn out more vibrant than before. However, the lighting will be much different as the snow reflects light. Try using a polarized lens filter to keep the extra light from ruining your picture.
photo by Nick Page
Different lighting changes the shapes and colors of everything. You might want to start out with the same shot once in the bright sunlight and another on a cloudy day. The contrast between the two will take your breath away.
Setting up your camera
The first thing you want to do after you’ve set up the tripod, is to make sure your flash is either turned off for daylight photos or set to a 2 or 3 second interval after taking the picture. This helps to ensure that your lighting is not disturbed or the picture has an unreal or fake feel t it.
You need to set the shutter speed to a longer setting or turn your exposure compensation up. This allows the light to filter in, bringing out the contrast in the objects of the image. You need to know the specifications on your camera before planning your winter landscape photography trip. It will help you to determine what your camera can and cannot handle.
When you’re using a digital camera, you need to allow your camera to adjust itself and then you can adjust the exposure time by noticing the differences in each picture you take. This is one of the nicer benefits of digital cameras; they have an LCD screen to view the picture you just took.
photo by Isengardt
Getting the color right
Remember that even though snow looks white, it normally takes on the colors of the sky and surrounding images. If the sky is grey, try using a colored filter, and for blue skies try using a correction filter instead. Remember that no matter the type of filter you’re using, it’s best to take multiple shots of the same setting, changing the lenses and exposure settings. This is called bracketing and will greatly improve your chances of getting that right shot.

photo by Hernán Piñera
Winter landscape photography can be both exhilarating and inspiring, but it takes time and practice to get the pictures just right. You might even consider carrying a notebook with you and marking what adjustments you made for each shot. You can then go back and see what worked and what didn’t and duplicate the right settings again.
About the Author:
When he isn’t fighting the weather and taking landscape photos in the midst of winter, Gary Machado is an internet marketer.
Go to full article: Winter Landscape Photography
What are your thoughts on this article? Join the discussion on Facebook
PictureCorrect subscribers can also learn more today with our #1 bestseller: The Photography Tutorial eBook
The post Winter Landscape Photography appeared first on PictureCorrect.
from PictureCorrect https://ift.tt/319D5Iw
via IFTTT


0 kommenttia:
Lähetä kommentti