ISO is considered one of the three fundamental aspects that control the brightness of an image. Aaron Nace of Phlearn explains how ISO works:
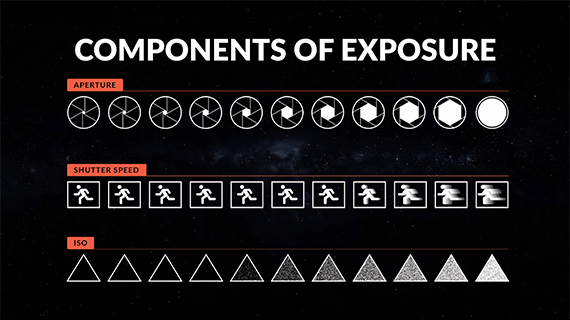
The exposure triangle is made up of aperture, shutter speed, and ISO.
Aperture
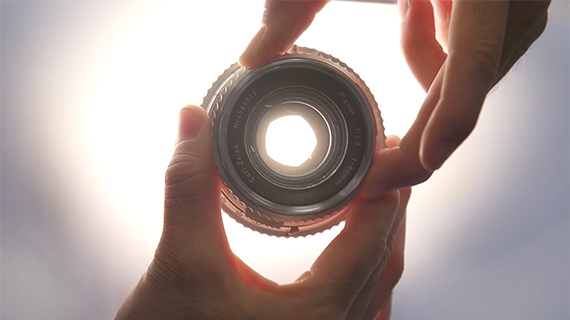
Aperture relates to the opening on your lens that allows light to enter the camera.
Aperture
Shutter Speed
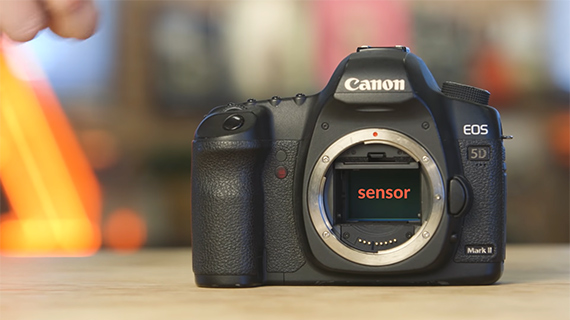
Shutter speed is the length of time that your sensor is exposed to light.
ISO
ISO has nothing to do with increasing the amount of light that enters the camera. It deals with what happens after the light enters the camera. ISO takes into account the shutter speed and aperture and then uses integrated software to brighten up the exposure. So, ISO is like in-camera processing.
ISO Numbers
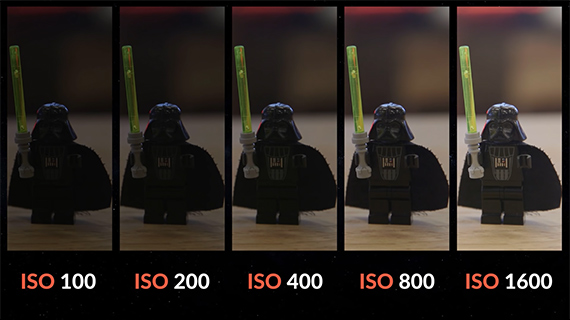
ISO numbers are always expressed as whole numbers. The least is usually 100 on most cameras. Each number (refer to the chart above) doubles the brightness. So, moving from ISO 100 to ISO 200 doubles the brightness, and so on.
The Catch
It all sounds pretty straight-forward. All you have to do is raise the ISO number and you get a bright picture. But there is a catch and that is noise.
You can compare the process of increasing the ISO number with that of recording with a microphone. To increase the sound of a recording, you have to increase the microphone levels. But this brings in ambient and electronic noise.
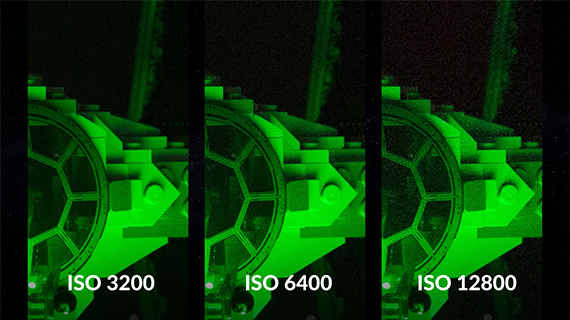
This is just the same with ISO. When you increase ISO to make a picture brighter, you also bring in signal noise, known as grain. Additionally, you will also likely see a loss of colors, dynamic range, and detail. So how do you avoid this?
The solution is in using the native ISO of the camera, which is the lowest ISO value it can shoot without tweaking anything (ISO 100 on most cameras). ISO 100 to about ISO 400 on most cameras should produce clean images. Anything above that and you will start to notice some noise.
When to Use High ISO
Shooting with a high ISO number is warranted when you need a large depth of field and there isn’t enough light to use a small aperture. Plus, in a situation where there is some amount of movement, using a slower shutter speed to compensate for the lack of light is not possible either. In both these situations, a higher ISO number solves the problem. You can always accept some noise but never a blurry image.
Post-Production Tip
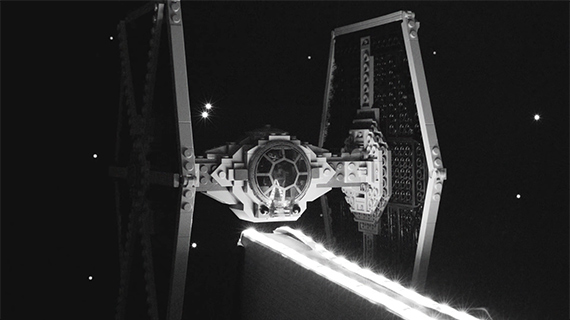
If noise is really bad and sticks out like a sore thumb, try converting your images to black and white. Noise in a black and white image often looks acceptable.
How do you choose which ISO to use?
Go to full article: What is the ISO Camera Setting and How to Use It
What are your thoughts on this article? Join the discussion on Facebook
PictureCorrect subscribers can also learn more today with our #1 bestseller: The Photography Tutorial eBook
The post What is the ISO Camera Setting and How to Use It appeared first on PictureCorrect.
from PictureCorrect https://ift.tt/2FLS5Vm
via IFTTT


0 kommenttia:
Lähetä kommentti