Photographing the moon can be tricky. Last year I had a go at it, and it was a complete disaster, with the moon looking like a big, bright, blurry mass in the sky. After a bit of trial and error I discovered how to take nice shots of the moon.

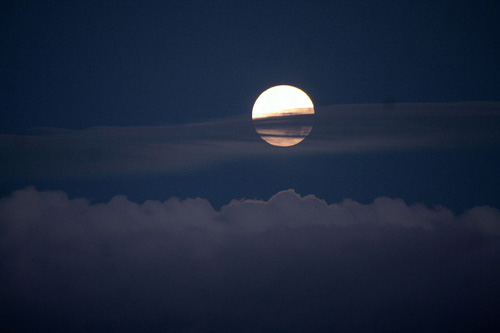
“Harvest Moon” captured by PictureSocial member Robin
The right lens
The first thing you need is a powerful zoom lens. The moon may look big in the night sky but when your camera takes a photo of it, the moon will only fill a tiny portion of the photo. On a 50mm lens the moon with be nothing more than a dot in your picture. I used a Canon 100–400mm lens, which was a lot better, but to be honest an even longer zoom would have been better.
Keep it steady
The next thing you 100 percent need is a tripod. Keeping the camera still is essential for getting a sharp image, and if you’re using a long zoom lens, camera shake will be an issue; the longer the zoom the more camera shake affects the image. The tripod will hold the lens still and allow you to take a sharp image. Also you will need to use either the camera’s timer function or a shutter release cable to trigger the shutter, otherwise you can jolt the camera while taking the photo and get blurred results.

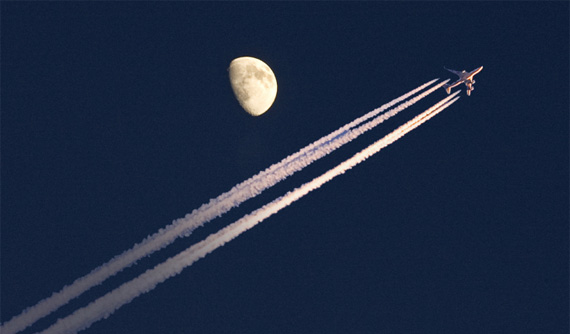
“fly me past the moon” captured by PictureSocial member David Hobcote
Aperture
What f-number/aperture should you use? The first thing that comes to mind is a low f-number (e.g. f/4.0 or lower) to take in more light. This is where I went wrong. The moon is actually very bright in the sky and using a low f-number can completely blow out the moon and make it look more like the sun. The ideal f-number would be somewhere between f/11 and f/16.
Shutter speed
For shutter speed you might assume a slow speed, but again this is the opposite. Since the moon is bright you don’t need as much time to capture the light it gives off. Also the moon actually moves quite fast along the night sky. If you have a 400mm lens or longer you can actually see the moon moving slowly across the viewfinder. If we used a slow shutter speed then the actual movement of the moon could cause us to lose detail. This is why I would recommend a speed of around 1/125 to 1/250 second.

“moon” captured by PictureSocial member Paul Simpson
ISO
I would have around 200-400 and then just experiment with different combinations of ISO, aperture, and shutter speed with the guidelines above until you get a nice exposure of the moon. You may need to also experiment if the moon is showing different amounts depending on the time of the month.
Cropping
Once you have your perfect shot, load it onto your computer. Even on a 400mm lens the moon can still take up a relatively small area of your photo. If you got your settings spot on and managed to get a very sharp photo of the moon then you can crop your image and even zoom in a little bit so the moon itself fits better in the finished framing of your photo.

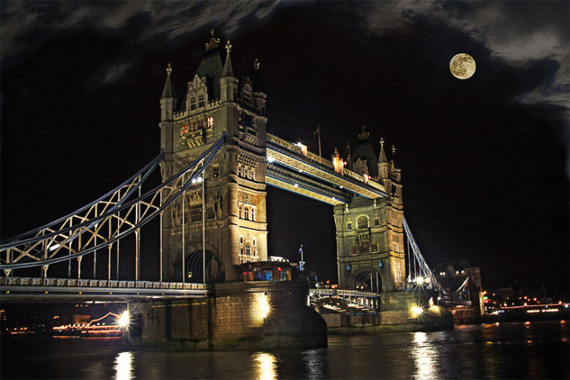
“Tower Bridge. London” captured by PictureSocial member Peter Wolledge
Pointers for Photographing the Moon
- Use a long zoom lens.
- Always use a tripod and shutter release timer or cable.
- Don’t use a low f-number.
- Don’t use a slow shutter speed.
About the Author:
Chris Thornton writes for http://www.colourjam.com, a Web & Print design company.
Go to full article: How to Photograph the Moon
What are your thoughts on this article? Join the discussion on Facebook
PictureCorrect subscribers can also learn more today with our #1 bestseller: The Photography Tutorial eBook
The post How to Photograph the Moon appeared first on PictureCorrect.
from PictureCorrect https://ift.tt/2HERqV9
via IFTTT


0 kommenttia:
Lähetä kommentti