Shooting real estate can be a lofty goal for any new photographer. Unlike portraiture, the real estate industry is challenging and competitive. The clients are usually more demanding.
In addition to that, there are many aspects of it that you have to learn. One of the necessary parts of real estate photography is using flash. This is something that every beginning photographer should learn. This is definitely handy in real estate.
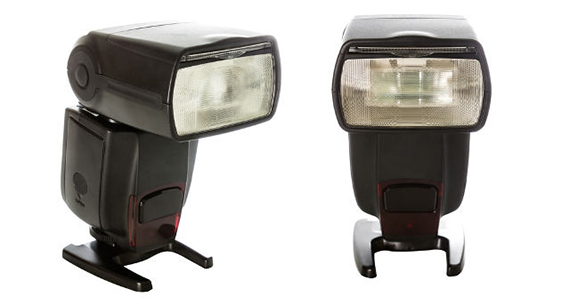
Using Speedlights in Real Estate Photography
Speedlight is the brand name by Nikon to refer to their flash units. No matter what kind of flash you have, make sure that you know how to use it.
Flash units can be used in lighting dark areas in a property, especially interiors. When using flash, you need to understand the image that you’re about to take. There is no one solution to all types of lighting situations. You also have to understand the nature of light and where it’s supposed to hit. Make sure that when you do use your flash, it imitates natural light. Think of the quality and the direction of the light. Make sure that you also know how to use both ambient and flash together in order to fill in the image with the right amount of brightness.
Remember that bigger areas will require more light sources. You cannot fill in a huge room with a single flash unit. This is why having a few flash units will come in handy once you’re already shooting multiple real estate projects. Every situation is different, too. You need to be creative and be knowledgeable in lighting to be able to adjust to whatever situation you are in.
Using Flash to Light Interiors
The interiors are probably where you’ll be using flash the most. When there aren’t windows around, the lighting fixtures aren’t enough to brighten up the entire space.
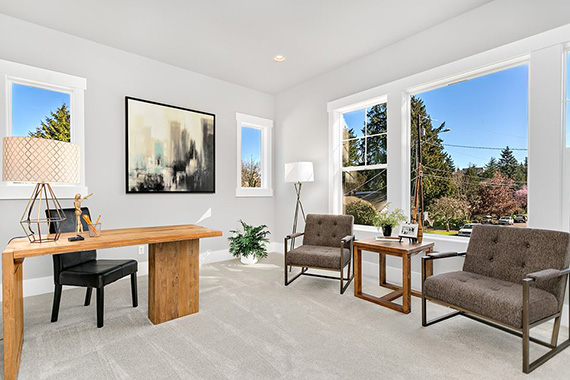
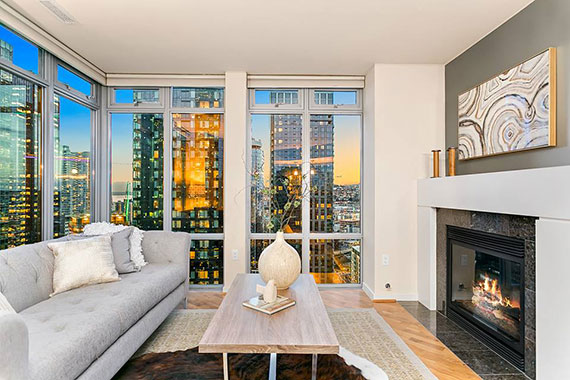
Before starting out, try shooting the interior with only the ambient light. Make sure that you exposure properly so that the windows aren’t blown out. Retain as many details as possible as it can be difficult to edit them in Photoshop. Doing this first makes it easier for you to figure out where to add lights.
The rule of thumb when shooting interiors with flash is to use it in manual mode. With small rooms, you can get away with using only one flash. However, larger rooms might require two or more flash units in order to get a similar exposure.
Bounce off your light on the ceiling or on walls, if there are darker areas in the space. Bouncing your flash makes the light softer and reduces the harsh shadows. Make sure that you use a neutral-colored surface when bouncing off the light. Test your frame first to check if you are getting harsh shadows or hotspots on your image. Experiment the direction where you’re pointing your flash. Often, it’s a matter of practice and testing out what works best.
Using Multiple Flashes
With bigger spaces, you might need more than one flash unit. No matter how many flash units you’re using, you still need to start out by photographing the ambient light. This allows you to figure out where you need to fill in some lights.
When adding in light, add one flash unit at a time. If you already have one flash lighting up the foreground, this light usually spills into the background due to its intensity. Make sure that you adjust the rest of the flashes accordingly.
Start by bouncing your first flash off a large wall that’s enough to fill in the entire room. Make sure that it’s diffused and does not create any harsh shadows or hotspots. Test your frame and look into areas that require some filling. Then, situate your next flash unit and adjust the intensity. Repeat filling in the dark areas in the room with your flash until everything is well-lit.
If you cannot find any neutral surfaces to bounce off the light, umbrellas are also effective in diffusing your light source. Light the flash through the umbrella and direct it on the area that needs some brightness.
It’s all about testing and experimenting with the different flash placement to make sure that there are no lens flares or hotspots in your image. You need to keep doing test shots until you achieve the look that you want.
Perfect Combination: HDR and Flash
There is much debate in the photography community on which is better, HDR or flash. However, you don’t have to choose one and completely neglect the other. You can use both and combine them in creating a better image.
HDR or high dynamic range is a technique in photography that creates a more dynamic range of light as compared to the standard photography strategy. In real estate photography, HDR is achieved by taking three photos at different shutter speed or exposures. These three images are usually composed of a base photo with the ambient light, a darker one that has captured the needed details, and a brighter one with the room lit up. Using post-processing software, you combine all the photos in order to create an extended luminosity.
You might wonder why you have to use flash when you’re already shooting in brackets for HDR. Flash, when used properly, can make it easier for you to control the brightness and contrast, especially in post-production. You can one or more light sources to balance the lighting in your image. Make sure that you take multiple exposures to make editing and blending easier.
Blending Ambient and Flash Images in Photoshop CC
When you’re using different exposures of one frame, you need to blend them in properly in order to create a more realistic and high-quality image.
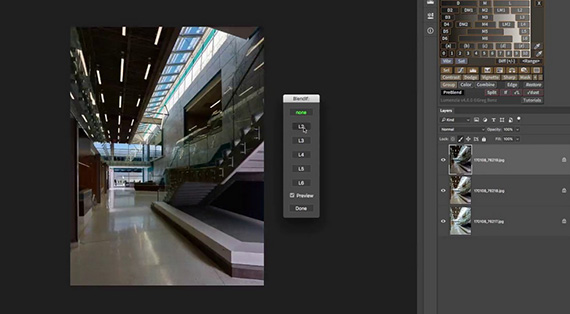
To do this, open your images in Photoshop. Make sure that you arrange your photos and make the ambient image the base layer.
Edit the photo with the flash lighting. Make appropriate corrections to the photo. Then, switch to blending mode to lighten. If there are light fixtures on your photo, you might want to brush in the lights to make them shine brighter. Just put a layer mask and click on the brush tool. Set the flow of the brush to 30 and brush on the areas where the lights are.
Stamp visible your layers. Make sure that your layers are all marked visible. Go to the Layers menu and click on the Merge Visible option while you’re holding the Alt key or the Option key.
If you’ve already done the necessary editing, flatten the layers to create one image. Just go to the Layer menu and click the Flatten Image option.
About the Author
Claire Wright is a self-taught photographer and savvy tech nerd who loves taking property photographs from Seattle and working at HD Estates.
Go to full article: Real Estate Photography Flash Setup
What are your thoughts on this article? Join the discussion on Facebook
PictureCorrect subscribers can also learn more today with our #1 bestseller: The Photography Tutorial eBook
The post Real Estate Photography Flash Setup appeared first on PictureCorrect.
from PictureCorrect https://ift.tt/2rbVMZF
via IFTTT


0 kommenttia:
Lähetä kommentti