This article is based on concepts from The Photography Tutorial eBook which is currently 83% off for a Summer Sale if you want to dig deeper.
If somebody asked me about some of the difficult scenarios to work in as a photographer, working at night time would definitely make it to the top of the list. But with the challenge in place, the results that you can get from night time photos are truly amazing. The world out there appears kind of different at night. This gives you an opportunity to create photographs with a unique look. And that’s exactly what makes night photography a challenge worth pursuing.
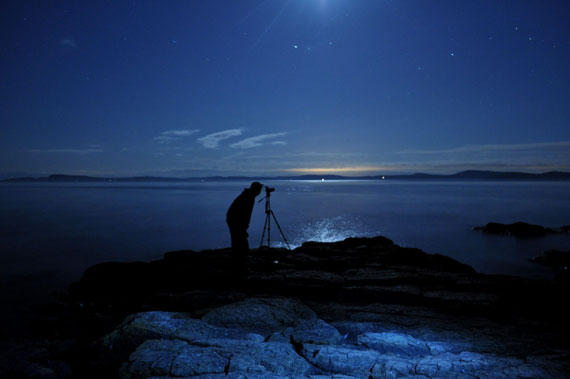
One of the biggest hurdles you will come across when photographing at night time is focusing. With a minimal amount of light around, the sensor in any camera will struggle to detect any contrast. This is why focusing gets so difficult. So, it becomes important that you’re aware of some techniques to help your camera focus better at night.
Use Center Focusing Point with Single Servo
If you are not comfortable getting out of autofocus mode, try changing the autofocus area to single, and use the center autofocus point. Since the center autofocus point is more precise and sensitive than other focusing points, this can increase your chances of grabbing focus. And to prevent the lens from hunting around, set the drive the single servo. This way, once the camera locks focus, it won’t hunt further.
Manual Focus Works Best
If autofocus fails continuously, it is best to take matters into your own hands by turning the focusing mode to manual. Switch the focusing mode to manual either with a switch on the lens or through the camera menu. Then, using the focus ring on the lens, you can control where the lens needs to focus.
Use the Rear LCD
With the camera set to focus manually, switch your camera over to live view instead of using the viewfinder. This will allow you to use the digital zoom feature and ensure that you nail your focus.
Focus Peaking
Many modern cameras come with a focus peaking option that overlays the area that’s in focus with some color. This makes it much easier to judge whether the image is in focus or not. To get the most out of this feature, use it in conjunction with manual focus and live view.
Use Artificial Lighting Before the Shot
If the scene or your subject is close by, use some artificial source of light like a flashlight to light up a small portion. Then, you can either focus on that portion manually or by using the autofocus feature. If there’s enough contrast, autofocus should work seamlessly.
For further training on these concepts and more you may want to check out the chapters on Night Sky Photography while The Photography Tutorial eBook before the Summer Sale ends!
For Further Training, Summer Sale Ending Soon:
This #1 bestseller is the most in-depth eBook on how to capture amazing photography anywhere. Over 250 pages of photography tips & tricks from industry insiders. Currently 83% off which ends soon for a Summer Sale if you want to check it out.
It is the product of over a DECADE of research as an insider in the photography industry, assembled to help you learn quickly and avoid the mistakes that I made along the way.
Deal ending soon: The Photography Tutorial eBook Summer Sale
- - - - - - - - - - - - - - - - - - - - - - - - - - - - - - - - - - - - - - - - - - - - - - - - - - - - - - - - - - - - - - - - - - - - - - - - - -
Did you appreciate this newsletter? Please help us keep it going by Joining Our Patreon Supporters
What are your thoughts on this article? Join the discussion on our Facebook Page
PictureCorrect subscribers can also learn more today with our #1 bestseller: The Photography Tutorial eBook
- - - - - - - - - - - - - - - - - - - - - - - - - - - - - - - - - - - - - - - - - - - - - - - - - - - - - - - - - - - - - - - - - - - - - - - - - -
The post How to Focus a Camera in the Dark appeared first in the Photography Tips category on PictureCorrect.
from PictureCorrect https://ift.tt/G0UvfbR
via IFTTT


0 kommenttia:
Lähetä kommentti