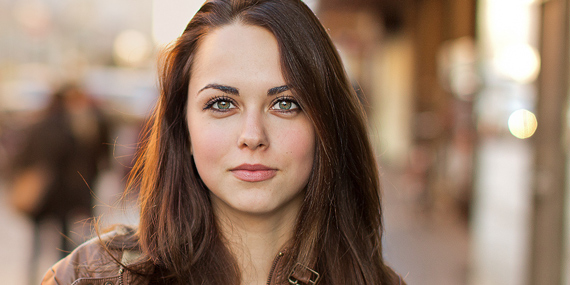
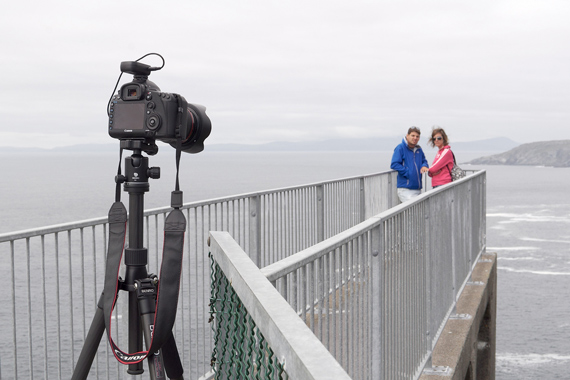
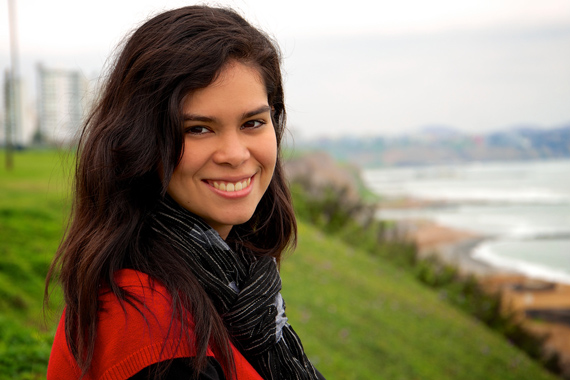
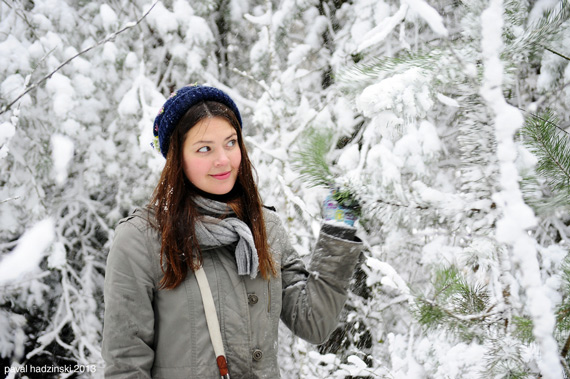
In portrait photography, one of the main differences between a happy snapper and a professional, besides the number of years of experience and accumulated skills, is that the professional takes control of the camera settings and has a good knowledge of lighting aspects. They also understand what makes for a good composition. Professionals also tend to use a lens with a focal length of 85mm equivalent or slightly greater. This puts the camera farther away from the subject and produces softer results. Here are the top three portrait photography settings employed by professionals.
1. Aperture
In portrait photography, you very rarely see the background properly, as it is usually out of focus, allowing the viewer to concentrate on the subject.
The subject can be in sharp focus or have a softness to it, which is kinder to some subjects. This effect is created with the judicious use of aperture control on your camera. If you set Aperture Priority on the camera, you can control the aperture setting while the camera sets the shutter speed. Selecting Manual mode allows you to set the aperture and shutter speed yourself. If you select the largest aperture, which is the lowest f-stop value (e.g. f/1.8), it creates a very limited depth of field. In fact, at the largest aperture, the eyes can be in focus while the nose may not be — or even just one eye might be in focus. You have to reduce the aperture slightly to get the result you want. I have a tendency to shoot at f/5.6 or f/6.3 most of the time inside a studio. Outside, I could increase that to f/8 if I want to show a bit more of a particular background. If you find that focusing can be a problem, change from auto focus to manual focus to give yourself more control.
A note of caution: If you’re working in dim lighting conditions, you may have to increase the ISO to shoot at a fast enough shutter speed to avoid camera blur. Of course, if you use a tripod and advise your subject to remain still while taking the shot, camera blur shouldn’t be an issue.
If you use flash lighting to fill in shadows, then camera blur will also not be an issue for you in this situation. You may want to reduce the output or place a light modifier such as a softbox over the flash head if flash lighting is your only source of light, as direct flash lighting can produce harsh light and shadows. If you notice that your background is washed out or the skin tones are too light, you can increase the exposure level to +1 EV or +2 EV.
2. Shutter Speed
Most professional photographers shoot portraits at a shutter speed of around 1/200 of a second. This is not because of camera shake, generally, but because this is the maximum synch speed of most flash units employed in studio portrait shoots. Manual mode is used more often, as opposed to shutter priority mode. Shutter priority mode allows you to choose the shutter speed while allowing the camera to set the aperture. As we want to control the aperture as well, only manual mode allows you to do both.
3. ISO
Choose the lowest ISO setting possible for the available light. In sunny conditions, you will probably need to set the ISO to 100 for the best results, in cloudy conditions to 200.
I tend to shoot routinely with an ISO setting of 200 anyway, regardless of whether I am outside or in the studio. If I need to adjust settings after capturing the images, I make sure I use the RAW camera setting, as it gives me much more flexibility than shooting JPEG images. In the studio without flash or in low lighting conditions, you may need to increase the ISO accordingly. Most modern cameras will allow you set an ISO of 3,200 or even 6,400 without too much noticeable noise in the resulting photograph. If you are planning on enlarging your photos dramatically, then keep the ISO down to a minimum and use flash lighting.
Finally, while not one of the top three camera settings, Auto White Balance is generally good for portrait shots in a studio because the lighting levels can be fixed and you will get consistent results throughout the shoot, until you adjust the lighting. However, shooting in daylight can be a problem. For example, if you are shooting at midday in a shady area, you may not get the proper white balance unless you allow for it. Similarly, if you shoot in scenes which are predominantly white (such as snow, a sandy beach, etc.), your whites may look grey or unnatural.
Using a preset white balance or a grey card helps to choose the correct white balance in these situations. I often select a grey component of my photo as my preset and see what the white balance looks like. Keep in mind that you have the option to change white balance settings after shooting and apply correction, if you are shooting in RAW mode. So if that portrait shot is quite important for you, shoot in RAW so you have an option to correct white balance later on.
About the Author:
Geordie Parkin keeps a website about wildlife photography, pet photography or general questions about digital photography (photopress brianparkin). Parkin is a photographer based in Forest Lake, Qld in Australia.
Go to full article: The Top 3 Basic Portrait Photography Settings
What are your thoughts on this article? Join the discussion on Facebook
PictureCorrect subscribers can also learn more today with our #1 bestseller: The Photography Tutorial eBook
The post The Top 3 Basic Portrait Photography Settings appeared first on PictureCorrect.
from PictureCorrect https://ift.tt/3gSBKLS
via IFTTT


0 kommenttia:
Lähetä kommentti