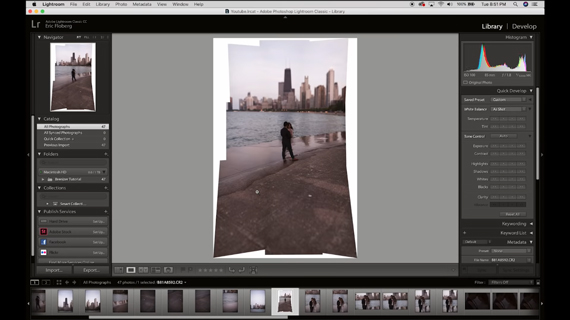
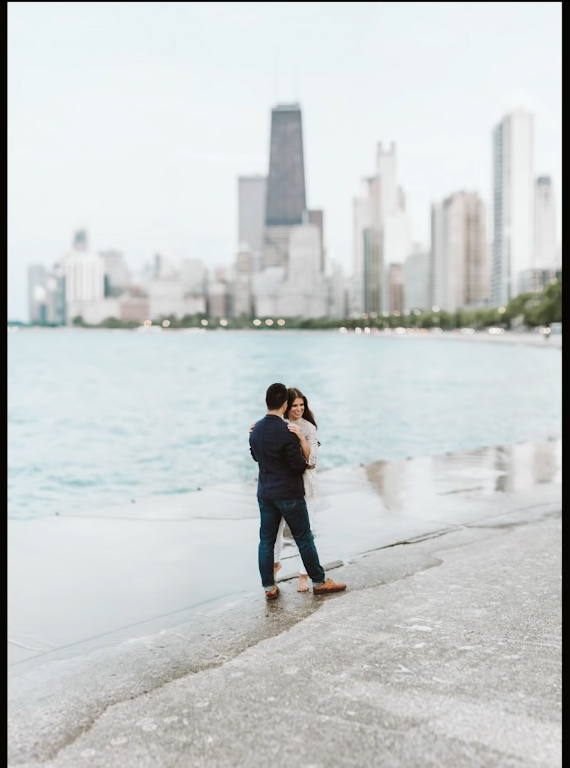
While he didn’t invent the technique, photographer Ryan Brenizer popularized the bokeh panorama style of photography with his wedding photos. The Brenizer method of photography is used to create an image with a very shallow depth of field and a wide angle of view. It produces a result that looks something like a medium-format image. Here, photographer Eric Floberg teaches us how to take photos using the Brenizer method:
Some of you may be wondering why you need to follow a certain method to create an image with a wide field of view and a shallow depth of field instead of just using a wide angle lens with a large aperture. The answer is simple. Wide angle lenses don’t render good quality bokeh and they have a perspective that makes the subjects look weird. Lenses with longer focal lengths, on the other hand, produce much better bokeh and also flatter the subject. The goal is to use a wide aperture 85mm lens to create an image with a wider field of view using the Brenizer method.
Bokeh Panorama Shooting Technique
To take images using the Brenizer method, follow these steps:
- Set your camera to manual mode so that the camera doesn’t change the settings automatically.
- Take the first image of your subject with the aperture wide open.
- Without changing the focus and any other settings, take photos of their surrounding: above them, right above, left above, their right, middle bottom, bottom left, left of them, and up to the left. Greater the number of photos that you take, your final result will have a wider look. It also helps if you overlap the images a bit.
Post-Processing for a Bokeh Panorama
Once you’ve taken the images, open them on your computer and stitch them together.
- In Lightroom, apply any lens profile corrections if needed to eliminate distortion.
- Select all of the images. Right-click and go to Photo Merge > Panorama.

With this, Lightroom will take some time and stitch your photos together. The result will be an image with a wide field of view which has a shallow depth of field. You may need to crop the image a bit to get rid of the stray edges. Once you’re done, you can proceed with editing the image to your taste.

Now that you’re familiar with the Brenizer method, go ahead and try it for yourself. We’d love to know how your shots come out.
Go to full article: Bokeh Panorama Tutorial
What are your thoughts on this article? Join the discussion on Facebook
PictureCorrect subscribers can also learn more today with our #1 bestseller: The Photography Tutorial eBook
The post Bokeh Panorama Tutorial appeared first on PictureCorrect.
from PictureCorrect http://bit.ly/2AYtZSl
via IFTTT


0 kommenttia:
Lähetä kommentti