


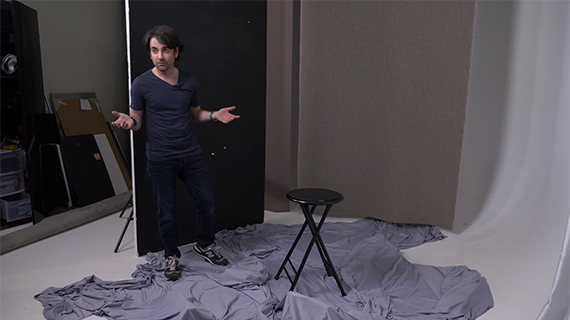
Don’t let a small working space hold you back and or stifle your creativity. There are plenty of photographers out there who are producing quality work in studios no bigger than a few feet by a few feet. In this video, Patrick from Fstoppers demonstrates how you can build a professional quality studio setup in a tiny spaces and still end up with amazing shots:
To get started, you’ll need a little space, some lights, light stands, backgrounds (you can make your own using foam core and some paint), some fabric, and a lot of imagination.
Background
Patrick uses some tried and tested backgrounds, but he also adds a large piece of foam core that has been painted black.

Foam Core Backdrop
The black painted foam core transforms the otherwise boring, white background into something interesting.
Floor
Floor Fabric
He uses a medium grey fabric to cover the floor. This prevents any unnecessary reflections that could bounce off of the white floor and destroy the shadows that he was trying to retain in the shot. Further, he puts some sandbags underneath the fabric to mimic the appearance of a rocky surface.
Lighting
In come the lights into the set.
The first is a battery powered Profoto B1 attached to a softbox. Here is the test shot with just this light.
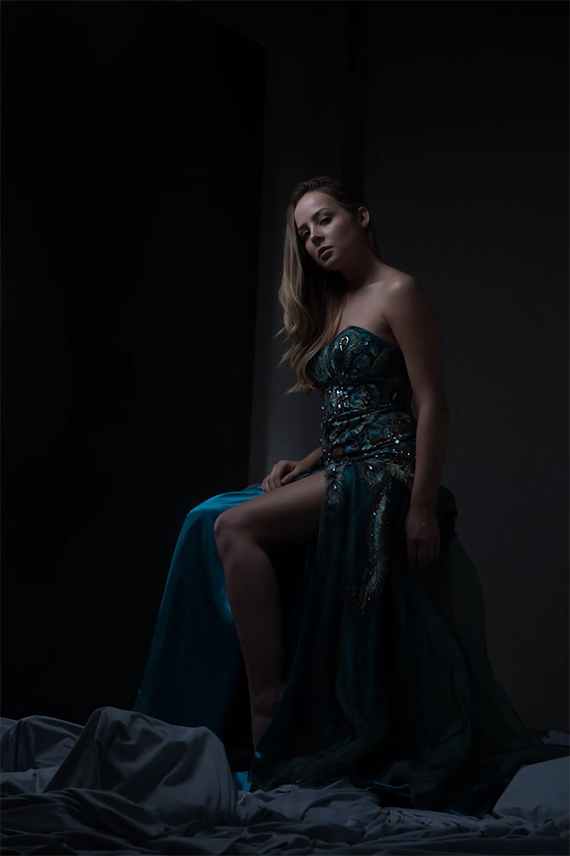
One Light Test Shot
Now comes the second light. This one accentuates the background and reveals some texture. This light is also a Profoto B1 boomed up high and aimed at the background.
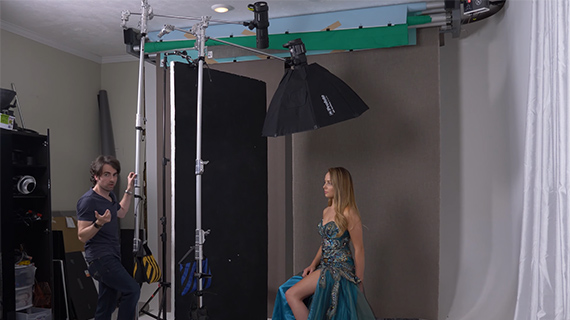
Overhead Light
Here is the test shot, now with two lights.
Two Light Setup
Patrick admits that there is too much light spilling in from the key light to the front of the model. To prevent this he uses two pieces of black foam core mounted on a light stand to block some of the light.
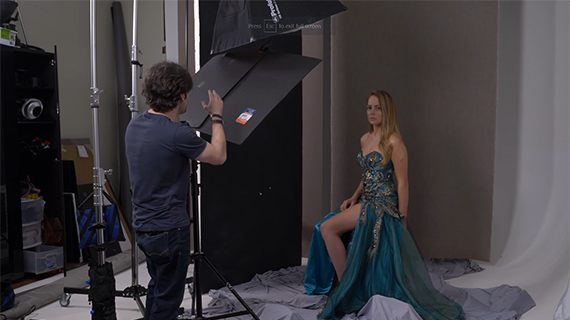
Blocking Light with a Flag
This is the result with the flag now blocking some light.
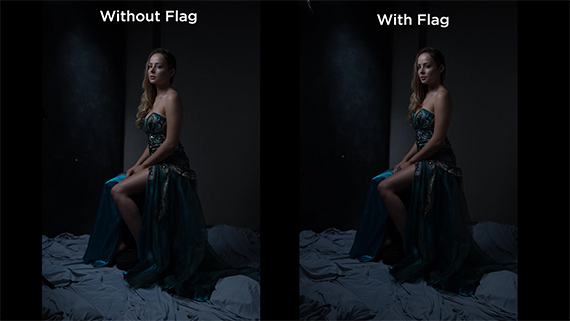
Flag
Finally, to accentuate the dress and get some light falling on the model’s legs, Patrick uses a third Profoto B1 with a tiny 1’ x 1’ softbox. This is how the shot looks with all the lights in place:
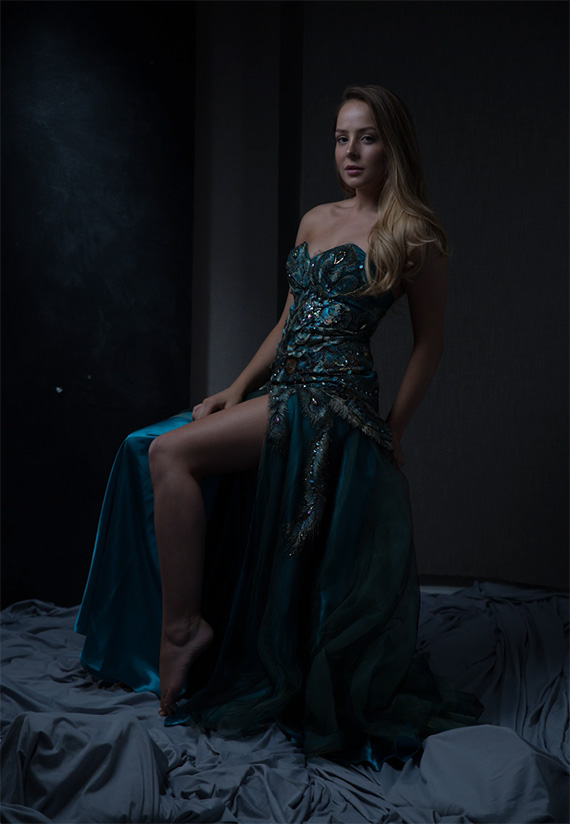
Three Light Setup
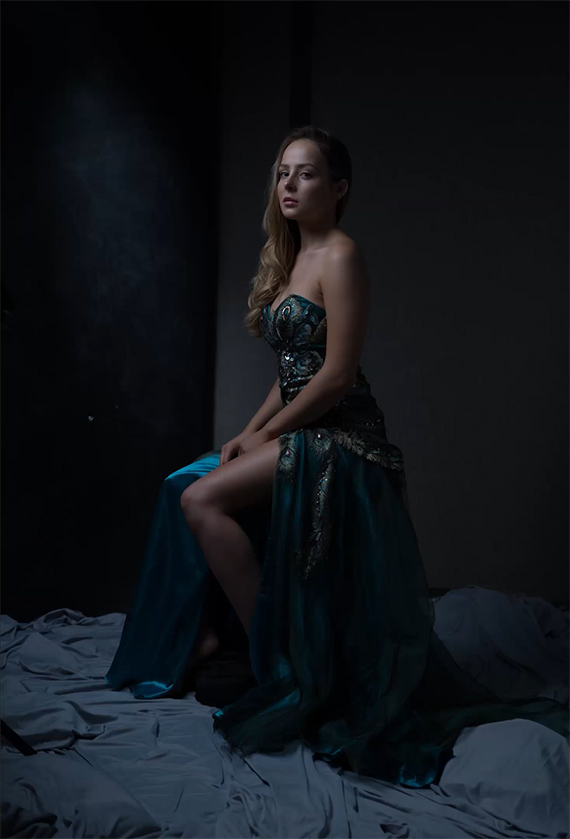
A quick change of camera angle gets Patrick his final shot.
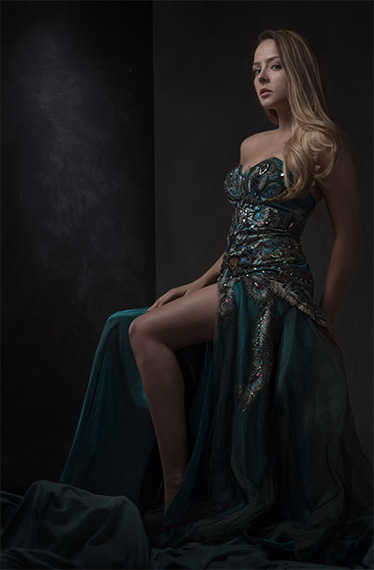
Final Image
The lower angle makes the model appear more regal than the higher angle.
It’s pretty amazing what you can do with a little bit of imagination and a few tools!
Go to full article: How to Capture Dramatic Portraits in a Plain Studio
What are your thoughts on this article? Join the discussion on Facebook
PictureCorrect subscribers can also learn more today with our #1 bestseller: The Photography Tutorial eBook
The post How to Capture Dramatic Portraits in a Plain Studio appeared first on PictureCorrect.


from PictureCorrect https://ift.tt/2PMXw6T
via IFTTT


0 kommenttia:
Lähetä kommentti