Shooting a sunset motion timelapse is more difficult than it may sound. There are a number of aspects that go into making one that is really awesome. And just as in everything else, with a lot of parameters involved, it’s probable that something will go wrong. Morten Rustad shared this wonderful tutorial to get you off to a successful start:
Location
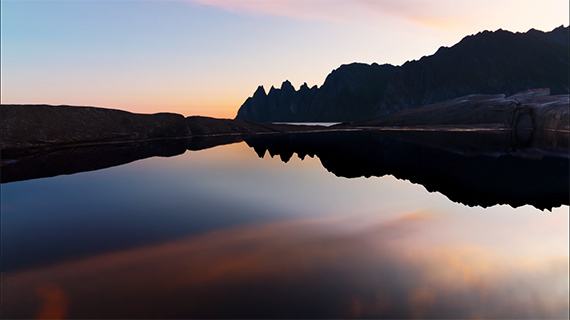
The most important thing to keep in mind when shooting a sunset timelapse is finding the right location. Ideally, the location should be without any distractions and give you an unhindered view of the setting sun.
Software Tools
The best way to plan your sunset timelapse is to know in advance the time when the sunset will take place and the path of the sun leading up to the moment. There are many tools to plan this, Google Earth being one of them.
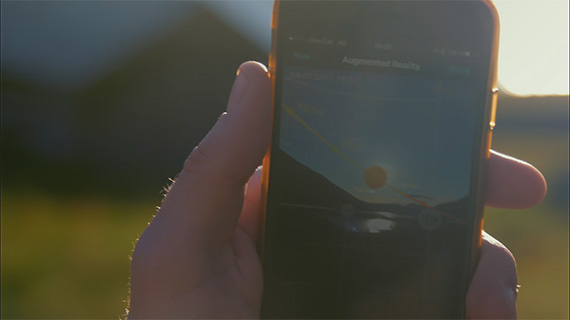
On location you can use augmented reality apps to help you get a better idea of the sun’s path. Apps like PhotoHill can accurately predict the timing of the golden hour and blue hour.
Packing Tips
Make sure to pack as lightly as possible. Some of the best photo locations are also the most difficult to reach. This means you will have to hike up treacherous terrain. Packing light and only carrying the most essential tools lets you cope with the strenuous journeys a little more easily.
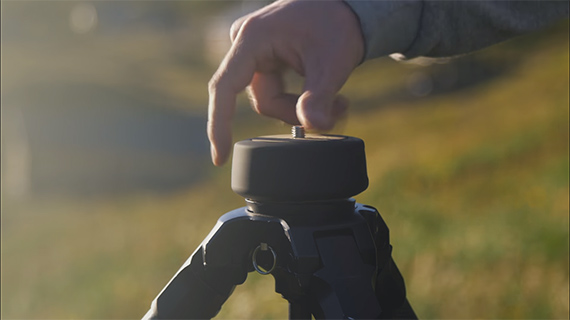
Rustad packs only his camera, one lens, tripod, ball head, filter, and a Syrp Genie Mini. The Syrp Genie Mini acts as a motion controller and an intervalometer rolled into one. He also packs a battery grip to extend the shooting time of his camera. He uses a Sony a7R II with a Sony 16–35mm lens.
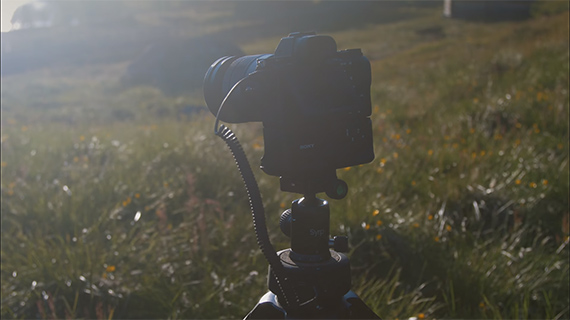
The high resolution full-frame camera paired with the sharp wide angle lens is the perfect tool for shooting sunsets in stunning high resolution.
Aspect Ratio and Composition
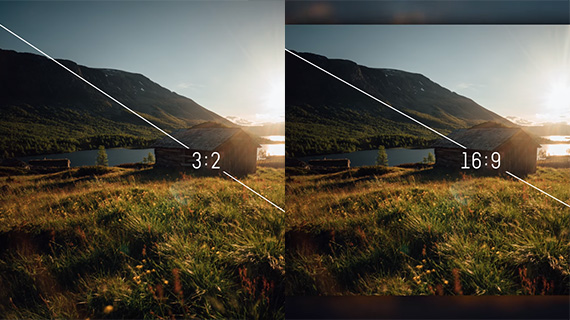
Note the aspect ratio that you are shooting in and the aspect ratio of the final timelapse. Your camera is probably going to shoot in at 3:2 and the aspect ratio of the final timelapse will be 16:9. This means much of the top and the bottom of the frame will be cropped.
Pay attention to the composition. Rustad suggest using the Rule of Thirds. He also suggests keeping the sky in the upper third of the frame and the sun slightly to a side, not exactly coinciding with one of the intersecting points. Using this technique means you will need to find some interesting foreground elements, as well.
Camera Exposure
Now’s the tough bit. How to set the camera’s exposure. During sunsets, lighting conditions change rapidly. There are different methods of compensating for these changing lighting conditions. Rustad uses a tried and tested method. He adjusts the ISO manually to keep the exposures ‘constant’. This allows him to maintain a long, constant shutter speed.
The basic camera settings are 8 seconds, f/9, and ISO 100. ISO obviously changes as the light goes darker. Focus is set to manual. As a general practice, Rustad loves to keep his images underexposed by about one stop. This allows him to retain the details in the highlights. Shadows are more easily lifted than recover details from blown out highlights.
Make it a point to look at the back of the camera at regular intervals. As the exposure starts to get too dark, adjust the ISO manually. Make sure that you don’t dial an ISO number higher than your camera can manage.
Timelapse Parameters
It’s time now to set the exposure parameters. You would want to have a timelapse video which lasts for the entire duration of the sunset. Rustad uses the PhotoPills app to predict the exact movement of the sun’s path.
The next step is to set the Syrp Genie Mini. Taking the Earth’s rotation at 15 degrees every hour, Rustad sets the rotation at 30 degrees. The interval time between each shots was set to 15 seconds—enough for the shot to be taken and the Genie Mini to move into the shot.
Post-Processing
Import the images to Lightroom and LRTimelapse. The key frames are the ones where you adjusted the ISO manually. Select a frame immediately before and after for each adjustment. Save and import the metadata to Lightroom.
Make Lightroom only show the rated photos. Adjust the exposure of the photos and make sure that the exposures of the pairs of photos where the ISO changes happen are in sync. Import the images back to LRTimelapse. Click on Auto Transition and save again. Deflicker if necessary. Save and import to Lightroom again and export the files.
Your image sequence is now ready to be imported to Adobe Premiere for the final steps.
Good luck on filming your first sunset timelapse!
For further training, deal ending soon: The Ultimate Photography Bundle 2018
Go to full article: Sunset Motion Timelapse Photography Tutorial
What are your thoughts on this article? Join the discussion on Facebook
PictureCorrect subscribers can also learn more today with our #1 bestseller: The Photography Tutorial eBook
The post Sunset Motion Timelapse Photography Tutorial appeared first on PictureCorrect.
from PictureCorrect http://ift.tt/2F9CTj2
via IFTTT


0 kommenttia:
Lähetä kommentti