There was a time when I’d come home from most sunrise shoots disappointed.
Why?
Because I didn’t like cloudless skies.
And by the time I’d realise the sunrise was going to be a “boring” one, I’d already be out of bed and on the way, so I might as well go through with the shoot. (Breakfast at a nearby cafe afterwards would be the highlight on these mornings.)
That was until I learned to appreciate shooting pre-dawn.
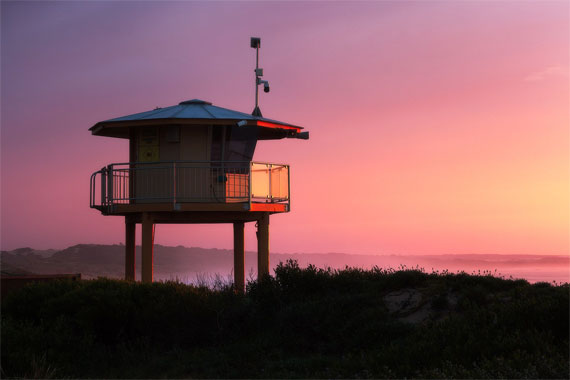
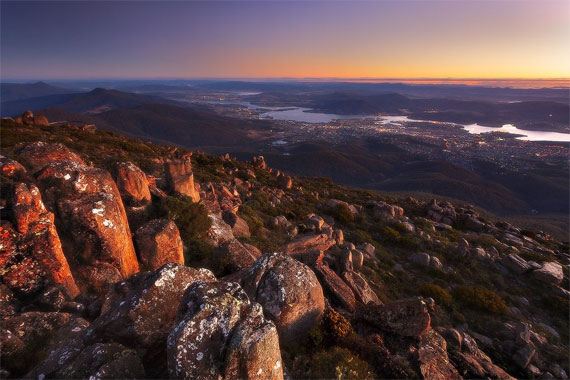
There’s a certain glow that even a cloudless landscape takes on in the half an hour before the sun comes up, that I really like.
Like in the photo at the top of this message.
Here are some tips you can follow to get great pre-dawn shots of any landscape:
1: Start shooting 30 minutes before sunrise
Once the sun rises in a cloudless sky, it will be so bright and harshly lit that it loses most of the colour. Your best shots of a cloudless sky will happen between 30 and 10 minutes before sunrise.

2: Shoot slightly away from where the sun is coming up
To capture the nice deep yellows and blues in the sky, keep the brightest part of the sky just out of frame. (Also for the reason mentioned in tip 4)
3: Shoot multiple exposures
Even before sunrise, it will still be a high-contrast scene that will probably require bracketed exposures to capture detail in the darkest shadows and the brightest highlights.

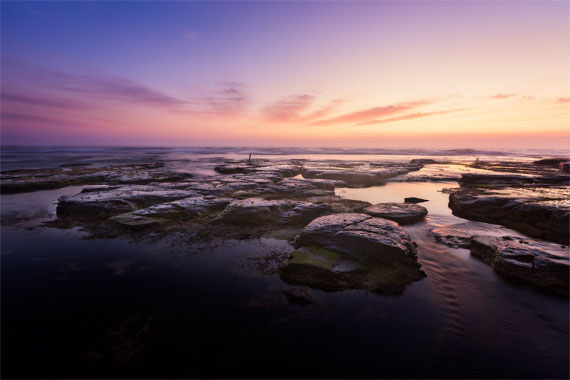
This photo required two bracketed exposures to capture the entire dynamic range of the scene, which were then blended using luminosity masking techniques in Photoshop to produce the finished image.
When you capture the entire dynamic range, it gives you full creative license to edit it how you like whereas if you capture only one exposure, you’ll likely lose detail in either the shadow or highlight (which may not be recoverable!)
4: Create a three-dimensional foreground

Even with the sun below the horizon, the light will still reflect off of objects in the scene. If you’re shooting away from where the sun will rise, then see a great three-dimensionality to the objects in your foreground by creating interesting light and shadows. (Note the bottom-left corner of my shot above as a great example of this)
5: Process to the darker end of the histogram
Let shadows be shadows. The deep colorful pre-dawn glow will get lost if you process the image to appear bright and vibrant.
It might be tempting to process the foreground brighter (for the detail), whilst keeping the sky darker (for the colour). But try to resist, else it will create an imbalance between foreground and sky and make things look a bit weird.
That said, you can still show lots of detail in the shadows (especially if you’ve bracketed exposures), just keep them in proportion.
In other words, keep what should be dark, dark and what should be bright, bright.
If you want to learn more about editing your landscapes in Photoshop, then you may want to check out the author’s 12-module Landscape Editing Masterclass:
We were able to arrange an exclusive 80% discount for our readers for a limited time.
Deal ending soon: The Landscape Editing Masterclass at 80% Off
- - - - - - - - - - - - - - - - - - - - - - - - - - - - - - - - - - - - - - - - - - - - - - - - - - - - - - - - - - - - - - - - - - - - - - - - - -
Photography, like any art or skill, thrives on consistency. The journey to becoming an adept photographer is paved with regular practice. Learn how PictureCorrect Insiders can help.
- - - - - - - - - - - - - - - - - - - - - - - - - - - - - - - - - - - - - - - - - - - - - - - - - - - - - - - - - - - - - - - - - - - - - - - - - -
This post Pre-dawn Landscape Photography Tips appeared on PictureCorrect.
from PictureCorrect https://ift.tt/ELP43iB
via IFTTT


0 kommenttia:
Lähetä kommentti