Today’s quick tip comes from these new Fundamental Camera Cheat Sheets which are currently 75% off for a summer sale.
Exposure compensation is a feature on many cameras that allows the user to adjust the camera’s suggested exposure settings. It is often used when the camera’s meter doesn’t accurately reflect the scene being photographed (such as snow), resulting in an image that is too light or too dark. By adjusting the exposure compensation, the user can tell the camera to adjust its suggested exposure settings to produce a better-exposed image.

Photo captured by Math
The amount of exposure compensation is usually measured in stops, with each stop representing a doubling or halving of the amount of light. For example, increasing the exposure by one stop will double the amount of light captured by the camera, while decreasing the exposure by one stop will halve the amount of light captured.
When to use it: Exposure compensation is useful in situations where the camera’s light meter may not accurately capture the desired exposure. This can happen when the scene has a high contrast range (such as a bright sky and a dark foreground), when the scene is predominantly white or black, or when the subject is backlit.
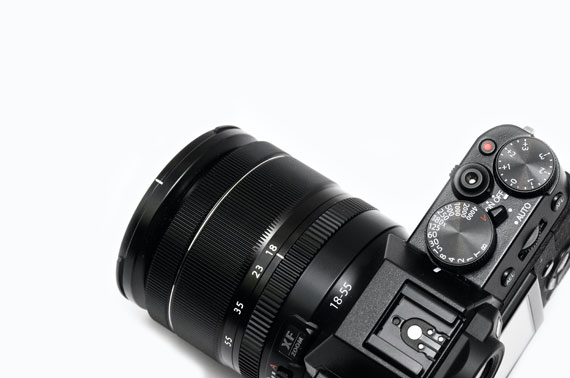
How to use it: The process for adjusting exposure compensation varies depending on the camera, but it is usually accessed through a dedicated button or dial on the camera body. Some cameras also allow you to adjust exposure compensation through the menu or by using a touchscreen interface.
Tips for using it: When adjusting exposure compensation, it is important to pay attention to the histogram display on the camera’s LCD screen. The histogram is a graphical representation of the tonal range of the image, with the left side representing the dark tones and the right side representing the light tones. If the histogram is heavily weighted to one side or the other, it may indicate that the image is either over- or underexposed.
Keep in mind that exposure compensation works in conjunction with your camera’s metering modes (evaluative, center-weighted, or spot metering) and will have different effects depending on the mode you’re using. It’s essential to practice and experiment to get a feel for how exposure compensation works with your specific camera and in various lighting conditions.

Photo captured by Artem Sapegin
Here’s an exercise you can try to learn how to use exposure compensation:
- Choose a subject with a bright background, such as a sunset or a snowy landscape.
- Set your camera to aperture priority mode and select a wide aperture, such as f/2.8 or f/4.0.
- Take a test shot of the subject without adjusting the exposure compensation.
- Evaluate the image and note if the subject is under or overexposed.
- Use the exposure compensation feature to adjust the exposure. Increase the exposure compensation if the subject is too dark or decrease the exposure compensation if the subject is too bright.
- Take another shot with the adjusted exposure compensation.
- Repeat steps 4-6 until you get the desired exposure.
- Experiment with different exposure compensation values to see how they affect the final image.
By practicing this exercise, you’ll become more familiar with how exposure compensation works and how to use it effectively to get the perfect exposure for your photos.
For further training on important camera fundamentals and handy cheat sheets you can print out for reference, you may want to check out this launch sale before it is over.
Have you ever wanted to photograph an amazing moment but missed the shot because you didn’t know the right camera settings to use? That’s where our new cheat sheets come in. They are currently 75% off for a summer sale which ends soon if you want to check them out.
Whether you’re a seasoned professional or just starting out, photography cheat sheets can be a valuable resource for improving your skills and taking your photography to the next level. The perfect companion for any photographer. Print one out whenever you need it.
Summer sale ending soon: The Fundamental Camera Cheat Sheets at 75% Off
- - - - - - - - - - - - - - - - - - - - - - - - - - - - - - - - - - - - - - - - - - - - - - - - - - - - - - - - - - - - - - - - - - - - - - - - - -
Photography, like any art or skill, thrives on consistency. The journey to becoming an adept photographer is paved with regular practice. Learn how PictureCorrect Insiders can help.
- - - - - - - - - - - - - - - - - - - - - - - - - - - - - - - - - - - - - - - - - - - - - - - - - - - - - - - - - - - - - - - - - - - - - - - - - -
This post Exposure Compensation: When & How to Use It appeared on PictureCorrect.
from PictureCorrect https://ift.tt/1SAzkZF
via IFTTT


0 kommenttia:
Lähetä kommentti