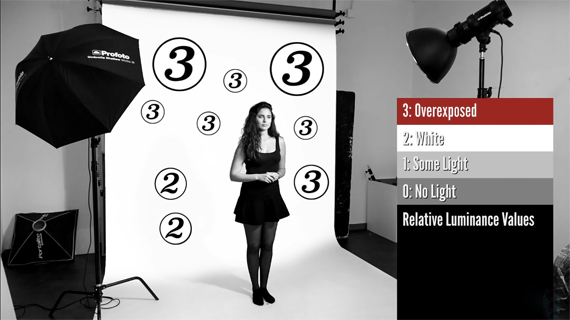
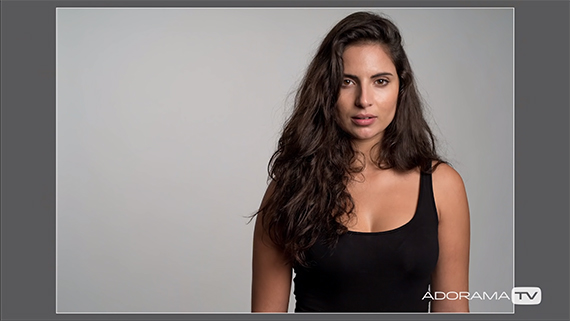
Unintended shadows can be really frustrating, not to mention ugly. In the video below, Mark Wallace of Adorama TV explains both the setup for getting rid of background shadows and the theory behind it:
Controlling background shadows in portraiture might seem a bit tricky, especially if you don’t have a lot of different light modifiers to choose from or are working in a small space. While it might make sense to simply add more light to the shadow area, this rarely works if you’re wanting a background without a gradient or over-exposure. That’s why Wallace walks us through all the options–from the problem shot with the single-modifier to an image without a shadow and very little gradient.
To start things off, Wallace snaps an image with just his key light, a Profoto 50 deg. Magnum reflector. It produces a fairly hard shadow, and even though the background is white, it turns out gray in the image.
But adding in a background light, a Profoto D1 monolight with an umbrella, at half-intensity only lessens the impact of the shadow. It’s still there, just a bit softer. Not only that, but it creates a clear gradient with the right half of the image getting quite dark in the upper corner.
“Adding a second light is just adding another layer of light.”
Even cranking up the background light to the same intensity as the key light doesn’t completely eliminate the shadow. And there’s still that pesky gradient.
Adding even more light causes even more issues. First, there’s still a gradient on the model’s other side. Second, the entire right side of the model is overexposed with some of the highlights getting blown out. Adding a second background light to even out the gradient wouldn’t work (at least in this setup), since the more light that’s thrown at the white background, the greater the light bounce back at the model and the camera.
So no matter how you slice it, adding more light to one area is going to bleed over to the other areas of the image. There’s no way to ensure that the background light will only hit the area of the shadow, so there’s always going to be unequal light.

Turning up the background light to a higher intensity than the key light washed out the shadow, but also overexposed other parts of the background and the model.
Wallace’s solution is actually pretty straightforward.
First, he changes his key light from the smaller Magnum 50 to the larger Profoto 3′ RFi Softbox Octa, which casts a much softer light. The next thing he does is move both his key light and the model much farther away from the background. Between the much softer light and the fact that any shadow that still exists will fall on the floor, the background is clear. You could probably also add diffusion to the key light to get a softer light, but the distance from the background is still key (and a challenge in smaller spaces).

Here in Wallace’s final result, there’s still a gradient and the background is gray but the shadow is gone. If you want a truly white background, you’ll need to light the background separately, most likely with two background lights that create even lighting across the whole background.
What do you think? Are there other ways to light this scene to make the background come out perfectly white and shadow-free? How would you do this in a smaller studio?
Go to full article: How to Remove Shadows from a White Background
What are your thoughts on this article? Join the discussion on Facebook
PictureCorrect subscribers can also learn more today with our #1 bestseller: The Photography Tutorial eBook
The post How to Remove Shadows from a White Background appeared first on PictureCorrect.
from PictureCorrect https://ift.tt/363Cyvk
via IFTTT


0 kommenttia:
Lähetä kommentti