This article is based on concepts from the The Photography Action Cards if you want to dig deeper for further training.
If part of your photographic self-awareness includes a little voice that wants to play without rules or retribution, well then, abstract is the photo genre for you!
In the world of abstract photography the sky is limit. Your creativity isn’t bound by conventions in any way.
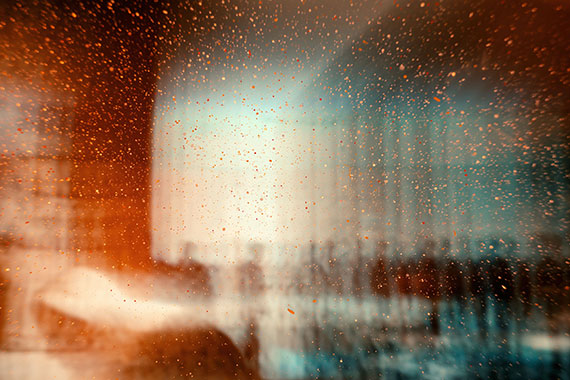
Photo by Jr Korpa
That being said, there are three types of abstract photography, and it’s worth your time to understand the differences.
The above photograph is what’s known as ‘Abstract Expressionism.’ Here’s a definition.
Key Thought: Photographic, abstract expressionism is a form of abstract art that doesn’t necessarily abandon all realistic and representational elements. In other words, it’s mostly unrecognizable, but not entirely unrecognizable. There are realistic elements within the photo that the photographer uses to manipulate a viewer’s mood or feelings.
Here’s the definition of abstract art (photography).
Key Thought: Photographic, abstract art makes no attempt to represent external reality. It sends a message to a viewer through the use of shape, form, line, color, and texture.
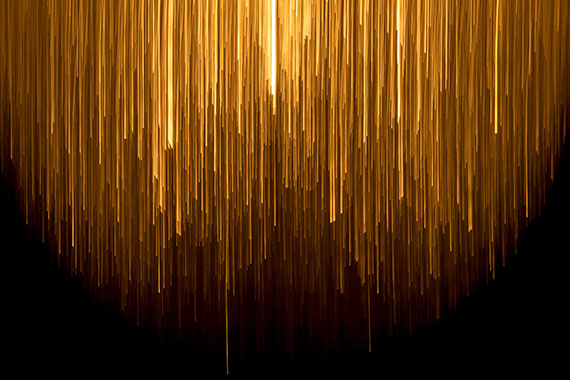
Photo by Rene Böhmer
The above photograph is an example of abstract photographic art.
Here’s the definition of semi-abstract art (photography).
Key Thought: Semi-abstract photographic art remains recognizable to a viewer. But the form, color, shape, and lines are represented in a highly stylized manner that derives its composition from the idea of abstract photographic art. In other words, you depict reality in an unusual way.
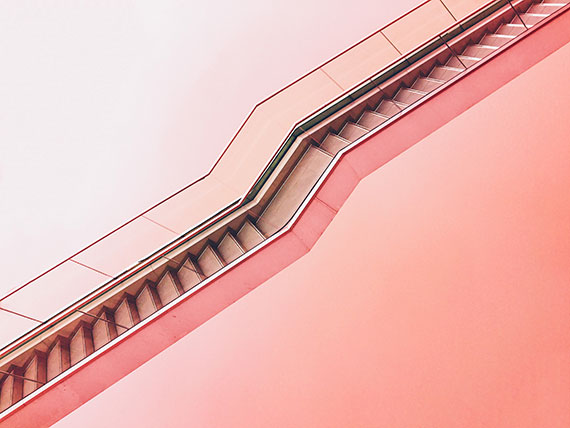
Photo by Max Ostrozhinskiy
The above image of the stairwell is an excellent example of semi-abstract photographic art.
Getting Started
This is the exciting part! To get started in abstract photography, all you need is a camera, some light, and your imagination. Post-processing software can add additional tools to your creativity, but it isn’t absolutely necessary.
For this article, let’s focus on some abstract ideas to get your creativity bubbling!
Focus Blur
Focus blur is an easy and fun way to explore abstract photography.
When you rack your lens out of focus- shapes, colors, and lines blend together like dripping paint. The more out of focus the lens is, the more abstract your resulting picture becomes.
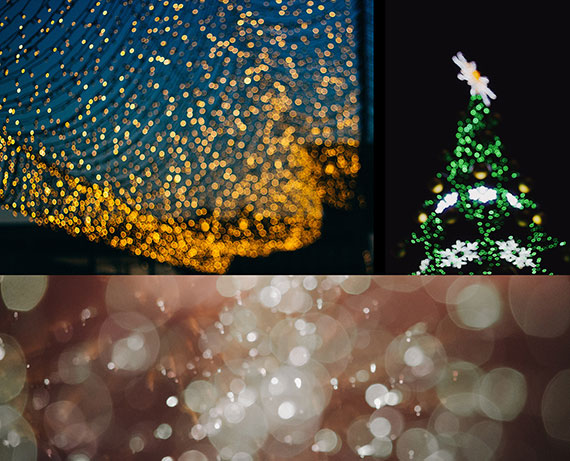
Top left photo by Mark Kamalov, Top right photo by Dmitry Bayer, Bottom photo by Kelly Sikkema
IDEA: Begin your focus blur abstract adventure with some lights. String lights, such as holiday lighting or patio lighting, work really well. Once you have your lights, follow this camera setup.
• Put your camera on a tripod or place it on a solid surface such as a tabletop.
• Use a cable release or the camera shutter release timer.
• Use any lens you wish. Set it to manual focus.
• Set the camera to manual mode.
• Set the ISO to 400.
• Set the aperture to the widest opening.
• Use the matrix/evaluative metering mode.
• Find the correct exposure (shutter speed) as indicated by your camera and reduce the exposure by one stop. (For example, if the meter says the right shutter speed is 1 second with your lens set at its widest opening, reduce the exposure one stop by changing the shutter speed to ½ second.)
Key Thought: The above settings are suggestions to get you started. Remember, with abstract photography, there are no rules. Change everything as your heart desires!
Pick an area where you want to photograph your lights. A darker area works better to showcase the brightness of the lights. A lighter area will reduce the visual weight of the lights while bringing in background elements.
Finally, place your lights and begin having fun. You could set your lights over a person, an object, or simply hang them in the middle of an empty air space.
Change the focus of your lens to many different settings as the effect will vary with each position.
Camera Blur – often referred to as ICM (intentional camera movement)
Camera blur (ICM) is a lot of fun because it’s completely random. With a focus blur, the process tends to be slower and more calculated. With ICM, you’re throwing caution to the wind, having fun, and doing everything the experts have told you not to do.
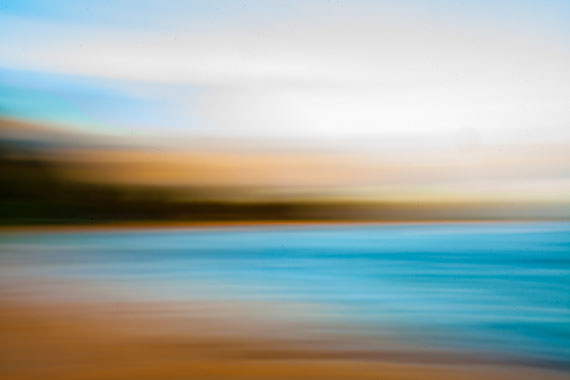
Photo by Taylor Leopold
IDEA: Many examples of ICM photography are taken outdoors. We’ve all seen the ‘stand of trees’ ICM photo. Here’s how to make ICM work for you indoors. Look for areas of light, shadow, and color contrast. Don’t fixate on trying to capture something recognizable such as the example photo above. Concentrate on a complete abstract photograph. Remember to communicate something that you feel through shape, form, line, color, and texture.
Key Thought: The outcome of an ICM photograph is primarily governed by the shutter speed and how you move the camera while completing the exposure. However, you can also alter the effect by your choice of lens, aperture, focus placement, color balance, and exposure.
Start with these camera settings:
• Camera in shutter priority mode.
• Shutter speed at ¼ of a second. Use this range of shutter speeds to begin with: 1/30th, 1/15th, 1/8th, ¼, ½, 1 second, and 2 seconds. The longer the shutter is left open, and the more you move the camera, the more abstract your picture will become.
• Auto ISO set to a maximum of ISO 1000 (If your camera doesn’t allow this function, then set it to ISO 800 and adjust as necessary.)
Take the Shot: Once you have your camera settings and a chosen subject, release the shutter while moving the camera. Experiment with different types of camera movement – up and a down, side to side, zig-zag, and etc.
Combining a Viscous Fluid with Water
This abstract photo activity is exquisitely different because it requires some setup, but also provides unpredictable results.
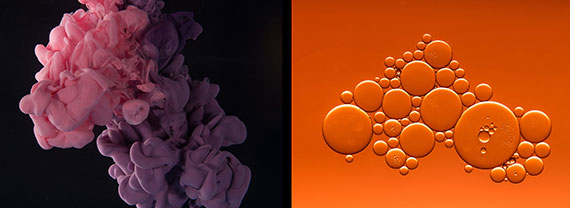
Left photo by Bilal O., Right photo by Sharon Pittaway
In the left example photo above, a water-based paint was poured into water. In the right example photo above, cooking oil was dripped into water.
Here’s What You Need:
• A light source. Any light source can work. However, this is one style of abstract photography where the quick burst of an electronic flash can be helpful.
• You will need a clear glass container. Keep in mind that the container itself can add to the abstract effect if it’s textured.
• Some type of colored paper or gels is helpful to add color to a background, but it isn’t required.
Use the following set up:
• Use a tripod. This isn’t required, but it will make things more predictable.
• Use the appropriate lens. This will be dictated by how close you need to focus. Set the lens to manual focusing.
• Use aperture priority.
• Set the aperture to f/2.8 – f/8 depending on the power of your light source.
• Place your clear glass container, that is filled with water, on a stool or table with some working room and no background distractions (as done in the left example photo).
• Set up your light source to provide side lighting or backlighting if your point of view is from the side (such as the left example photo above).
• Alternately, place your glass container or a piece of glass on supports that allow you to look down upon your set (example photo on the right). Use backlighting or position the light source to hit the background (in the example photo, the light is illuminating the background and not the subject), which was orange art paper.
• Set your ISO to 800. (Adjust as needed depending on your light source. Check your shutter speed. A faster shutter speed freezes the action, and a slower one blurs it.)
• Use a center-weighted metering pattern.
• Set the Drive mode to single shot
• Place an object into the center of the glass container and manually focus on it. (I use the handle of a kitchen spoon.)
NOTE: Get your exposure set before you begin dropping in your viscous fluid. Paint and oil are the easiest fluids to find and work with when starting out.
You’re all set!
Start dropping some viscous fluids into your water and let the magic happen.
Close Up and the Unusual Camera POV
This type of abstract photography turns you into a creativity detective. You will crawl around your house looking for everyday items that you can capture from a unique camera point of view (POV) that makes the object unrecognizable or nearly so.
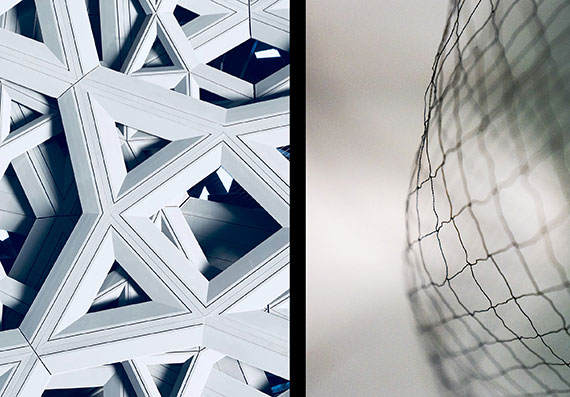
Left photo by Alvaro Pinot
IDEA: Having the ability to close focus, either using filters or a macro (close focusing) lens, is a valuable option. But it’s not absolutely necessary. This exercise can even be accomplished with your smartphone camera.
Shooting Though Translucent Materials
This idea is super easy. Go around the house and gather translucent materials, such as glass, plastic, or cloth. If the translucent material has a texture to it, that’s even better. You can also create variations in the surface of the material on your own. Smear it with Vaseline, or a thin coat of paint, or some leftover cosmetics.
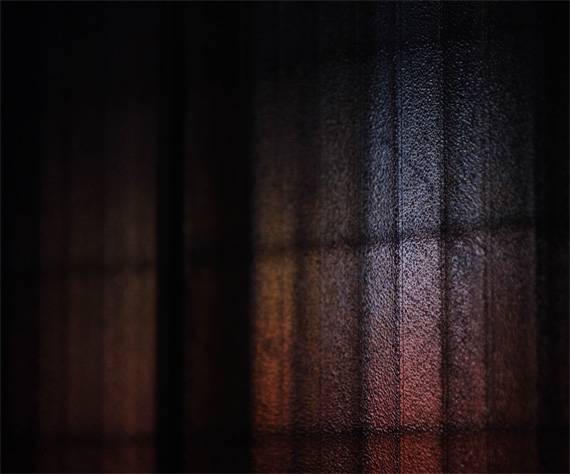
Photo by Rene Bohmer
IDEA: You’ll photograph your subject through your translucent material. Put the translucent material between you and something else of interest, such as the window above. Your lighting will play a significant role in how your image turns out. Start with backlighting and side lighting.
Post-Processing Abstract Fun
Post-processing can be used to create abstraction on its own, or you can combine it with some of the other ideas presented in this article.
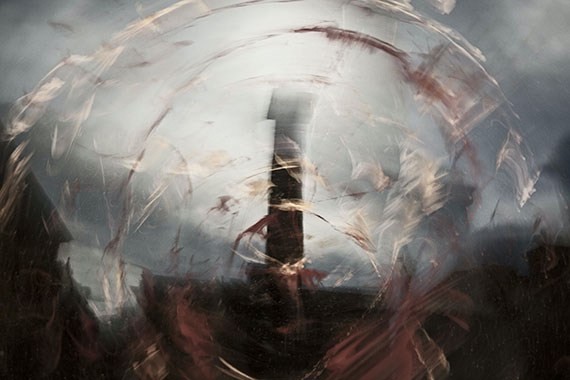
Photo by Jr Korpa
A layering program provides you with infinite possibilities.
This is the time to try presets and actions. Go for the gusto and make your images completely unrealistic.
Let’s close with a gallery of inspiration.
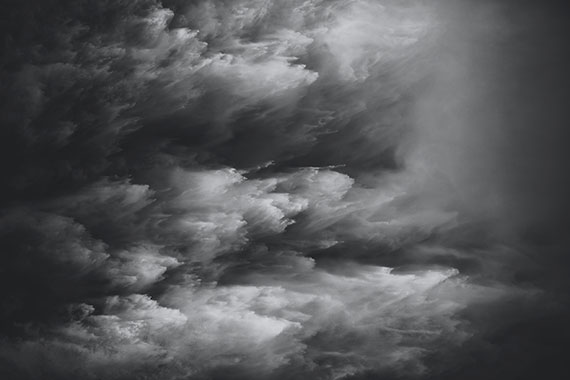
Photo by Mike Ko
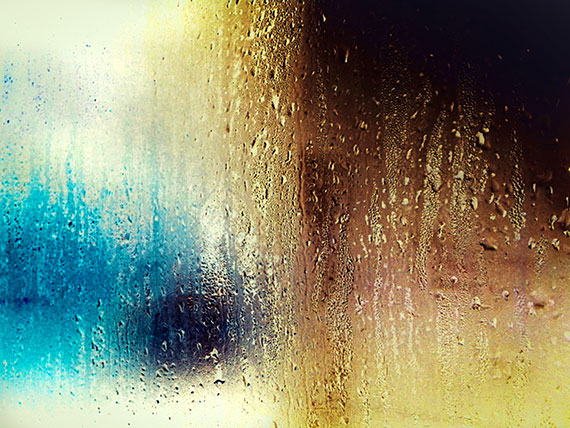
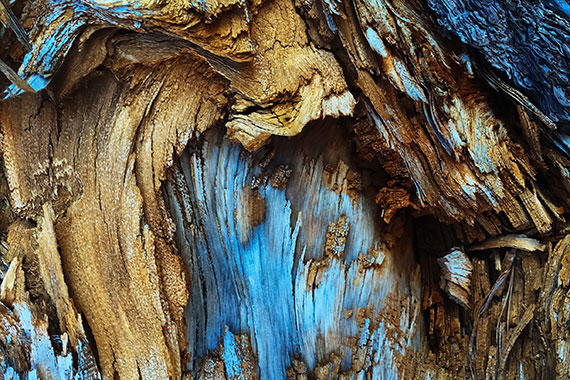
For Further Training and Exercises:
65 beautifully designed & printable Photography Action Cards are now available that will give you over 200 photography assignments, covering everything you can imagine. They are currently 88% off today if you want to try them out.
These Action Cards discuss a photographic topic, provide you with suggested considerations, and give you specific photographic assignments.
Deal found here: The Photography Action Cards at 88% Off
Go to full article: Abstract Photography Exercises
What are your thoughts on this article? Join the discussion on Facebook
PictureCorrect subscribers can also learn more today with our #1 bestseller: The Photography Tutorial eBook
The post Abstract Photography Exercises appeared first on PictureCorrect.
from PictureCorrect https://ift.tt/3fY06Vf
via IFTTT


0 kommenttia:
Lähetä kommentti