Want to capture the perfect portrait every time? Keep reading to learn some tips professionals use that you can adopt – even without a fancy camera or a studio of your own. Learn what you need to know about simple but effective lighting, flash photography, and more. You should also consider following a photography course online that would guide you step by step until you could take truly memorable portraits time and time again.

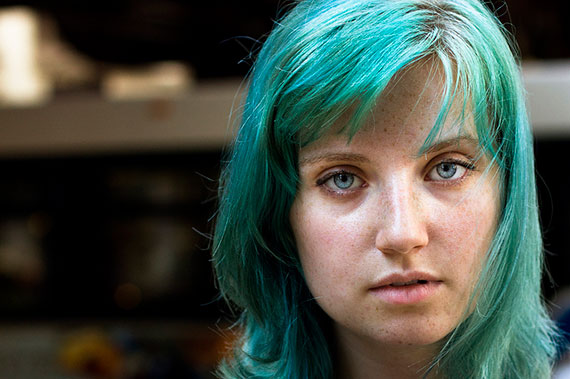
Photo by double : zanzo; ISO 400, f/3.2, 1/250-second exposure.
Good lighting is key to any successful portrait. With on-camera flash, you encounter problems that detract from a quality picture. For example, flash brightly illuminates your subject in an unnatural, flat light. It can also cast harsh shadows behind your subject, especially if they’re positioned near a wall or some other object. This effect is not attractive. Additionally, flash frequently reflects light from the pupils in the eyes, causing the dreaded red eye effect—something you definitely want to avoid.
Portraits are actually much more interesting if there is some shadow on the portrait, but not harsh background shadows. It’s good to work with directional lighting and then use a reflector or some fill lighting to lighten up features that might otherwise fall into deep shadows. You don’t want to eliminate the shadows altogether, though. That can make for a portrait that lacks dimension.
Where possible, try ambient light, such as that through a large window or outdoor light . If using supplemental lighting, place a bright, diffused light directly behind where you are standing with the camera. This illuminates the subject’s face effectively. You can then try adding some subtle light to one side of the subject to fill in some of the shadows and emphasize the soft shadows on the other side. You could also “bounce” some light from a reflector onto the side of the face, instead of using direct light, so it is less intense.
This set-up creates a well-lit portrait; then you can start experimenting with adjusting the lights to see the effect you can achieve. If the light from behind you is very bright, you may need to reduce exposure settings on your camera to compensate so the final image is not overexposed.

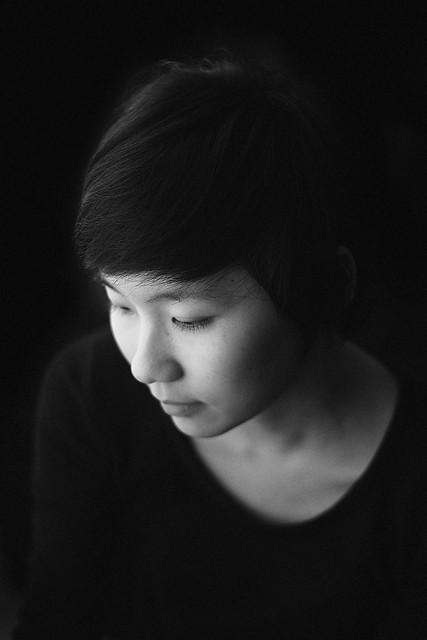
“May – Graduation” captured by plaits
Another approach to try is to place the bright light to one side of the subject and then to place your fill light or a reflector on the opposite side. Your fill or reflected light should always be less intense than the main light. This will effectively reveal the curves on the face and body. If you use extra lighting, take note of how it affects your image. You may need to adjust the white balance on your camera or set your camera for the kind of lights you are using to avoid yellow or blue color casts on your photos. You can avoid this if you use natural outdoor light.

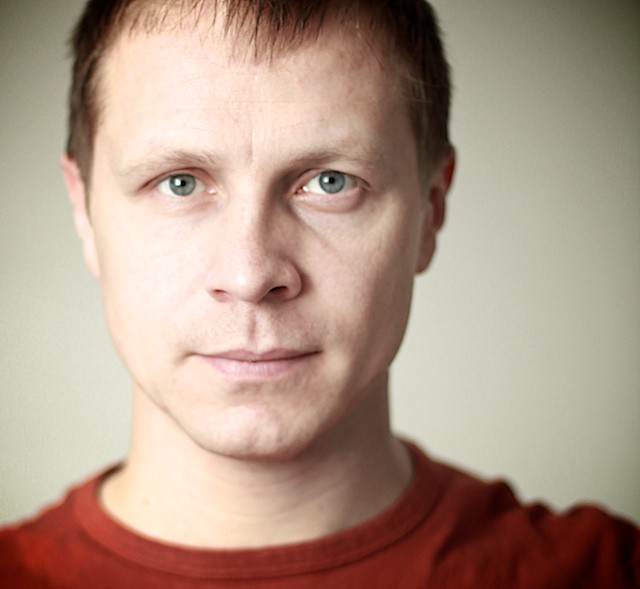
“March 6, 2011” captured by Jeremy Jenum
For a great outdoor portrait, an overcast but bright, cloudy day works well. The clouds diffuse the sun so the light isn’t too strong, yet there is plenty of light to work with. Alternatively, you can photograph in an evenly shaded area. This will also eliminate hot spots or over-exposed highlights on the face in your portrait. Make sure you don’t have any light filtering in between leaves and branches, though, as that can look odd when it shows up in your pictures. Avoid using the flash outdoors if you can help it, too.
One great way to add dimension to your portraits and flatter almost every face and body type is to turn the subject’s body away from the light about 90 degrees. In other words, have the subject face the light and then turn their body one-quarter turn. This gives shape to the body as the light wraps around it. Now turn the subject’s face, so they are facing toward the light. This illuminates the face, which is the focal point of your image. It gives your subject a subtle glow, and should result in some catch lights in your subject’s eyes, which really brings a portrait to life!
Using lighting effects successfully can be a little daunting at first, but practice makes perfect; experimentation is key. By following a reliable photography course online you could easily master these, and more, lighting techniques, learning when and how to apply each for optimum results.
About the Author:
Article written by Paul Summers is from PhotographyCourseOnline.
Go to full article: Using Light Effectively to Capture the Perfect Portrait
What are your thoughts on this article? Join the discussion on Facebook
PictureCorrect subscribers can also learn more today with our #1 bestseller: The Photography Tutorial eBook
The post Using Light Effectively to Capture the Perfect Portrait appeared first on PictureCorrect.
from PictureCorrect https://ift.tt/390SPzZ
via IFTTT


0 kommenttia:
Lähetä kommentti