


When it comes to landscape photography, the quality of the results boils down to how well you planned your shoot. When planning, you need to put a lot of thought into composing and using the right techniques. And how you post-process your images also accounts for how interesting or boring the results come out. In this video, photographer Serge Ramelli shares his 10 rules for taking epic landscape photos:
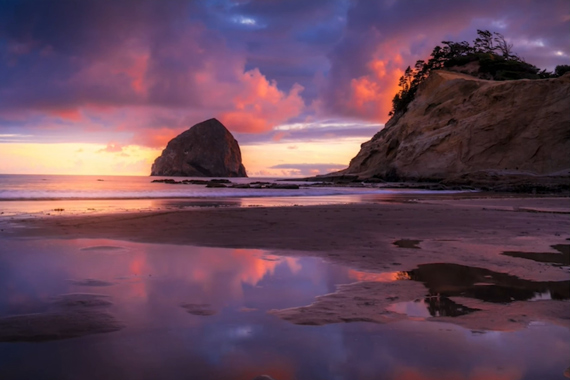
1. Go to a Beautiful Place
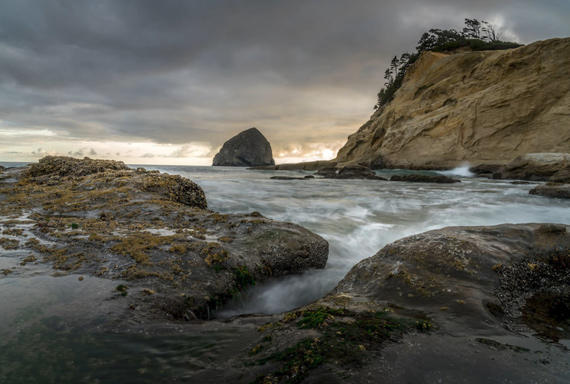
Now this is pretty straightforward, right? If you want to take a beautiful landscape photo, go to a beautiful place. You can’t photograph something that’s not epic and expect to get a mind-blowing result.
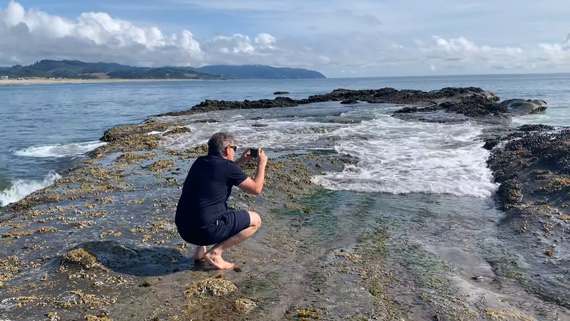
2. Find the Right Composition During the Day
Landscape photos come out great when the sun is low on the horizon. But the problem is that you can’t spend too much time looking for good compositions during that time as the light changes rapidly. Spend some time during the day looking for a good composition. Walk around and try composing shots with your phone to scout a location to take a killer shot when the sun is low.
3. Balance the Right Foreground Elements
When composing your shot make sure that your foreground element is balanced well by the rest of the image. The foreground and the background elements shouldn’t clash but instead should complement each other. Ensure that the elements in your photo are distributed evenly throughout the frame.
4. Follow Leading Lines
Leading lines are powerful composition elements that can draw your viewers into the frame. When composing your image see if you can incorporate some natural leading lines like rivers, streams, rock formations, and shorelines.
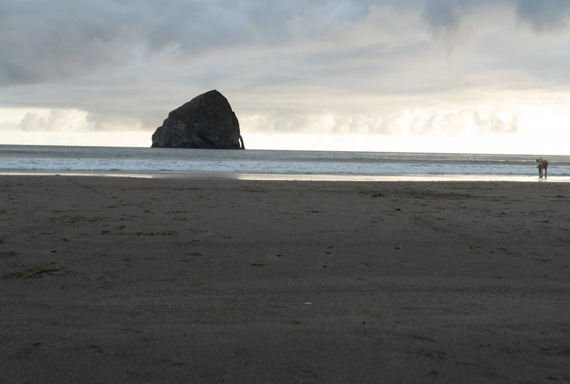
5. Avoid High Frequency Textures
Textures that follow a certain pattern are pleasing to look at. However, when photographing landscapes, avoid distracting elements like footsteps in the stand or irregular rock formations. They simply confuse the viewers.
6. Shoot Manual
When you shoot manual, you gain control over all the factors that affect your exposure. This allows you to get creative with your photos and also brings consistency across all the photos you take.
7. Use a Tripod With a Self Timer
In order to ensure that your landscape photos turn out absolutely sharp, use a tripod. Make sure that you use a good quality and sturdy tripod to ensure proper results. Tripods that aren’t constructed well only render poorer results. Also, to avoid any camera shake when pressing the shutter release button, you can use the camera in self timer mode. Or if you have one, use a remote shutter release.
8. Manual Focus on the Middle Ground Subject
To ensure that the camera focuses right where you want it to, use manual focus. As landscapes do not move around, you can take your time with manual focusing to nail focus. Manual focus also comes in handy in poor lighting conditions. If you’re planning to take landscape photos when the sun is really low, the camera’s auto-focus system may struggle. Using manual focusing, you can overcome this issue as well.
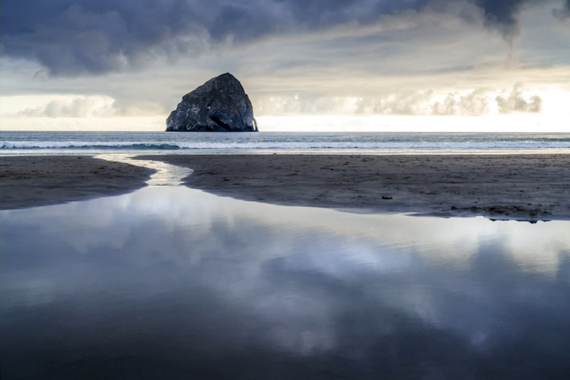
9. Play with Long Exposures
Long exposure photography captures the motion around us in a way our eyes can’t see naturally. If you have any water in your landscape photo composition, generally 0.5-second exposure works best. Moving clouds also look great in long exposure. See how you can incorporate motion in your image with long exposure to make the result really dynamic.
10. Slightly Underexpose Your Photos
Cameras do a pretty good job of recovering shadows compared to highlights. So, to make sure you capture most of the highlights, it’s okay if you slightly underexpose your photos.
Editing Landscape Images
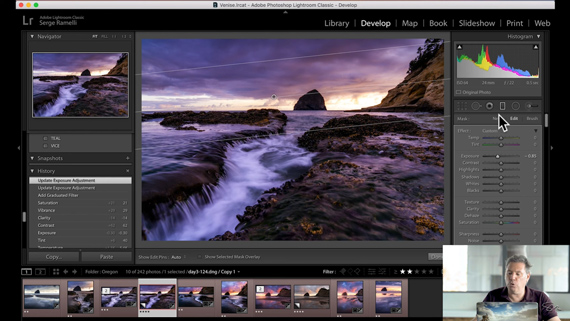
Besides composing and taking your images carefully, it’s also important that you post-process your landscape images properly. Ramelli uses the following workflow for editing his photographs in Lightroom:
- Open up the shadows, add some whites, crush the blacks, and recover the highlights.
- Adjust the clarity, vibrance, and saturation to taste.
- Using the White Balance sliders, add some blues and magenta to get a really nice blue tint.
- Using the gradient tool, make necessary local adjustments to the sky, like reducing exposure and recovering highlights.
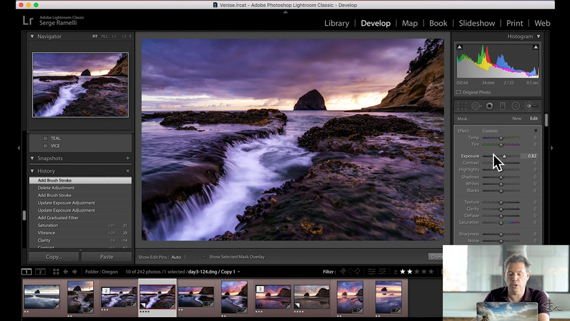
- In order to draw viewers’ attention through the frame, using the brush tool, add in a bit of exposure to areas you want to highlight, and reduce exposure in those areas you don’t want to be distracting.
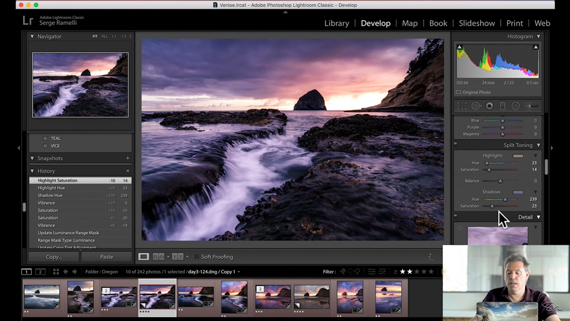
- Using split toning, give a dual-tone look to the image. For instance, using a lighter shade of blue for the shadows and a shade of yellow for the highlights makes the image pleasing to look at.
Are you planning for a landscape photography outing? Be sure to try out these tips and the post-processing workflow. You’ll definitely notice a difference in your results.
Go to full article: Landscape Photography: 10 Rules for Great Results
What are your thoughts on this article? Join the discussion on Facebook
PictureCorrect subscribers can also learn more today with our #1 bestseller: The Photography Tutorial eBook
The post Landscape Photography: 10 Rules for Great Results appeared first on PictureCorrect.


from PictureCorrect https://ift.tt/34Ozqj4
via IFTTT


0 kommenttia:
Lähetä kommentti